Connect USB/Bluetooth Printers
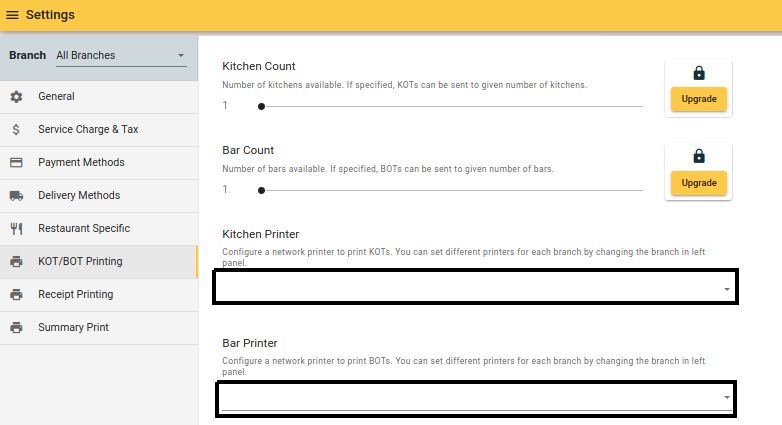
Usually, only one POS terminal can print from a USB or bluetooth POS printer. So they are are configured at app level. In the back-office no printers will be defined. In the branch setup, usage of a USB or bluetooth printer is marked as a blank selection.

In this example, receipts and the pre-receipts are supposed to be printed through a USB or bluetooth printer connected to the POS terminal/(s).
After branch setup, connect printer to the POS terminal.
- If the printer uses USB, the connect the printer to the POS terminal through a wired USB cable. (Need to use OTG cable or adapter in case the POS terminal is a tab or a phone).
- If the printer is bluetooth - Pair the printer to the terminal as a bluetooth device.
Power on both the terminal and the POS printer. Go to,
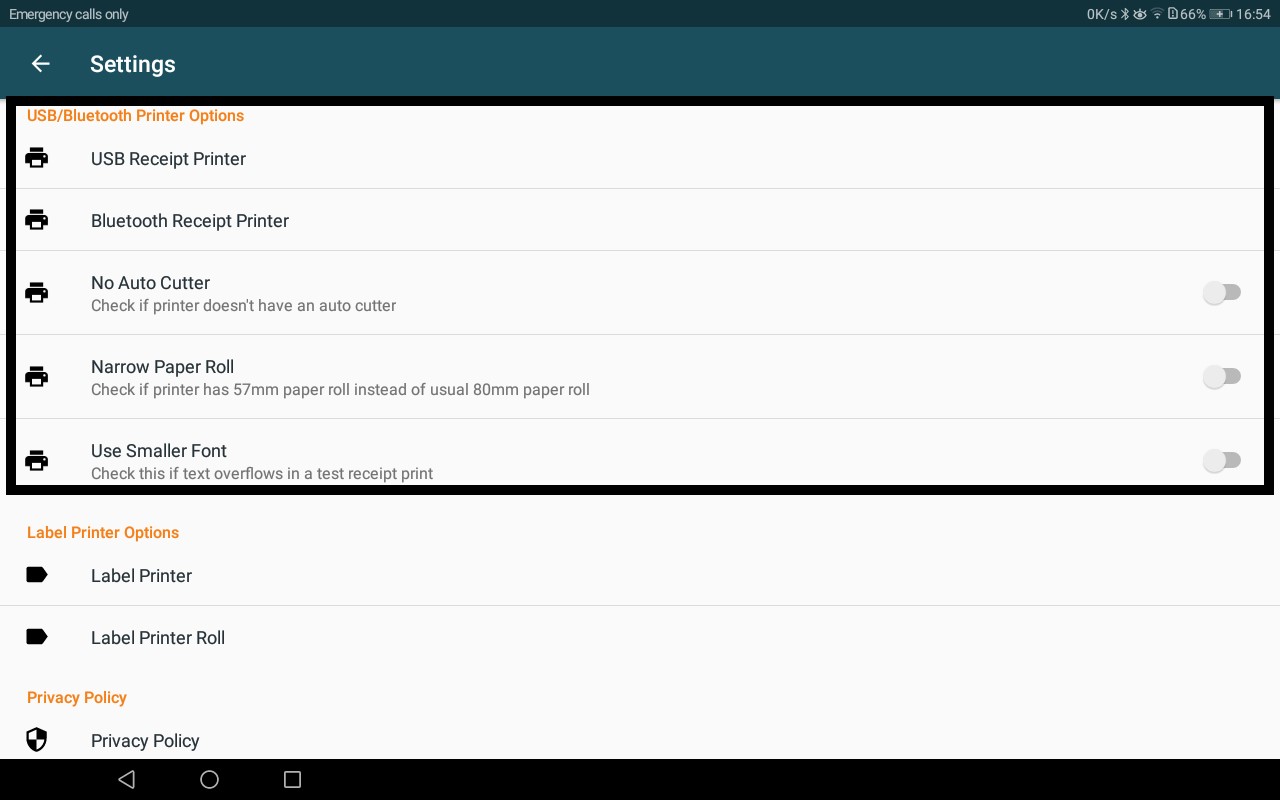
App Settings -> USB/bluetooth printer options
For a USB printer, click on "USB Receipt Printer" -> choose correct USB device
For a Bluetooth printer, click on "Bluetooth Receipt Printer" -> Choose correct Bluetooth device
| Config Name | Description |
|---|---|
| No auto cutter | Switch on/off auto paper cutter in the POS printer. Should be disabled if paper should not cut automatically or the printer does not support an auto cutter. |
| Narrow paper roll | For 2” (58mm) POS Printers |
| Use smaller width | To be enabled if the printer model is an EPSON dot matrix POS printer. |
USB / Bluetooth Printer Selection in Settings:

Select USB / Bluetooth Printer:

A sample Order or Bill can be printed to check whether the USB/Bluetooth printer is successfully added to the POS App.
