SpicePOS User Guide

SpicePOS User Guide

  • Help
  • SpicePOS
  • Login

›Ongoing Orders

Getting Started

  • Before You Start
  • Download and start POS App
  • Sign Up
  • Sign In
  • Setting up Company Profile
  • Your First Sale

    • Setting Up a Few Items
    • Entering Your First Sale
    • Revisiting First Receipt
    • Clear Test Data to Start Afresh

    Software Walkthrough

    • App Walkthrough
    • Back-Office Walkthrough
    • General Features of a Back-Office View

Concepts

  • How SpicePOS Works
  • Working Offline
  • Data Retention Period
  • Company and Branches
  • Items, Categories & Item Groups
  • Discounts
  • Permissions, Roles & Users
  • Customers & Territories
  • Suppliers
  • Inventory Management
  • Settings
  • Employee Shifts & Day Cycle
  • Reports

Hardware

  • Hardware Requirements
  • Network Requirements
  • Hardware Setup

    • Setup Ethernet Printers
    • Connect USB/Bluetooth Printers
    • Connect Cash Drawers
    • Connect Barcode Scanners
    • Connect Barcode Printers

Users

    Setting up Users in SpicePOS

    • Roles & Permissions Setup
    • Users Setup
    • Actions on Users

    User Activities in POS and Back-Office

    • Sign In to SpicePOS
    • Sign Out of SpicePOS
    • Change User in POS
    • Change Password Option
    • Forgot Password (Owner Password) Option

Items

    Data Setup through App

    • Setup Categories through App
    • Setup Items through App

    Data Setup through Back-Office

    • Setup Categories through Back-Office
    • Categories File Upload
    • Setup Items through Back-Office
    • Items File Upload
    • Upload Images in Bulk
    • Items Quick Edit
    • Setup Additions
    • Setup Item Groups
    • Setup Discounts

Settings

    Back-Office Settings

    • Back-Office Settings Hierarchy
    • General Settings Back-Office
    • Service Charge & Tax Settings
    • Receipt Printing Settings
    • Payment Method Settings
    • Delivery Method Settings
    • Restaurant Specific Settings
    • KOT/BOT Printing Settings
    • Summary Print Settings

    POS App Settings

    • App Level Settings
    • General Settings in App

Sales

    Order Taking

    • Add Items to a New Order
    • Remove Items from a New Order
    • Locating Items in POS App
    • Working with Item Additions
    • Clear New Order
    • Giving Manual Discounts
    • Change Item Price at Sale
    • Save Order
    • Charge Order

    Ongoing Orders

    • Ongoing Orders View
    • Edit Ongoing Order
    • Void Items from Ongoing Order
    • Charge Ongoing Order
    • Void Ongoing Order
    • Copy Order to New Order
    • Send Kitchen/Bar Command
    • Split Order
    • Print KOT/BOT
    • Print Pre Receipt
    • Table Occupancy

    Billing

    • Payment Flow
    • Accepting Cash Payments
    • Accepting Card Payments
    • Accepting Customer Credit Payments
    • Accepting Customer Check Payments
    • Complementary Payments
    • Billing to Rooms
    • Accepting Custom Payment Methods
    • Split Payments
    • Delivery Methods
    • View Receipts
    • Copy Receipt to New Order
    • Refund Receipt
    • Void Receipt
    • Reprint from Receipt
    • Goods Return
    • Room Bills

    Sales Reports

    • Analytics Dashboard
    • Receipts Report
    • Sales Reports
    • Customer Payments Report
    • KOT/BOT Report
    • Goods Return Report
    • Room Bills Report

Shifts & Day Cycle

  • Day Cycle with & without Shifts
  • Shifts

    • Starting a Shift
    • View an Ongoing Shift
    • Closing a Shift
    • Recent Shifts History
    • Shifts Report in Back-Office

    PayIn/PayOut

    • PayIn/PayOut Screen
    • Add PayIn/PayOut
    • Delete PayIn/PayOuts
    • PayIn/PayOut in Back-Office
  • Printing Day Summary
  • Income/Expenses View

Customers

    Customer & Territories Setup

    • Setup Customers from App
    • Search Customers in App
    • Blacklist a Customer
    • Removing a Customer from Blacklist
    • Setup Customers from Back-Office
    • Customers File Upload
    • Setup Territories

    Customer Credit & Credit Settlement

    • Check Customer Credit from App
    • Settle Customer Credit
    • Customer Credit Reports

    Customer Cheques & Cheque Settlement

    • Customer Cheques View
    • Customer Cheque Lifecycle

    Customer Deposits

    • Accept Customer Deposit
    • Refunding Customer Deposit
  • Customer Dashboard

Suppliers

    Setup Suppliers

    • Setup Suppliers
    • Supplier File Upload

    Supplier Cheques & Cheque Settlement

    • Supplier Cheques View
    • Supplier Cheque Lifecycle
    • Issuing a Replacement Cheque

Inventory

    Manage Inventory from App

    • View Inventory from App
    • Print Inventory Snapshot
    • Add Inventory through App
    • Deduct Inventory through App
    • Print Labels in Bulk

    Manage Inventory from Back-Office

    • Inventory Snapshot Report
    • Inventory Movement Report
    • Inventory Transaction History
    • Individual Inventory Actions
    • Inventory File Upload

    Purchase Orders

    • Create Purchase Order
    • Actions on Purchase Orders

    Supplier Bills (GRN)

    • Create GRN
    • Actions on GRNs

    Stock Issuances (Transfers)

    • Create Stock Issuance
    • Actions on Stock Issuances

    Stock Takes

    • Add Stock Take
    • Actions on Stock Takes

    Supplier Returns

    • Create Stock Return
    • Actions on Supplier Returns

Copy Order to New Order

If the user wants to clone an existing order to create a new order, this option can be used. Once cloned using this option, the new order will be opened in the order pane of the home screen as the user just took a new order. All the discounts, price changes, additions and order details will also be copied.

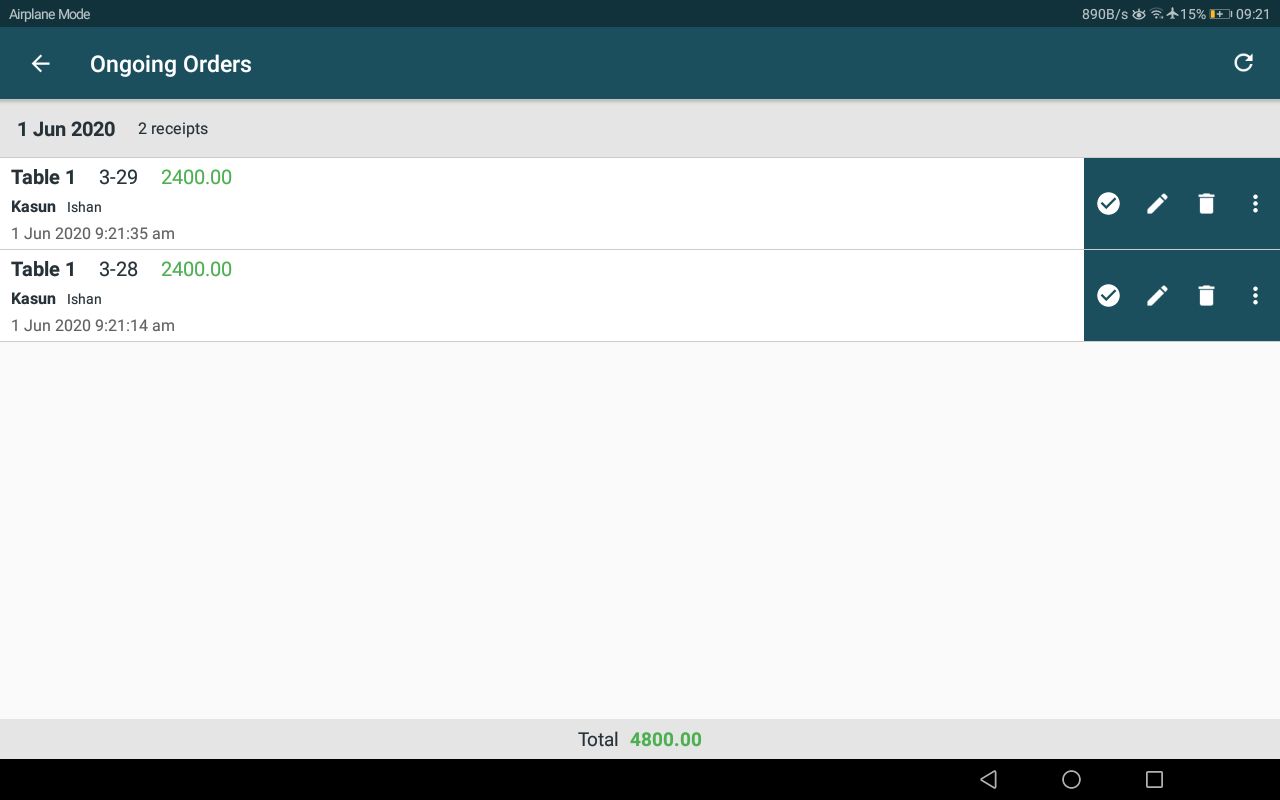
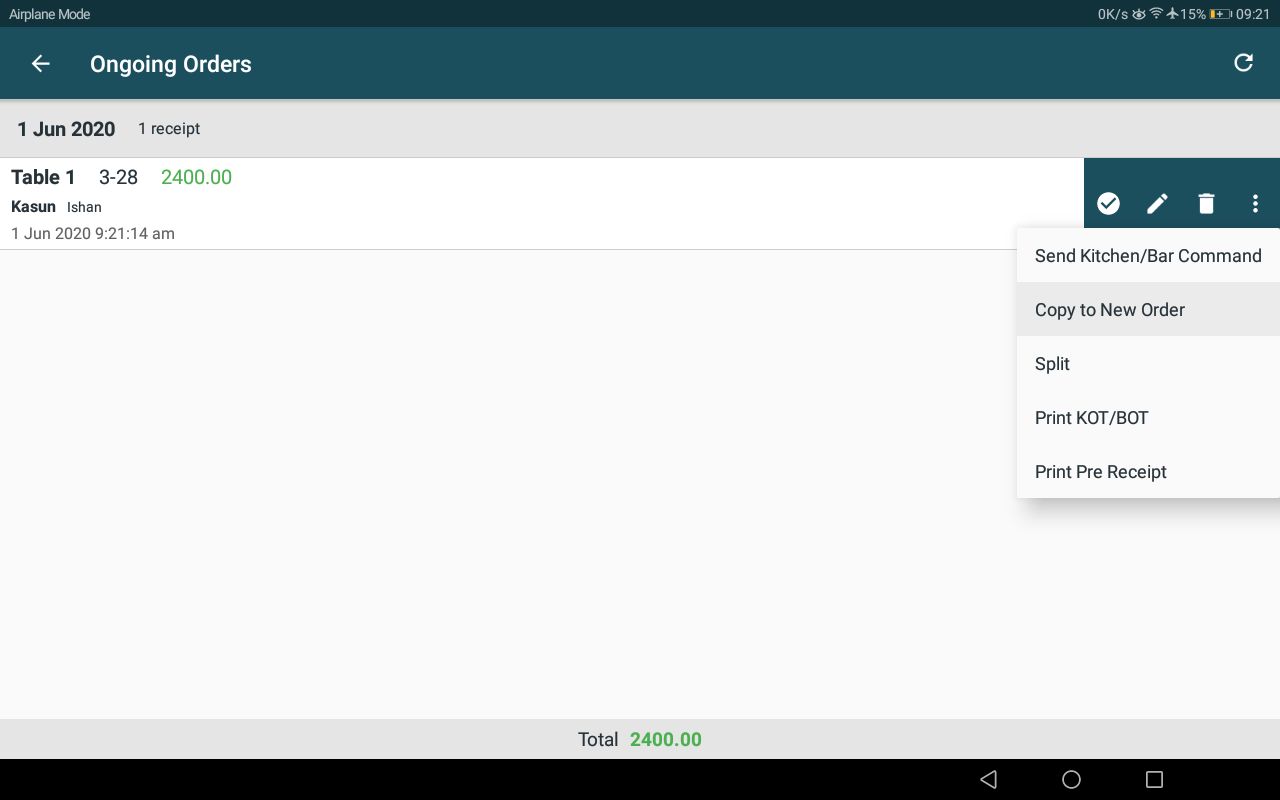
Ongoing Orders Screen -> Choose options menu if the required order from Order Actions section -> Select "Copy to New Order -> Proceed with the New Order in Order Pane

"Copy to new order" option:

app screenshot

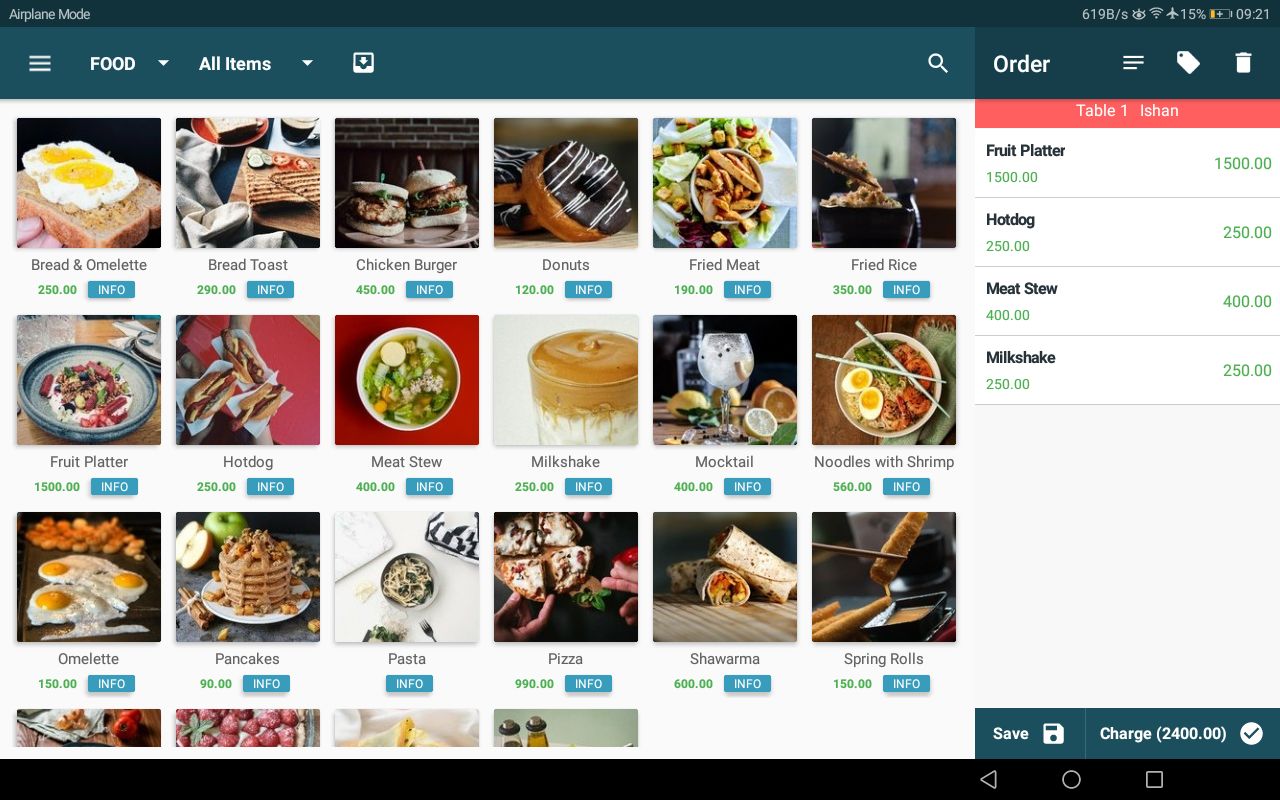
Changes can be done to the new order in order pane and saved or charged. The next bill number will be assigned for this new order. This new order can be handled independently from the source order and it has no attachment to the source order.

New order created in order pane:

app screenshot

New order saved with new order number:

app screenshot

← Void Ongoing OrderSend Kitchen/Bar Command →
SpicePOS User Guide

Links

www.spicepos.com
Back-Office

Follow Us

Facebook
Instagram
Copyright © 2021 SpicePOS