Setup Additions
Additions section in back-office “add item” screen can be used for specifying additions unique for that item. But when you need to specify a set of additions for a number of items using the same method, it is not efficient.
Instead using the additions screen, you can specify such common additions just once in the system and attach to multiple items at once.
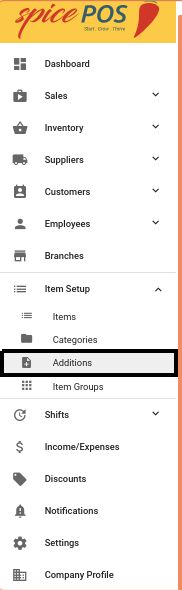
Additions sceem can be found at,
Back-Office -> Side Navigation Menu -> Master Data -> Additions
| Locate additions screen from side nav | Additions screen |
|---|---|
 | 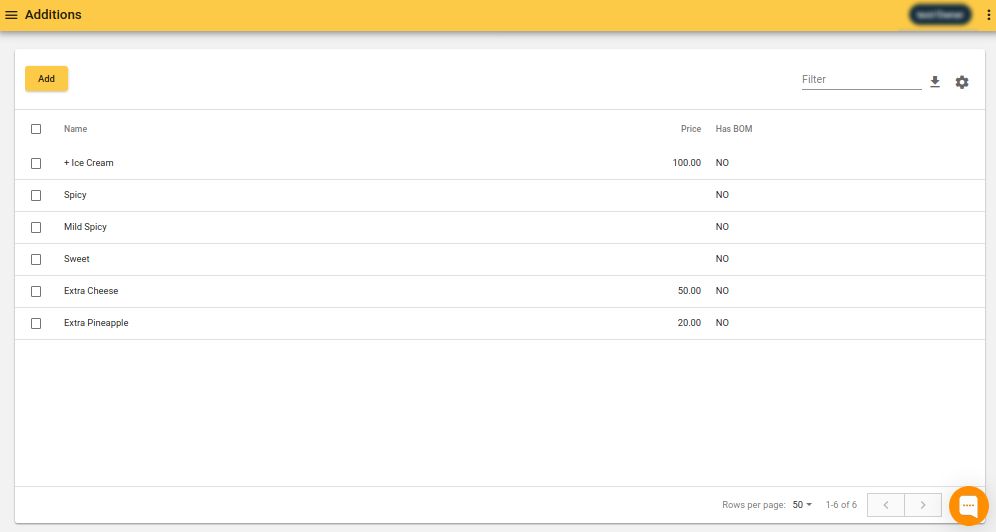 |
Add New Addition Entry
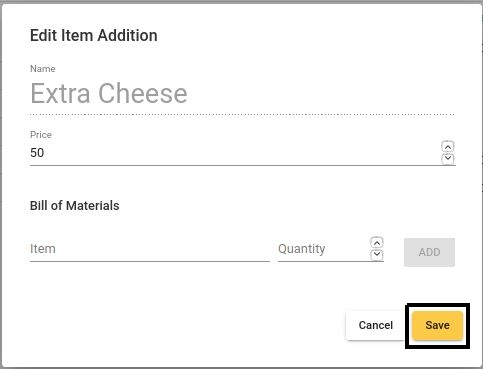
To Add a new “addition”, click on the “add” button in the additions screen, enter details and save.
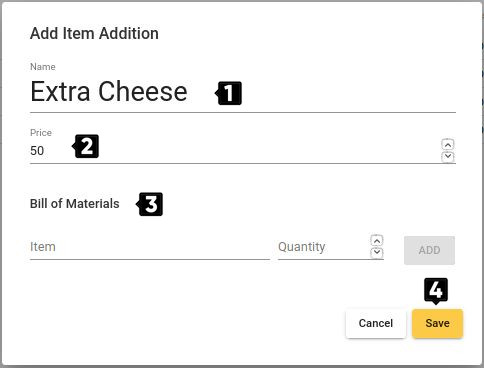
| Number | Field Name | Description |
|---|---|---|
| 1 | Name | Name of the addition that should appear in POS app, printed bill and back-office reports. |
| 2 | Price | Price increment that should happen when addition is selected in POS app. |
| 3 | Bill of materials | Any additional stocks that should be deducted when this addition is selected and billed. |
| 4 | Save | Confirm add new “addition”. |
Attach Addition Entry(ies) to Multiple Items at once
Once an addition is added to the system, it should be attached to required Items. This can be done in 2 steps as below.
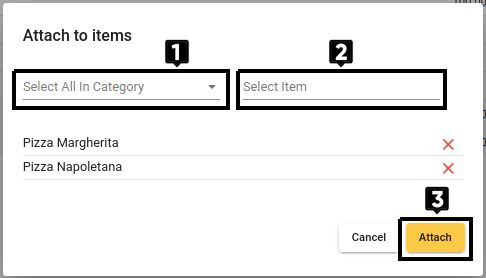
Step 1: Select the set of additions that need to be attached
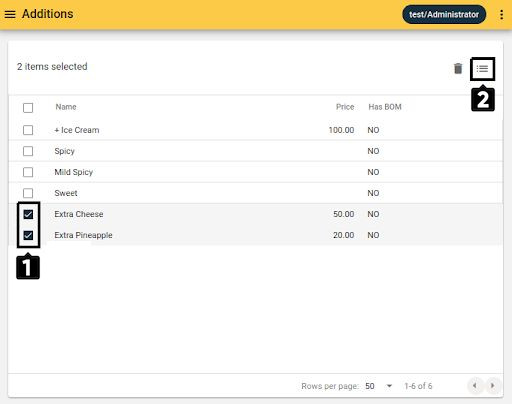
Select the items that need the set of additions to be attached (from category or item by item)
| Number | Field Name | Description |
|---|---|---|
| 1 | Select all in category | Select all items in a specific category. |
| 2 | Select item | Select item by item. |
| 3 | Attach | Confirm attaching the selected additions to the items listed here. |
Edit an Addition Entry
Click Addition -> Edit Details -> Save
Here, the user can edit all fields except the name of the addition. If the name needs to be changed, addition has to be deleted, added and attached again to the required Items.
Dettach an Addition Entry
Dettaching additions from items can't be done as a bulk action. User can dettach additions by editing each item from items screen.
Side Navigation Menu -> Master Data -> Items -> Edit Item -> Locate Additions Section -> Remove Additions (as required) -> Save
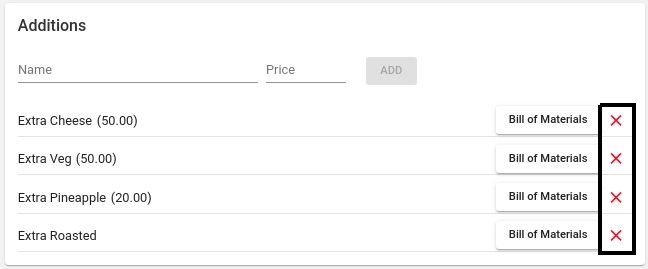
Delete Addition Entry(ies)
Select Addition/(s) from list (from checkbox) -> Click Delete icon -> Confirm Delete

Deleting an addition will result in automatic detaching of that addition from all items which had that addition attached.
Special Note
Additions can’t be defined or attached through SpicePOS app.