Add Inventory through App
POS App -> Inventory Screen -> Click Add button -> Fill in details -> Confirm
Inventory add button:
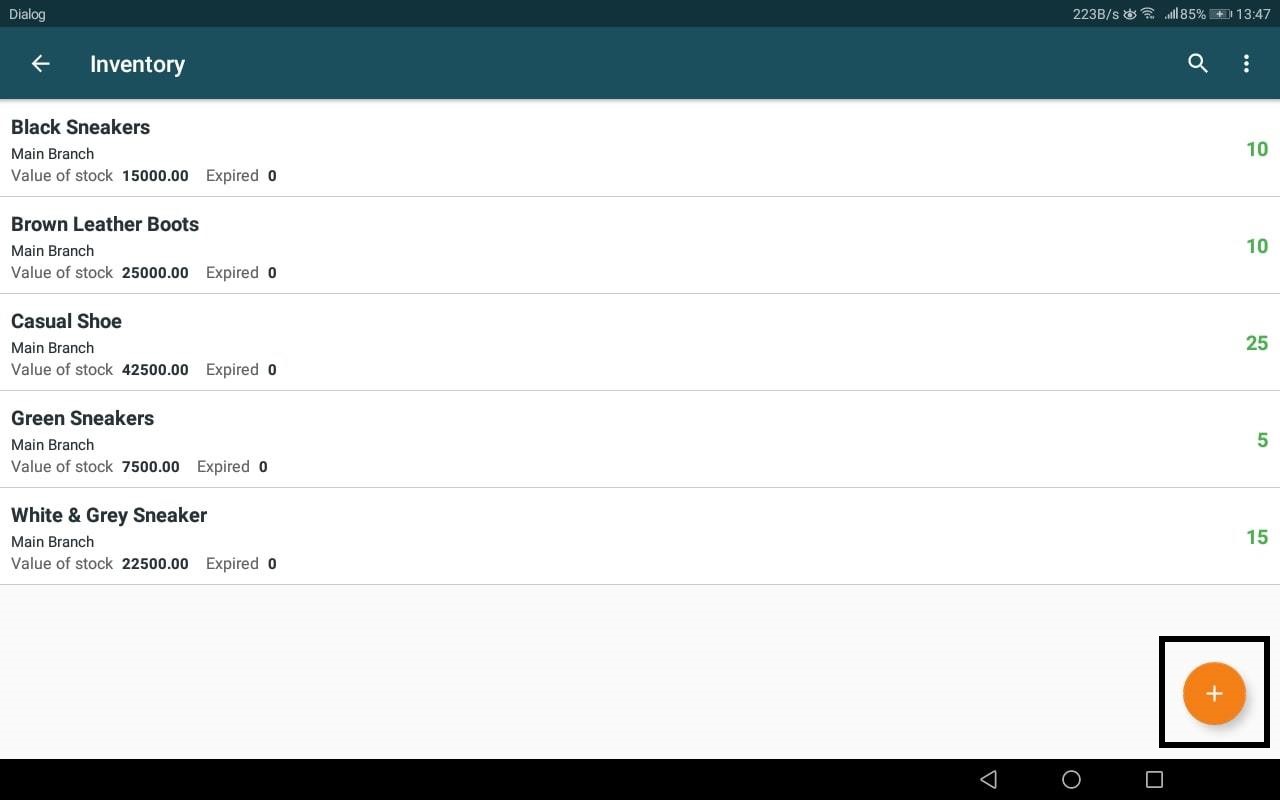
When adding stock through Inventory Screen there are 2 possible scenarios that the User have to perform.
- Item already defined in the system : Then only the stock quantity can be added to the existing Item.
- Item not found in the system : Then the stock should be added together with creating the new Item.
Adding Inventory to an Existing Item
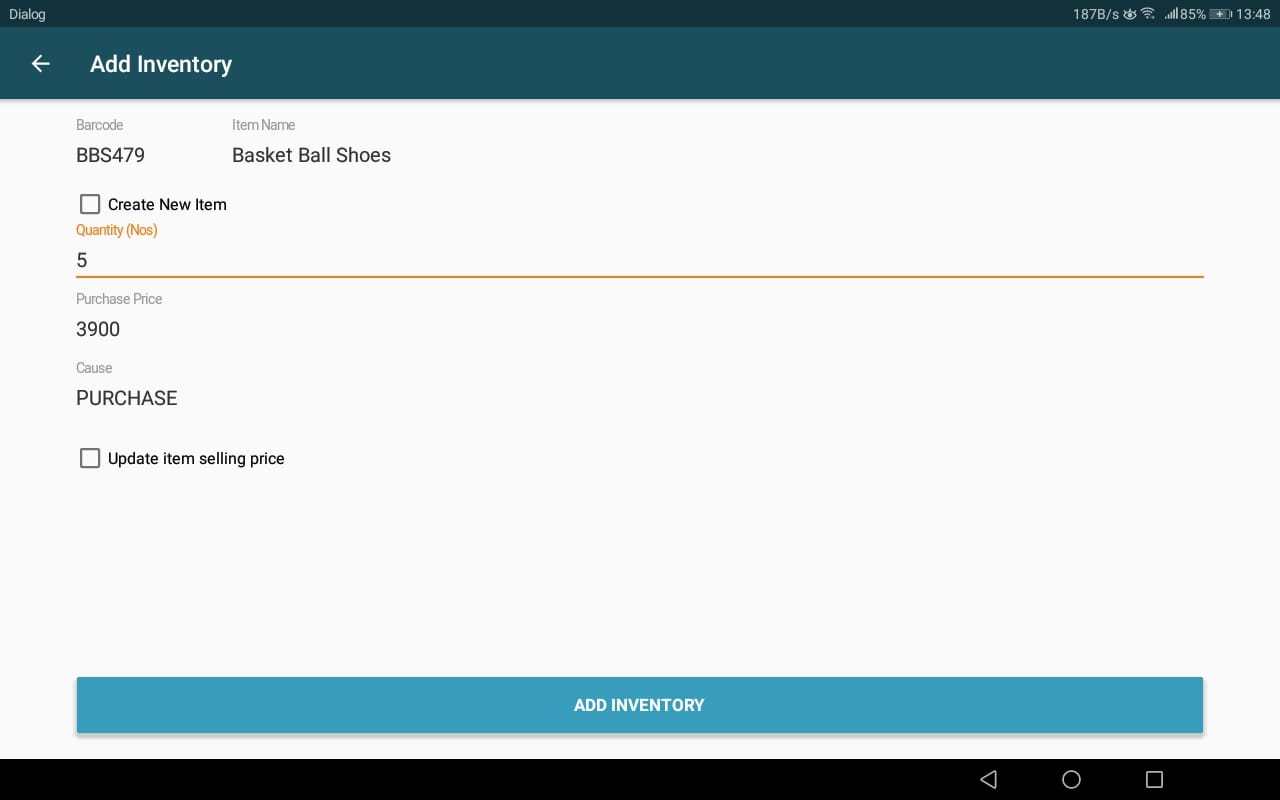
Search Item from Barcode or Name -> Item found -> Fill in Quantity, Purchase Price & Cause -> Click "Add Inventory" button
| Field Name | Description |
|---|---|
| Quantity | Quantity of stock to be added to the selected Item. |
| Purchase Price | Purchase Price as specified in the Item. |
| Cause | Cause for stock addition, select of available options. Purchase - Goods Received. Adjustment - Stock Add as an Adjustment. Customer Return - Customer Returned some stock of this Item. No need to refund the payment (special case). Then only the stock should be added from here. |
Updating Purchase Price in Item
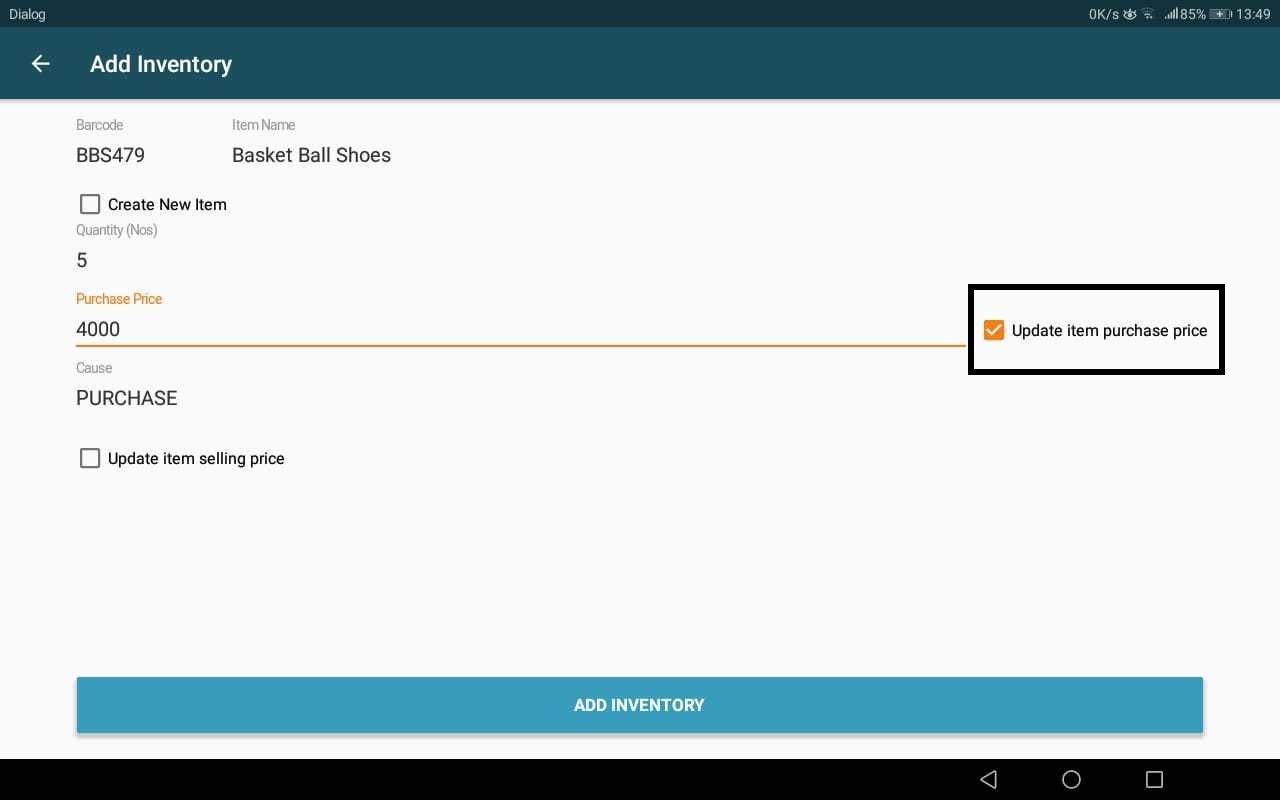
This field will be auto filled with the specified Purchase Price in the Item. If the Purchase Price is different from what is defined in the system, it can be changed here. If the User wants to save that Purchase Price update to the Item, “Update item purchase price” checkbox should be checked.
Updating Purchase Price in Item:
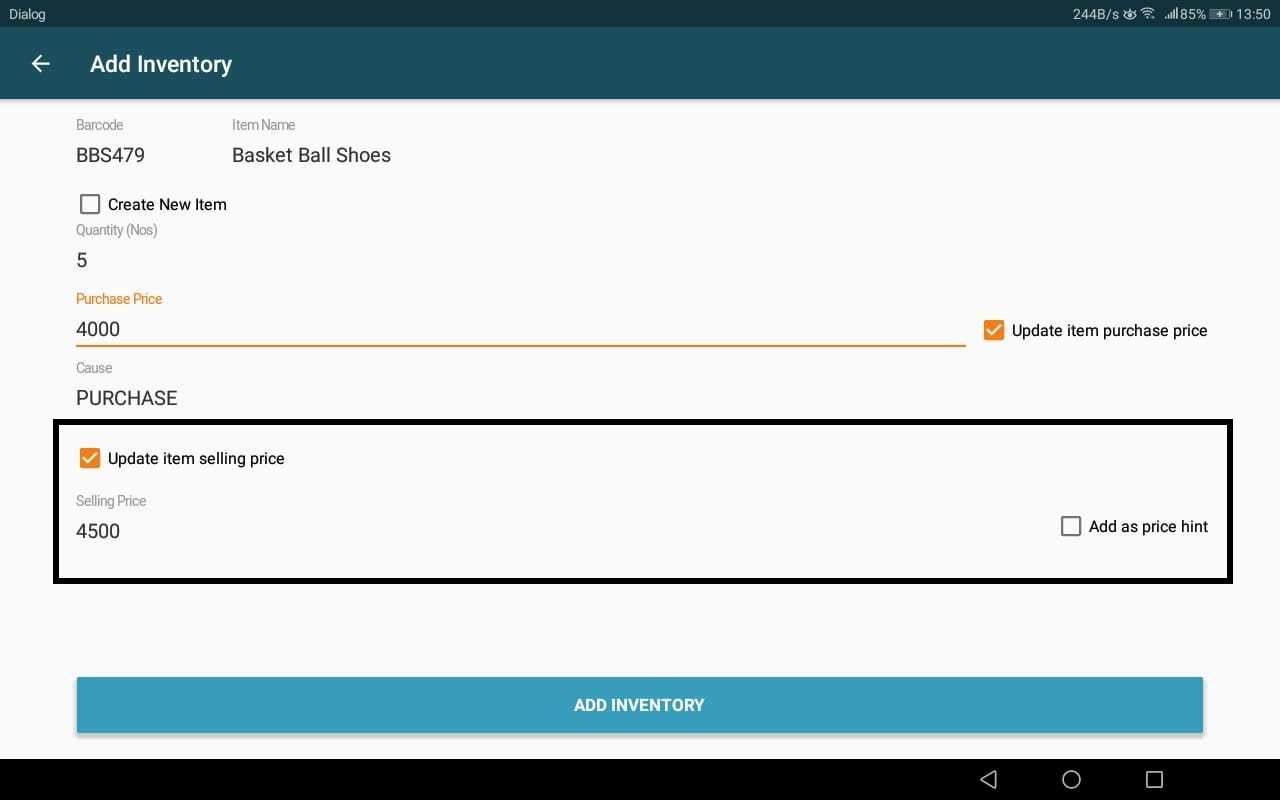
Updating Selling Price in Item
If the user wants to update the Selling Price of the Item with this stock operation, this checkbox can be checked. Upon checking it, two fields will appear. * Selling Price - New selling price * Add as price hint - If this checkbox is checked, the new Selling Price will be added as a price hint still preserving the old Selling Price. If not checked, the Selling Price of the Item will be updated to the new value.
Updating Selling Price in Item:
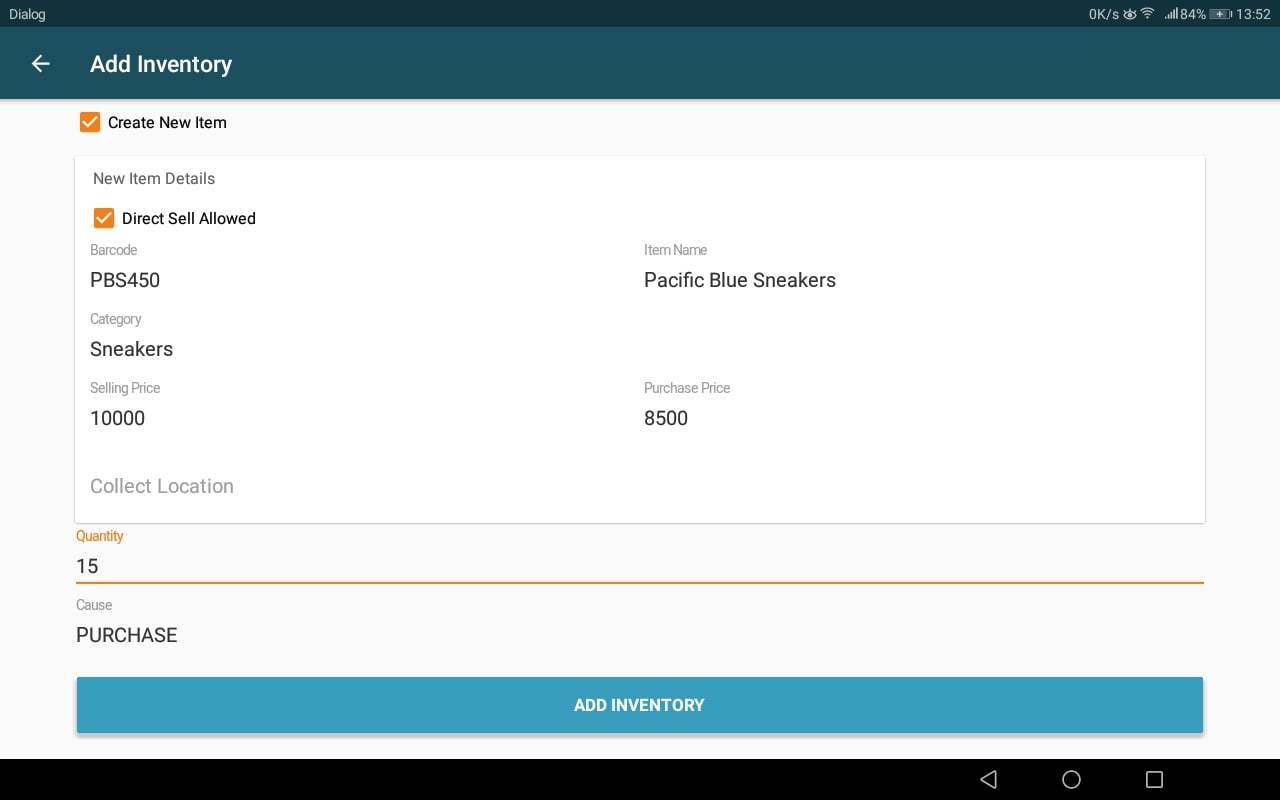
Adding a New Item to the Inventory
Upon noticing the Item is not found in the system, the User can either add Item from Master Data and come back to the Inventory Screen to add Inventory or add both the Item and Inventory from this screen.
Search Item from Barcode or Name -> Item not found -> Check "Create new Item" checkbox -> Fill in Item Details and Stock Details -> Click "Add Inventory" button
Print Barcode Labels or Add Again
Once the button “Add Inventory” button is clicked after filling in the necessary information, the User is prompted to decide whether to Print Barcode Labels or Skip that action.
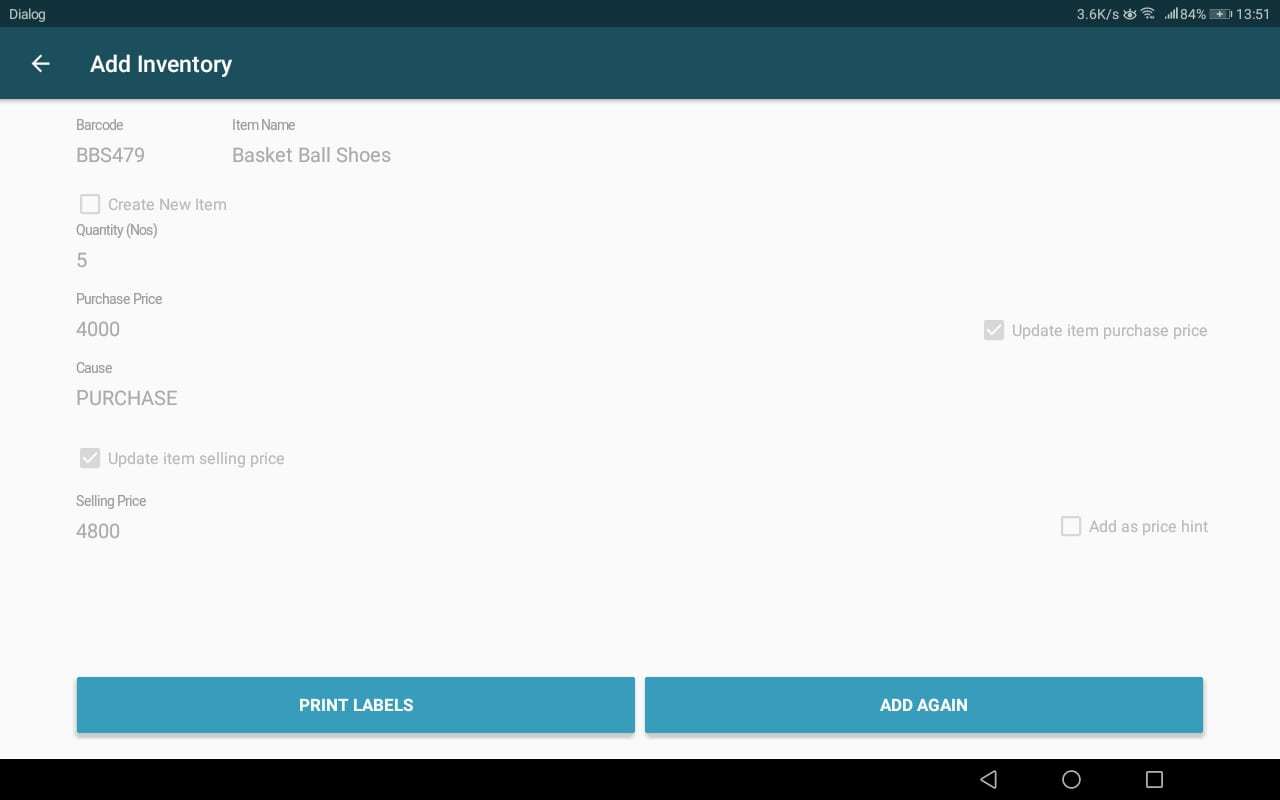
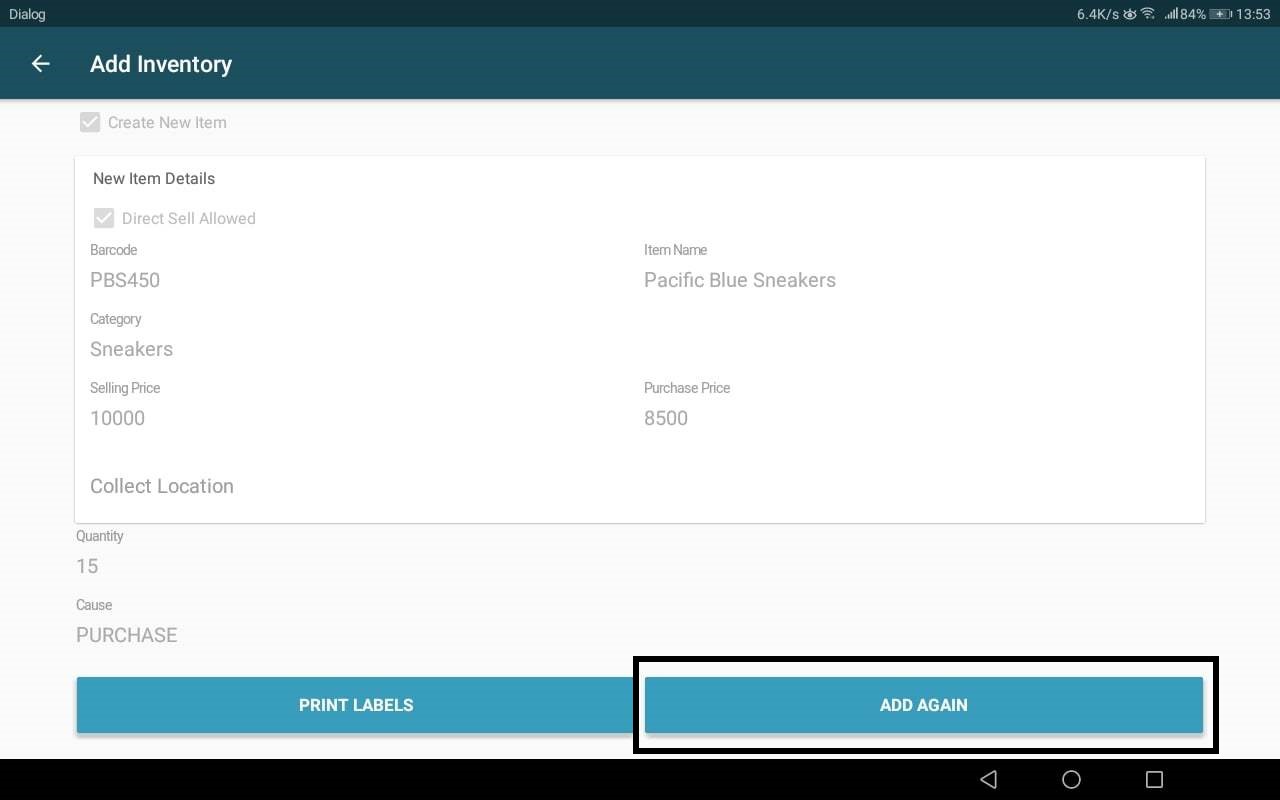
Add Again
No Need to print Barcode Labels, go back to “Add Inventory” screen to add more Items. Once in the Add Inventory Screen again, the User can use the Back Navigation Arrow to exit Add Inventory Screen.
| Continue Adding | Exit to Inventory |
|---|---|
 | 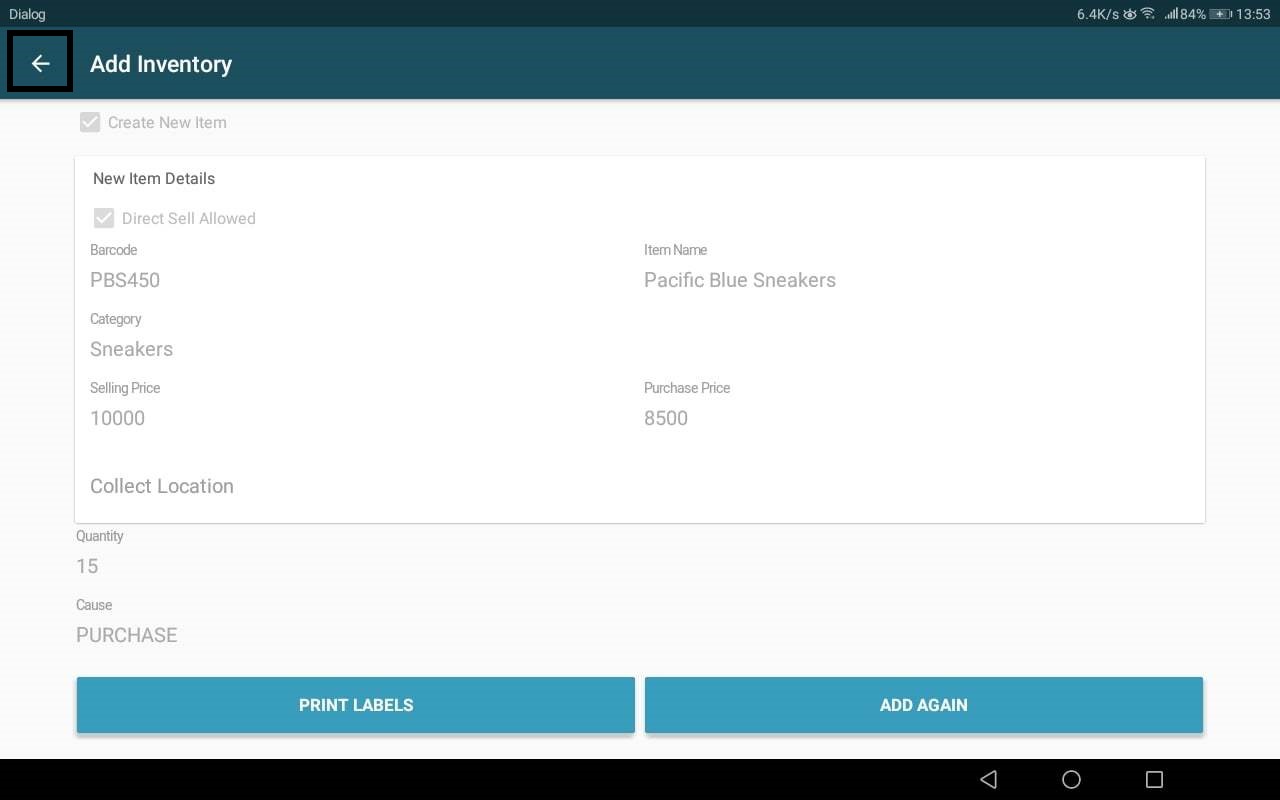 |
Print Labels
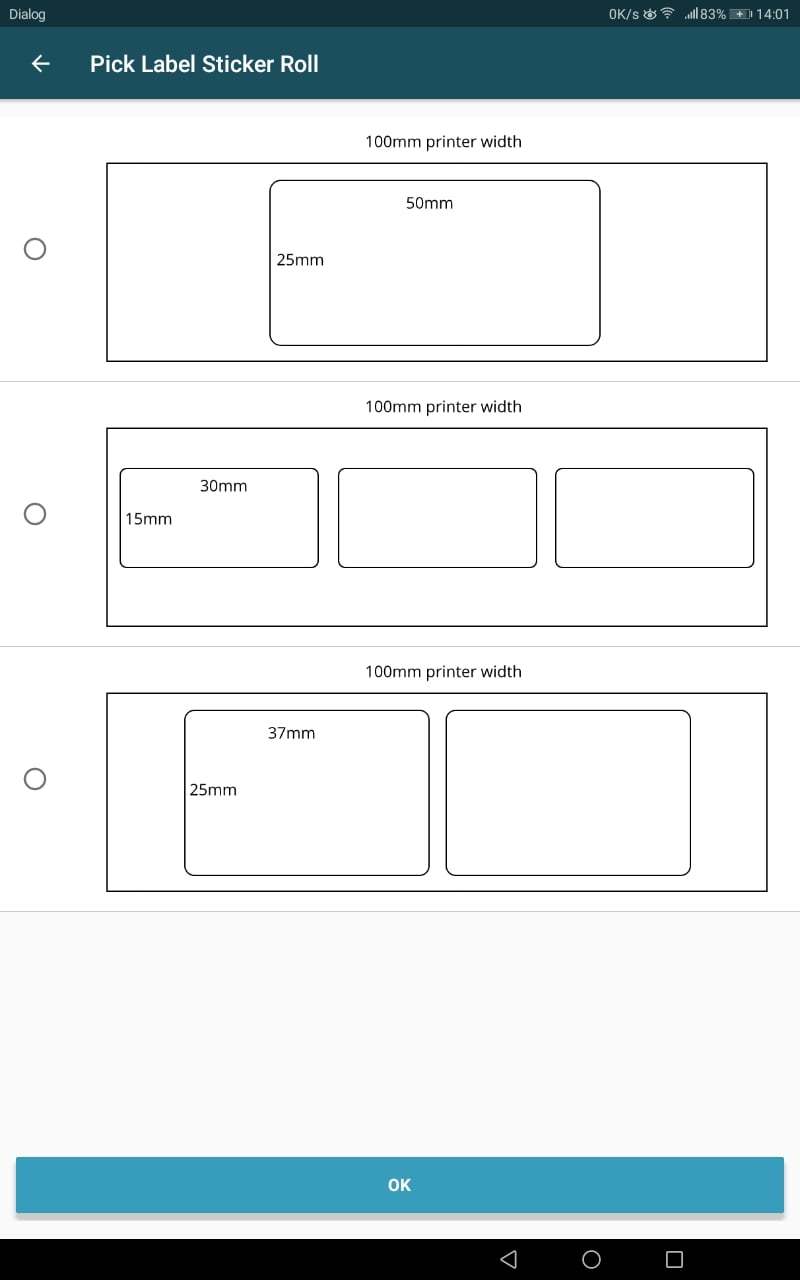
Print Barcode Labels for the entered stock. Following prerequisites are there for this action: * Label Printer and Label Roll configurations are done as discussed under, Master Data Setup -> Hardware Setup -> Connect Barcode Printers * Barcode Printer loaded with the configured type of Barcode Label Roll is connected to the POS Machine.
Once the “Print Labels” button is clicked the User will be prompted for the number of Labels to be printed. The popup is auto filled with the quantity just added in the previous step. In case the User wants to print a different quantity, that can be quantity can be specified. Barcode Labels will be printed as the popup window confirmation is given by clicking the OK button.
Barcode Print Confirmation Popup:

Barcode Label: