Setup Discounts
Manual discounts can be applied from POS terminal by the permitted users. But promotional discounts that need to be triggered automatically has to be setup in the system as described below.
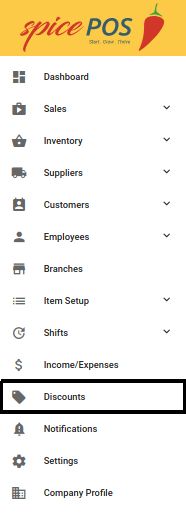
Discounts Screen
Back-Office -> Side Navigation Menu -> Master Data -> Discounts
| Locate discounts screen from side Nav | Discounts screen |
|---|---|
 | 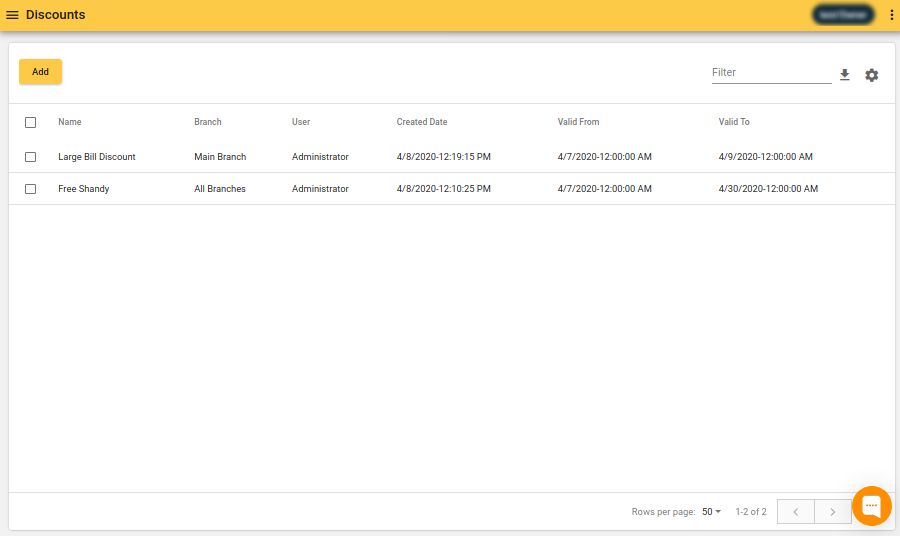 |
Add new Discount
Discounts Screen -> Click "Add" button -> Fill in details -> Save
Four sections in setting up a discount is described below. There is a quick setup option for a buy 1 get 1 free offer. That quick setup is described seperately.
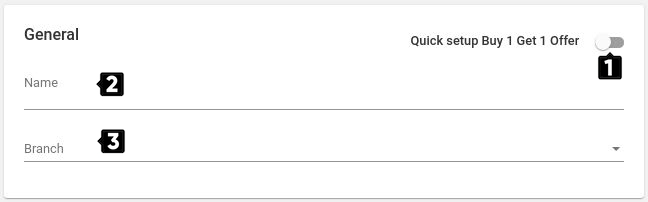
General Section
| Number | Name | Description |
|---|---|---|
| 1 | Quick setup - buy 1 get 1 offer | This switch changes the form so that a buy 1 get 1 offer can be setup very quickely. When the switch is off, the form shows all the fields for setting up a promotion in general (even a buy 1 get 1 offer can be setup folloing this generic form template). |
| 2 | Name | Name of the promotion as appear in printed bill and back-office reports. |
| 3 | Branch | Branch for which the promotion is applicable. Can select "all branches" also. |
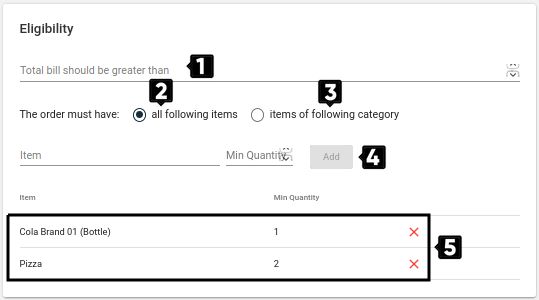
Eligibility Section
| Number | Name | Description |
|---|---|---|
| 1 | Option 1 -bill value limit | If an amount is enetred here, the discount would be applied only to bills with total exceeding the specified amount. This field is optional, but either this field, option 2 or option 3 should be specified. This option 1 can be combined with option 2 or option 3. |
| 2 | Option 2 - all items selected | Can be used to select a list of items. Discount is applied when all the specified items are chosen for a particular bill. |
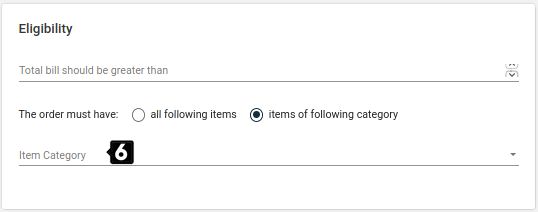
| 3 | Option 3 - items of a category | Can be used to select a category. Discount is applied when any item of the specified Category is selected for a bill. |
| 4 | Select items for option 2 | Can be used to select items when option 2 is selected. |
| 5 | Selected items list for option 2 | When option 2 is selected, the list of selected items are displayed here. |
| 6 | Select category for option 3 | Select the category for option 3. |
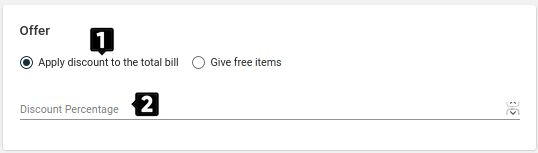
Offer Section
| Number | Name | Description |
|---|---|---|
| 1 | Option 1 | The offer is applying a discount at bill level for eligible bills. |
| 2 | Discount percentage for option 1 | Percentage discount applied when option 1 is selected. |
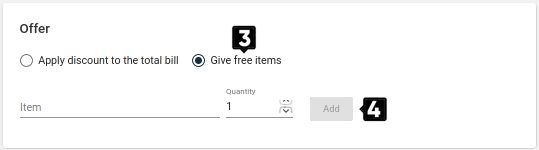
| 3 | Option 3 | Discount is gving the specified set of items as a free issue (gift). |
| 4 | Free items list for option 3 | Free items given when option3 is selected has to be specified here. |
Validity Period Section
| Number | Name | Description |
|---|---|---|
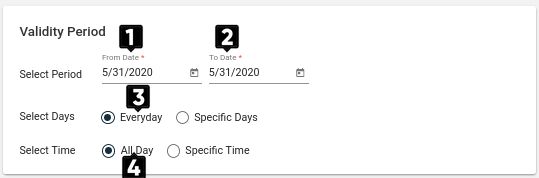
| 1 | Start date | Start date of this discount validity period. |
| 2 | End date | End date of the discount validity period. |
| 3 | Selected days - Every day | Discount will be applicable for each an every day between the start date to end date |
| 4 | Selected time - All day | Discount will be applicable throughout the whole day for each valid day for the discount. |
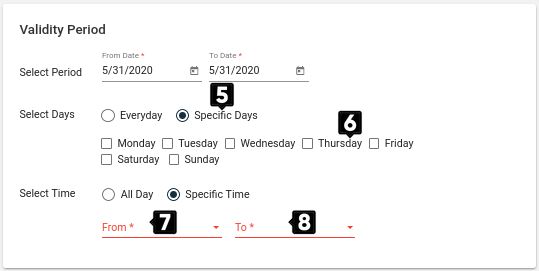
| 5 | Selected days - Chosen | Select days of the week for which the discount should be applued for during the discount Valid days. |
| 6 | Day selection | Day selection for above case. |
| 7 | Selected time - Chosen | Selected time of the day for which the discount should be applied for during the valid days. |
| 8 | Time selection | Time selection for the above case. |
Quick setup - buy 1 get 1 free offer
| Number | Name | Description |
|---|---|---|
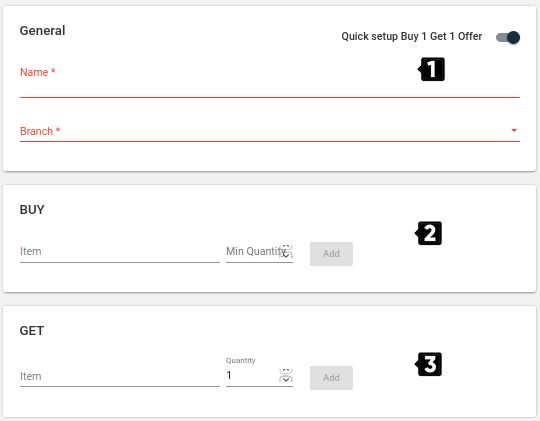
| 1 | Quick setup toggle is on | When this toggle switch is on it's easy to setup a buy 1 get 1 offer. |
| 2 | Buy items list | List of items that should be bought in order for the discount to apply. |
| 3 | Get items list. | List of items that are offered for free when the discount is applied. |
Edit discount
Discounts Screen -> Click on Discount -> Edit details -> Save
All fields including discount name can be edited.
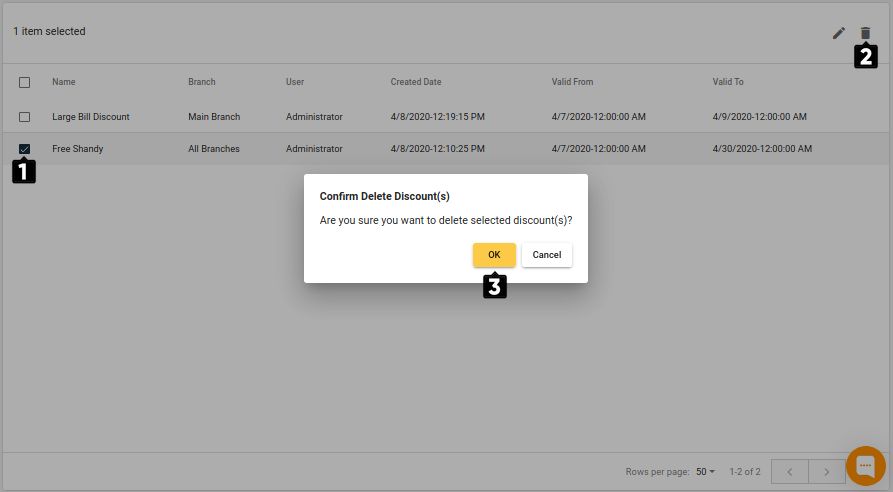
Delete discount
Discounts Screen -> Select Discount -> Click Delete icon -> Save