Roles & Permissions Setup
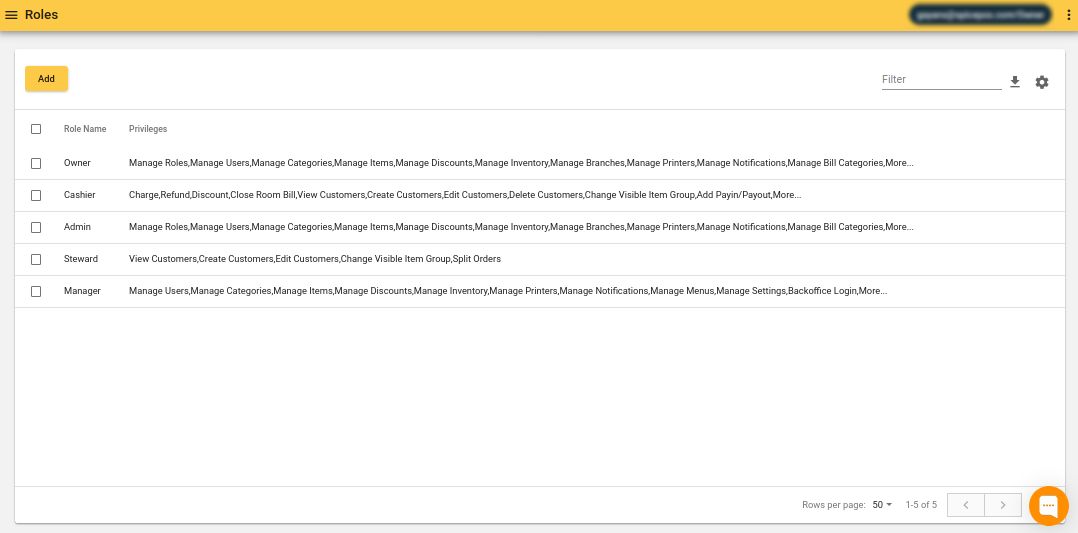
User roles screen can be located at,
Back-Office Side Navigation Menu -> Master Data -> User Roles
| Locating user roles screen | User roles screen |
|---|---|
 |  |
Adding a User Role
User Roles Screen -> Click Add button -> Fill in Details -> Save
Entering a unique name for the user role is mandatory. Ex: manager, cashier

Permissions are organized into three groups.
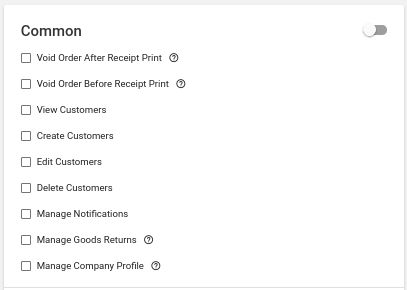
- Common: Permissions applicable for POS app as well as the back-office
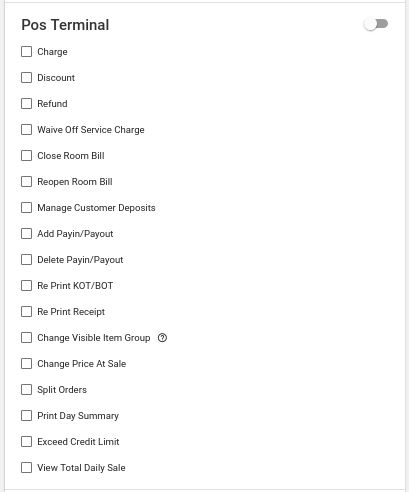
- POS terminal: Permissions only aplicable to POS app
- Back-Office: Permissions only applicable to back-office
Common section:
POS Terminal section:
Back-Office section:
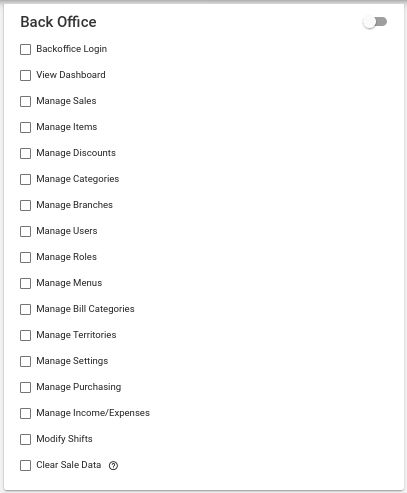
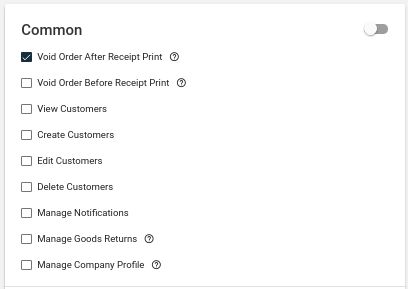
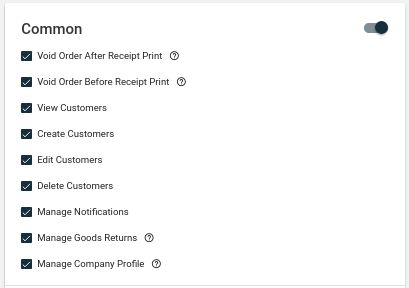
Permissions required for the user role can be marked in the checkboxes in front of each permission. The toggle section in the top right hand side corner of a section can be used to select all the permissions in that section in one click.
| Selecting one permission | Selecting all permissions in a section |
|---|---|
 |  |
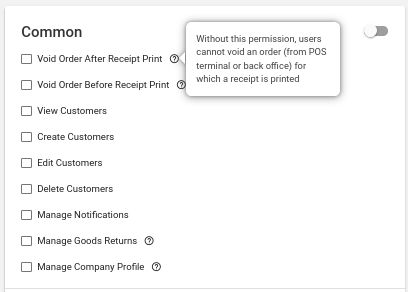
A description of each permission can be checked by clicking on the (?) icon near each permission.
Editing a User Role
User Roles Screen -> Click on the required User Role in list -> Select/Deselect required Permissions -> Save
User role name can’t be changed once added. If there is a need to change user role name, then that user role should be deleted and added again.
Deleting a User Role
User Roles Screen -> Select User Role -> Click Delete icon -> Confirm Delete
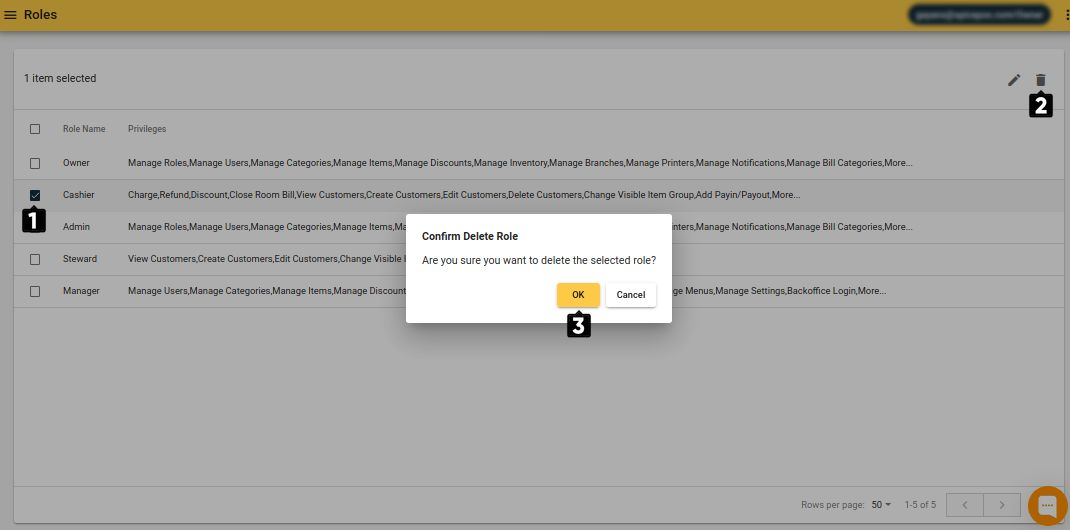
Upon deleting a user role it will be removed from the user roles screen and will be detached from all the users to which that user Role was previously attached to.
Special Notes
Changes done on a user role will apply to POS app only after a restart. So, if the changes are urgent, all POS apps should be immediately restarted.
