Setup Categories through Back-Office
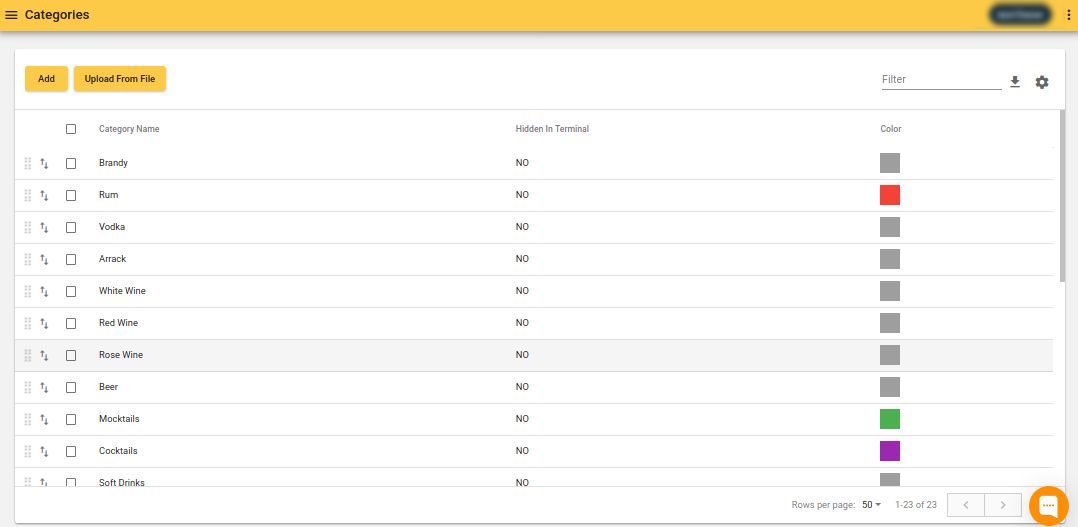
Categories Screen
Back-Office -> Side Navigation Menu -> Master Data -> Categories
| Locate categories screen from side nav | Categories screen |
|---|---|
 |  |
Add a New Category
Categories Screen -> Add -> Fill in details -> Confirm
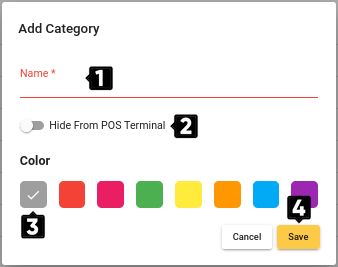
| Number | Field name | Description |
|---|---|---|
| 1 | Category name | Name of the new category that would be displayed in POS and back-office |
| 2 | Menu | - |
| 3 | Sort order | Categories are ordered in POS order taking screen according to this order (from small sort order to bigger) |
| 4 | Hide in POS terminal | If checked this category won't be shown in POS order taking screen, but will be shown in all Back-office reports. |
| 5 | Color | Categories are displayed in this color in POS order taking screen. |
| 6 | Save | Save changes to complete adding new category. |
Edit a Category
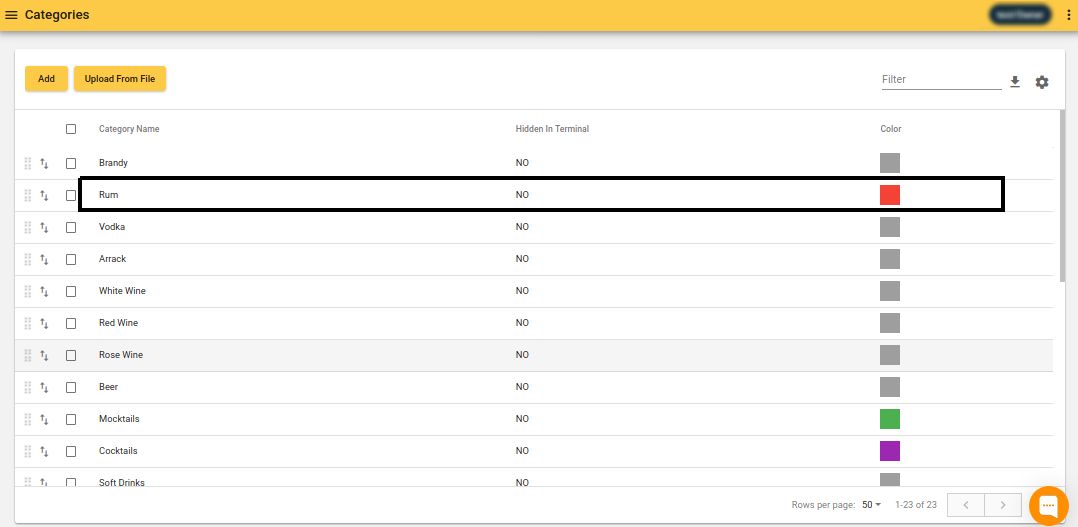
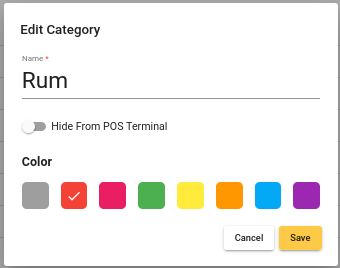
Categories Screen -> Click on Category -> Edit Details -> Confirm
Click on category:
Edit details & confirm:
Delete a Category(/ies)
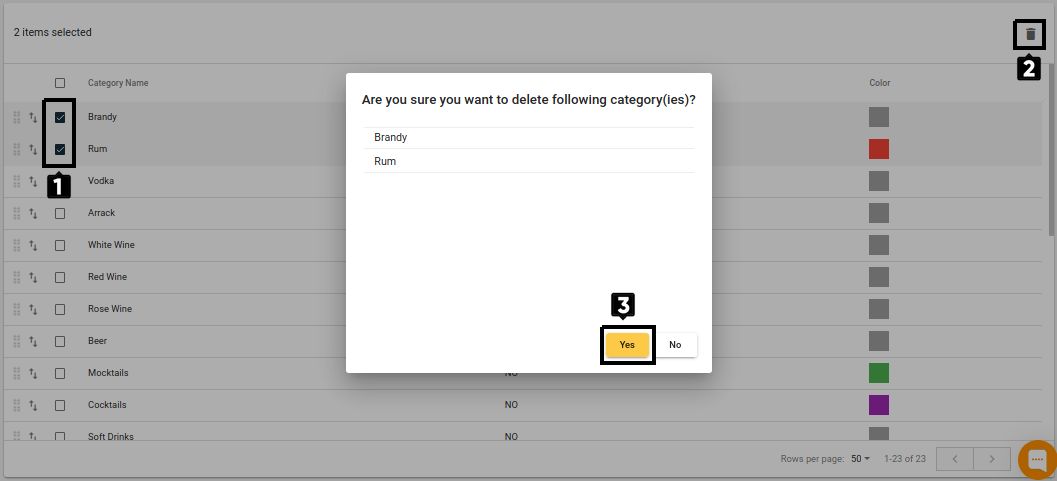
Categories Screen -> Select Category / Categories -> Delete -> Confirm
Select categories, click delete icon and confirm delete:
Observe success message:
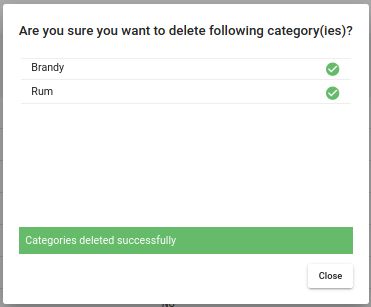
When a category is deleted, it will be detached automatically from all the items where it has been previously attached. Those items will now have empty value for category field. But past sales and inventory reports will still show the deleted category.
