Setup Items through App
Add a New Item
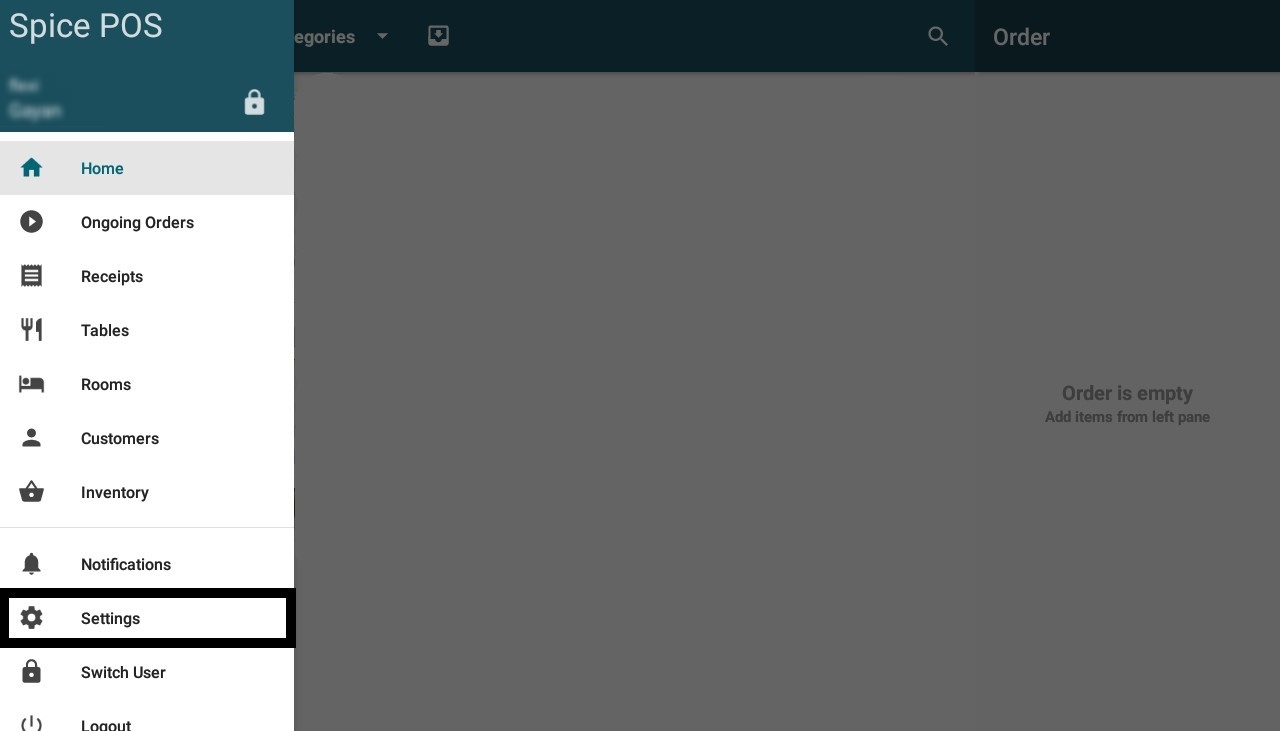
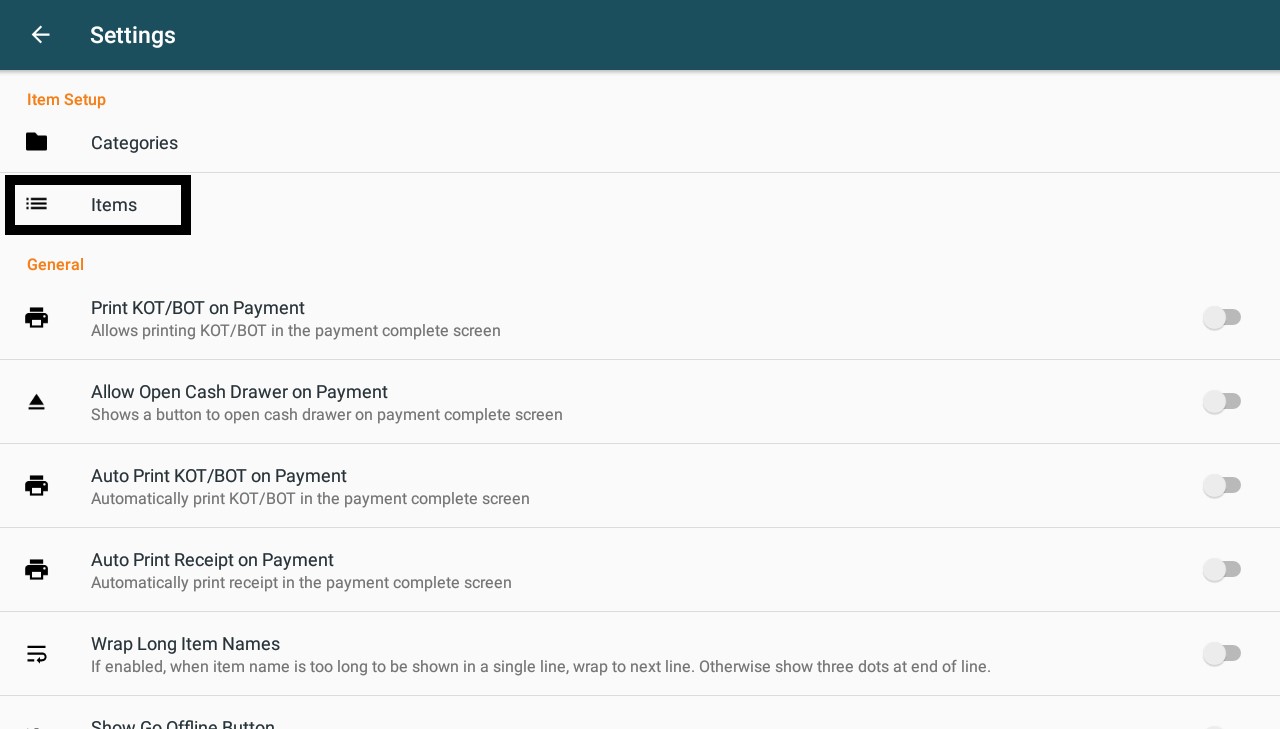
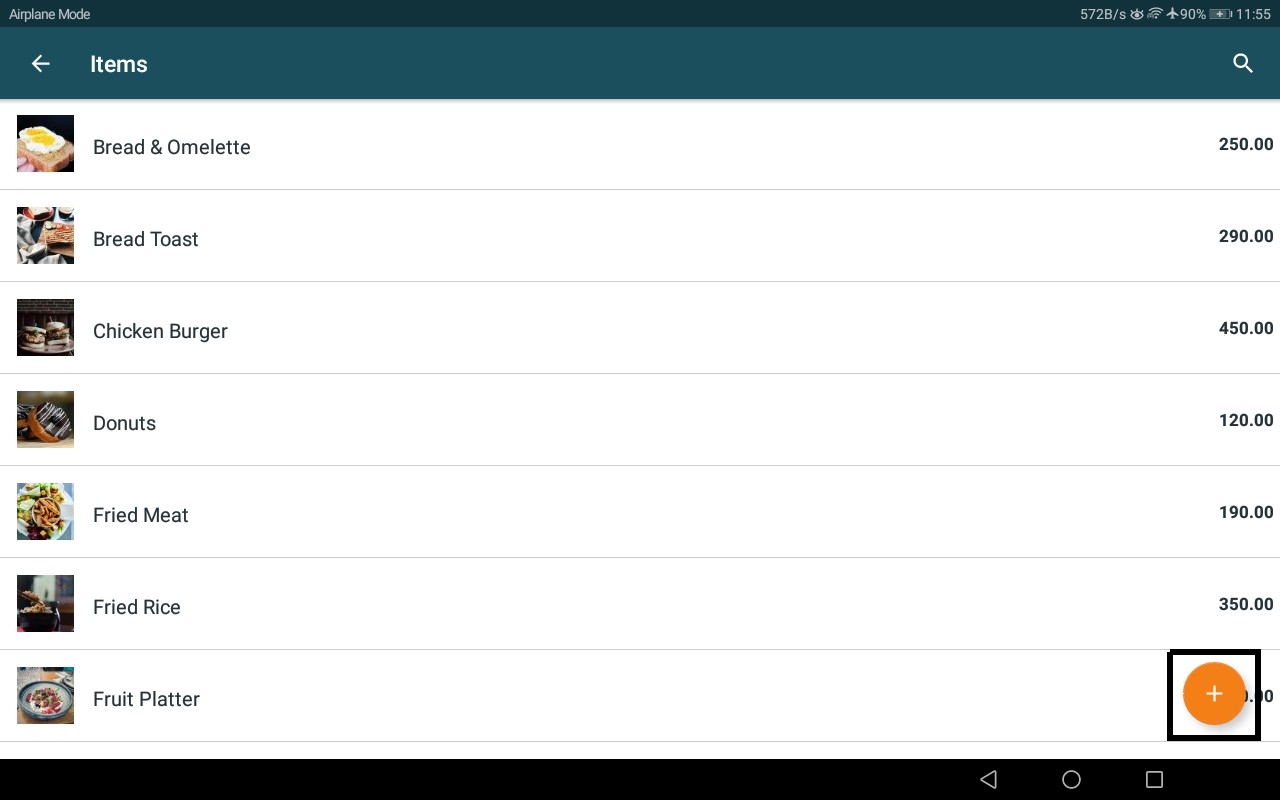
Side Navigation Menu -> Settings -> Items -> Click (+) Button -> Fill in Details -> Confirm Action
Settings in side nav:
Items from master data:
(+) Button:
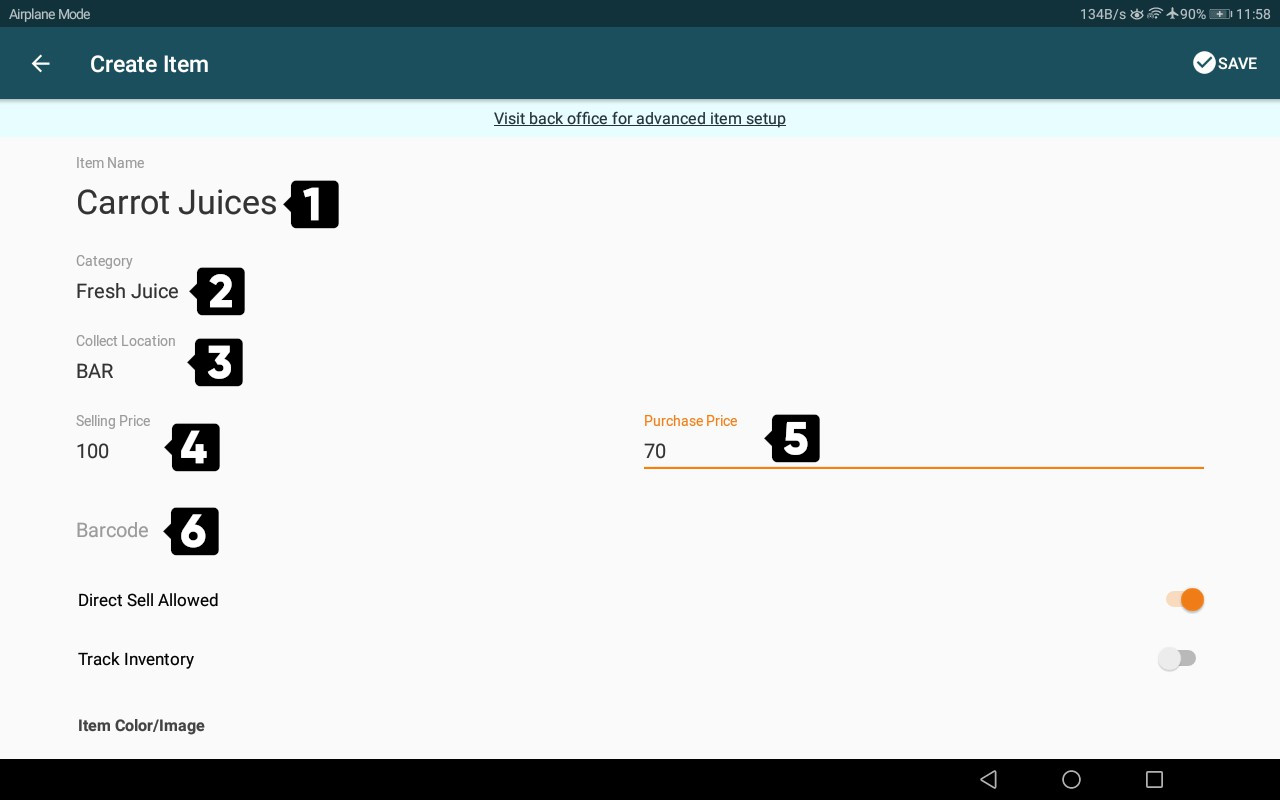
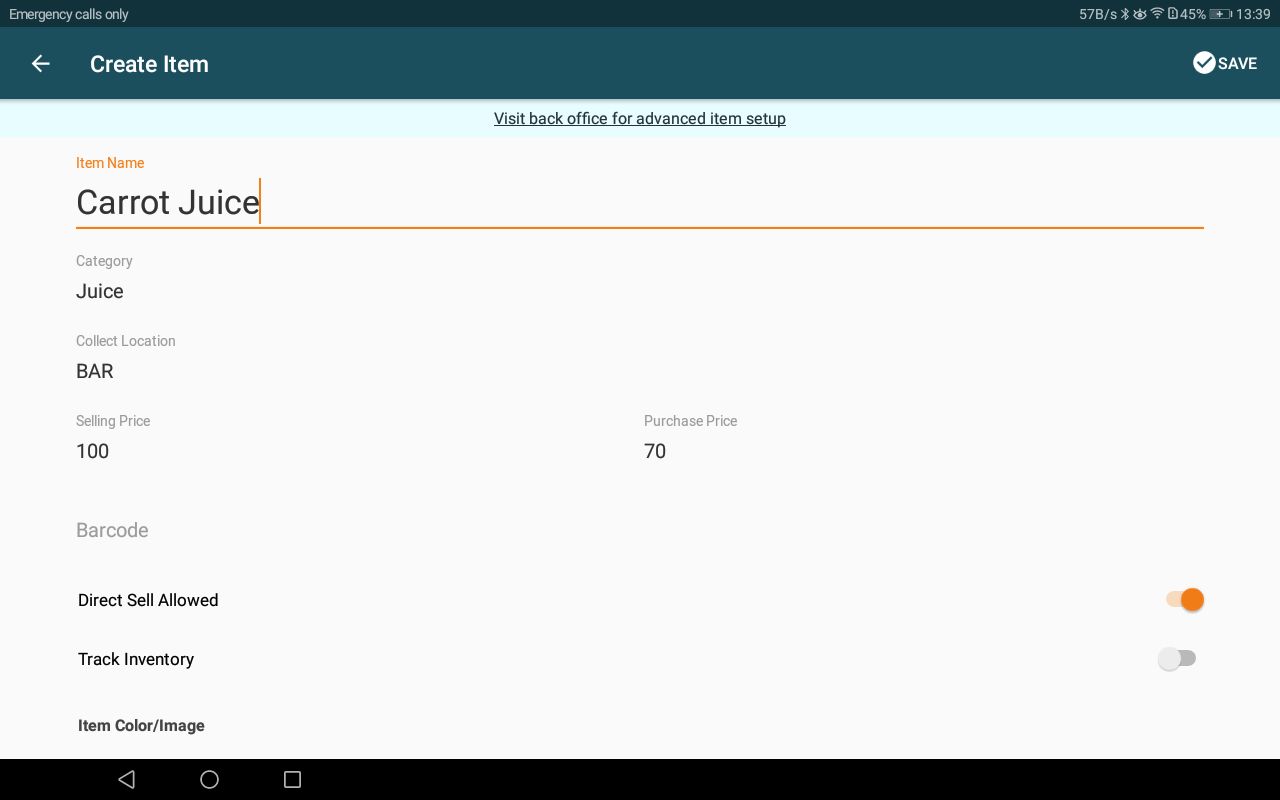
Item add screen - Part 01:
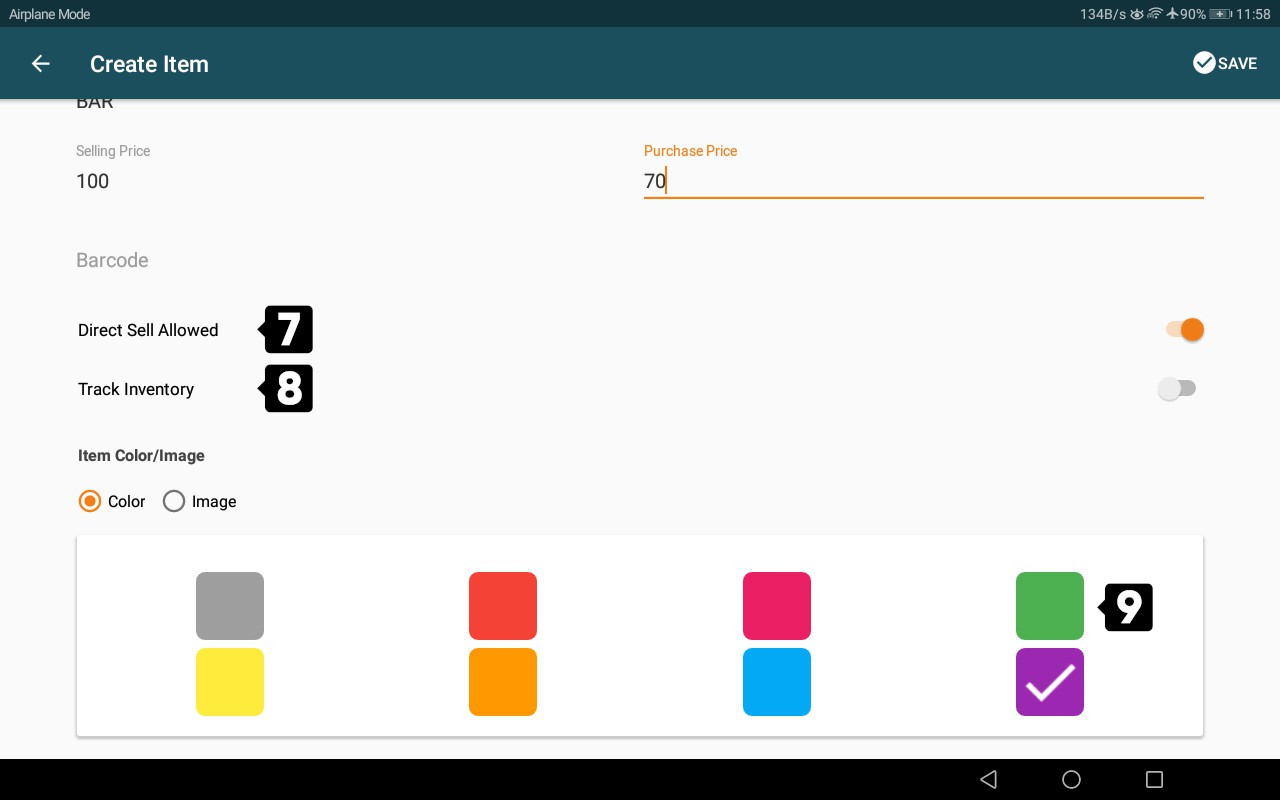
Item add screen - Part 02:
| Number | Field name | Description |
|---|---|---|
| 1 | Item Name | Name of the item which appears on POS screen, inventory, all reports, printed order chits and and printed bills. |
| 2 | Category | Category to which the item belongs to. |
| 3 | Collect Location | Only applicable to restaurants. For other businesses this field can be kept blank. Allowed Values: kitchen, bar (multiple kitchen/bar scenarios described under advanced concepts). |
| 4 | Selling Price | Listed selling price |
| 5 | Purchase Price | Cost price. For produced items not applicable. If the actual purchase price of inventory is different from this, it can be changed once adding GRN. |
| 6 | Barcode | Only applicable for items with barcodes. This is the value in the barcode label read from barcode scanner. |
| 7 | Direct sell allowed | This item will appear in the POS app sales screen and it can be sold. |
| 8 | Track inventory | Specifies whether the stock of this item should be tracked in the system. |
| 9 | Color/image | Decides how the item is displayed in the POS sales screen. |
| 10 | Save button | Once the details from 1 to 9 are filled, use this button for complete adding a new item. |
Examples items for usage of “Direct Sell Allowed” & “Track Inventory”:
| Example item | Direct sell Allowed | Track Inventory |
|---|---|---|
| Black pepper chicken curry | YES | NO |
| Chicken meat | NO | YES |
| Mineral water bottle | YES | YES |
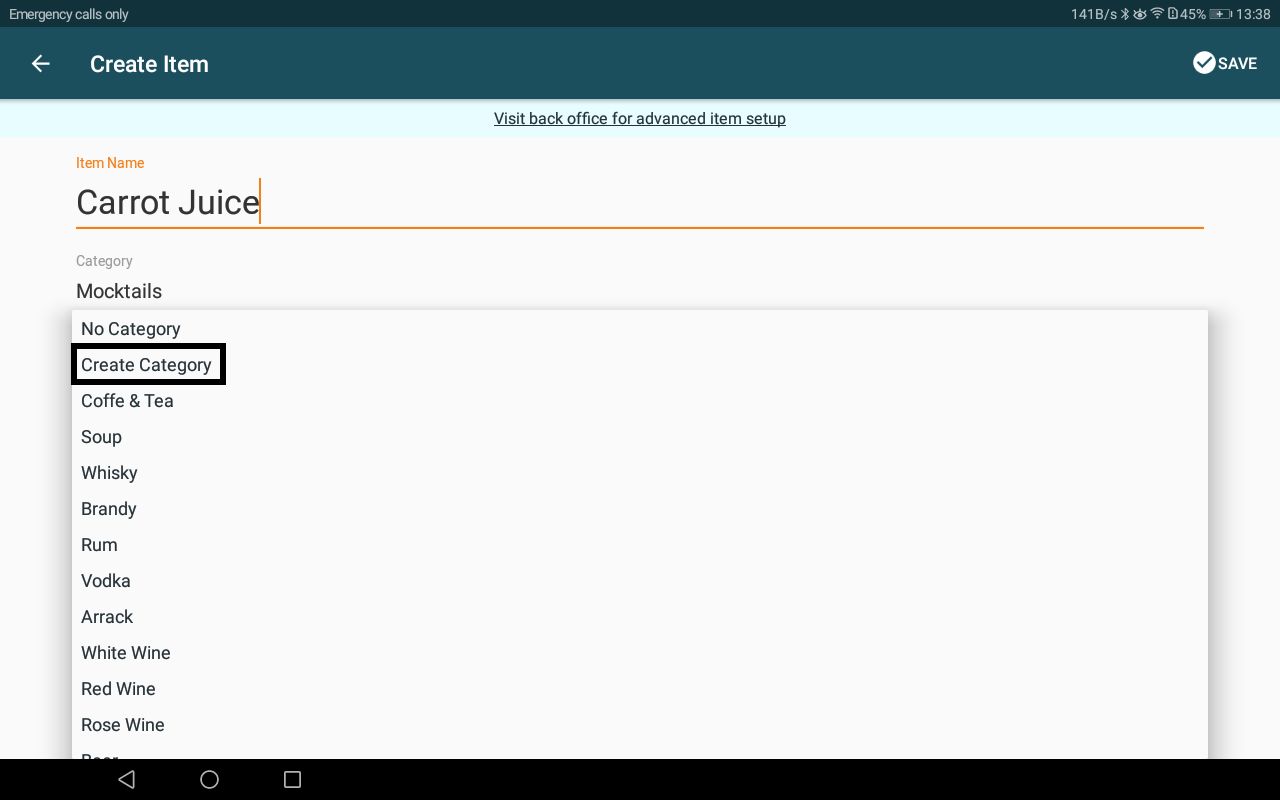
Create a New Category While in Item Add Screen
Select "Create Category" from Category Dropdown -> Fill in Details -> Confirm
Select create category:
Fill in details & confirm:
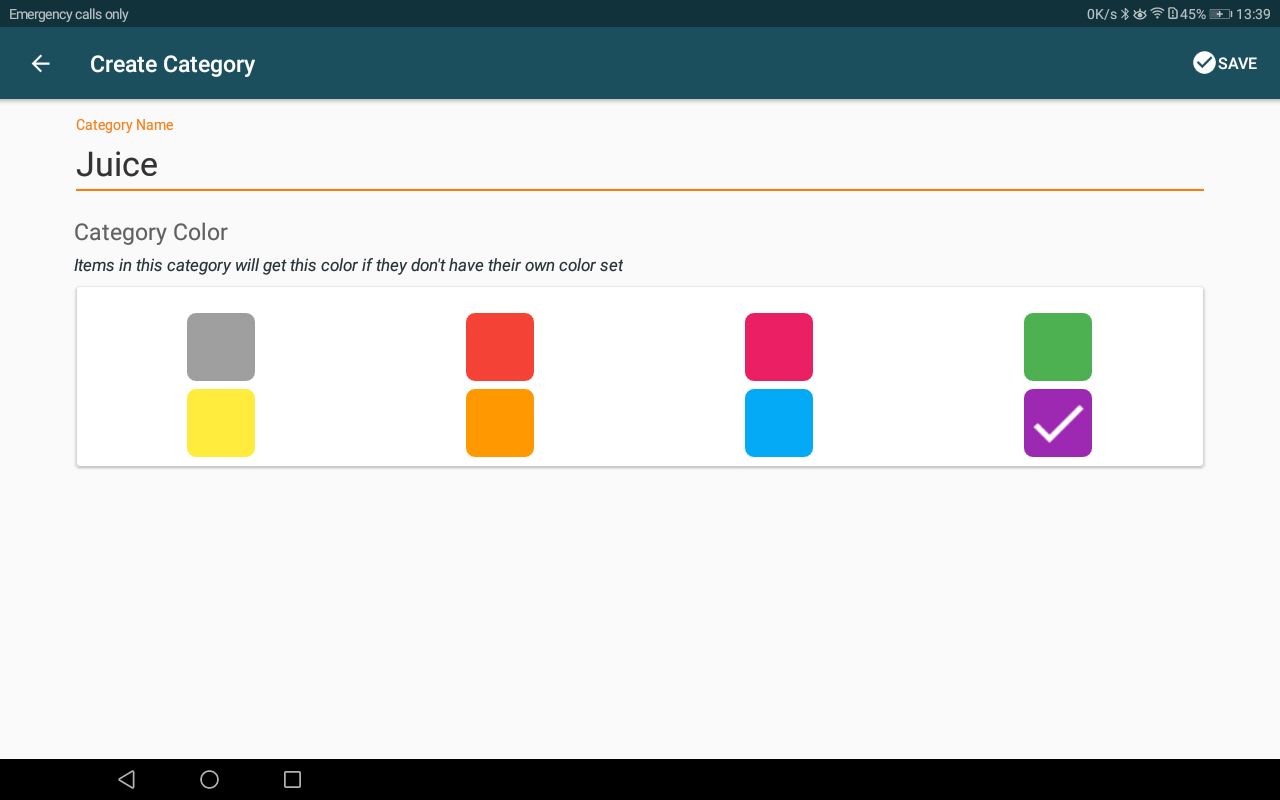
New category auto selected:
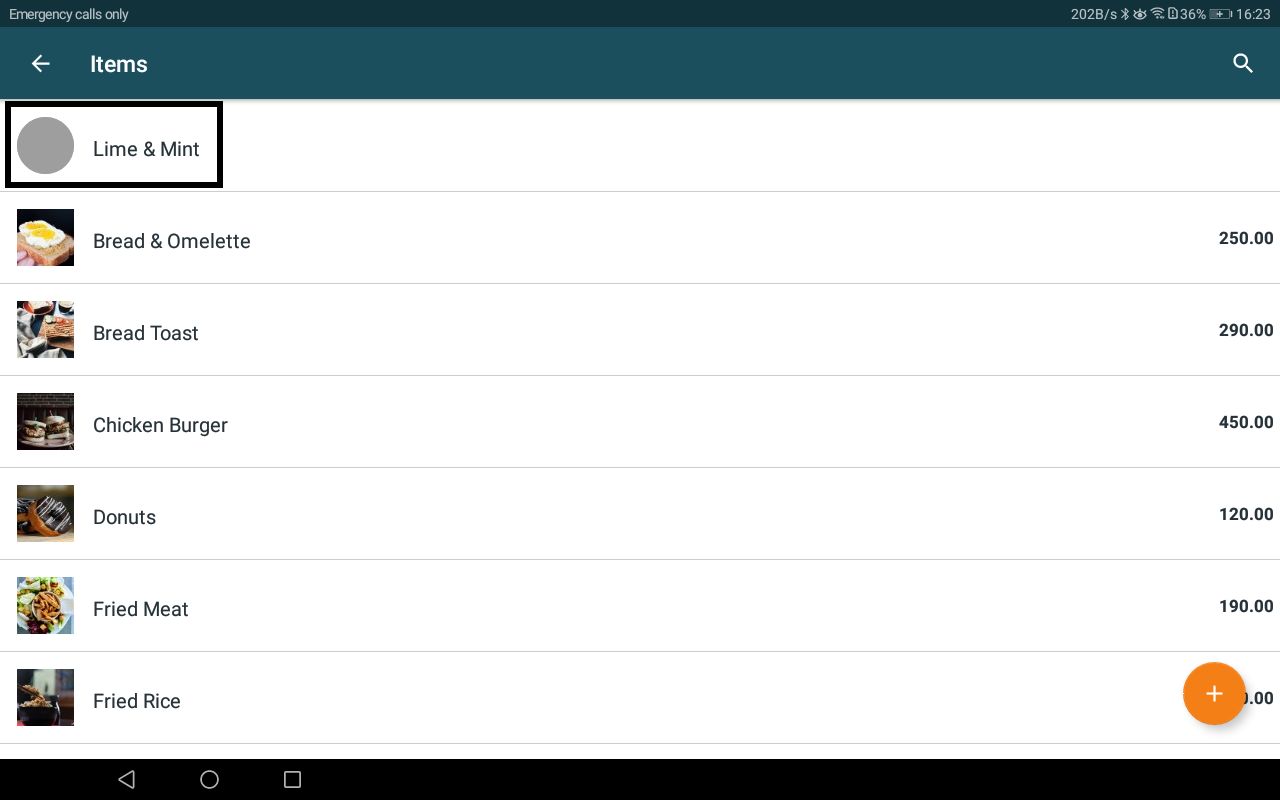
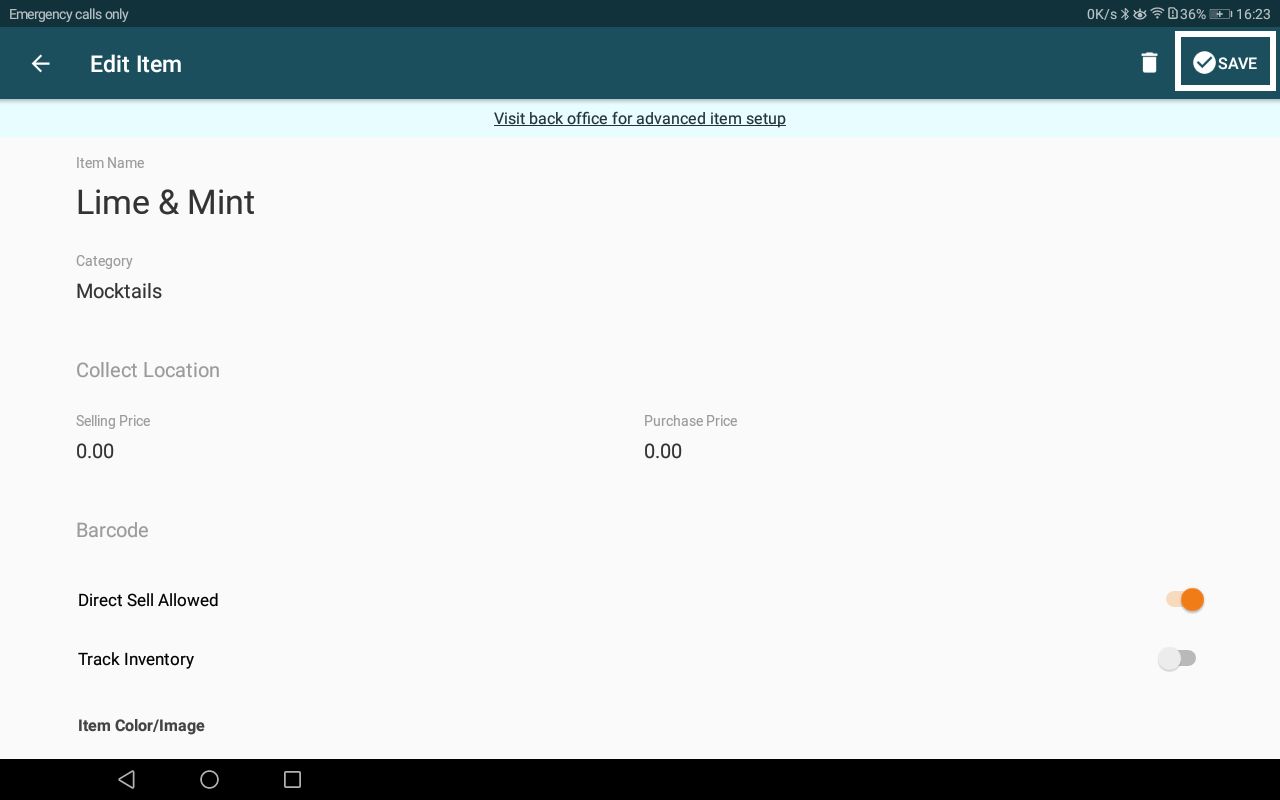
Edit an Item
Side Navigation Menu -> Settings -> Items -> Select Item -> Edit Details -> Save
Select items:
Edit details and save:
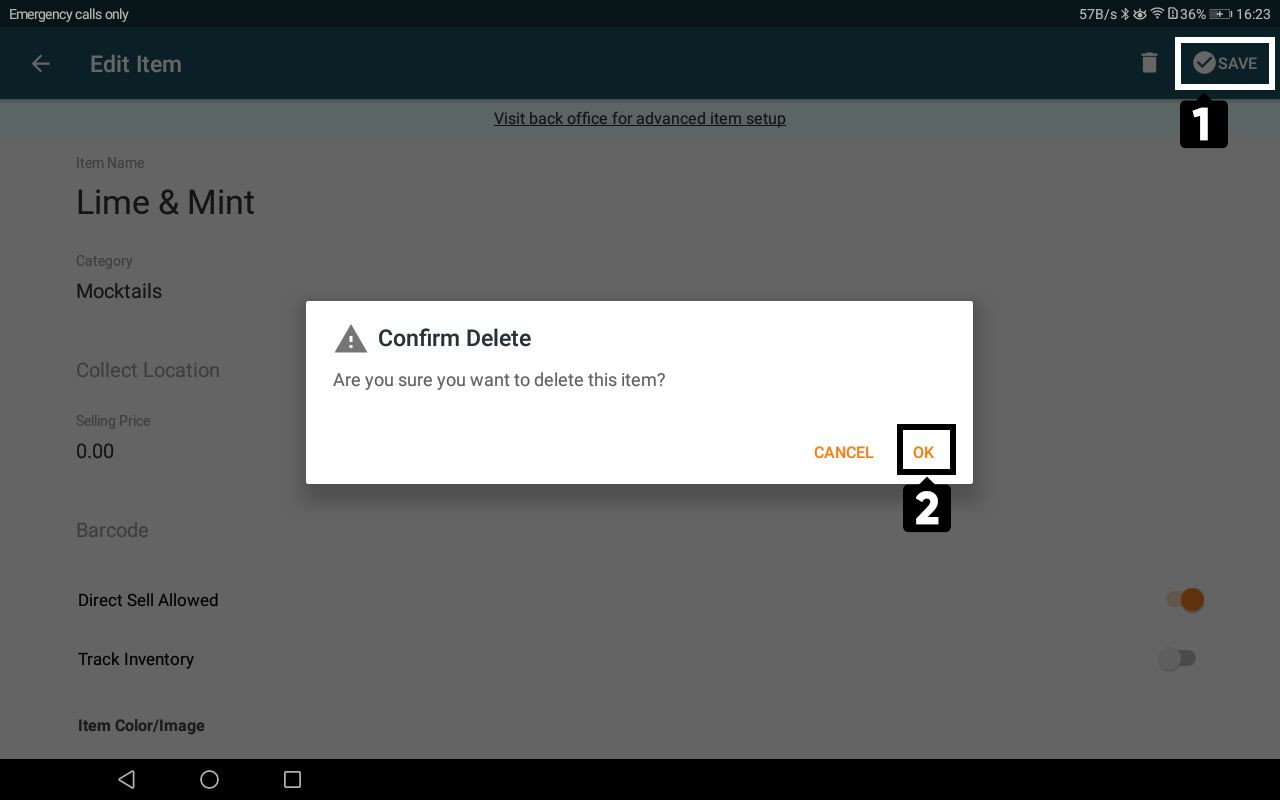
Delete an Item
Side Navigation Menu -> Settings -> Items -> Select Item -> Delete -> Confirm
Select item:
Delete & confirm: