Locating Items in POS App
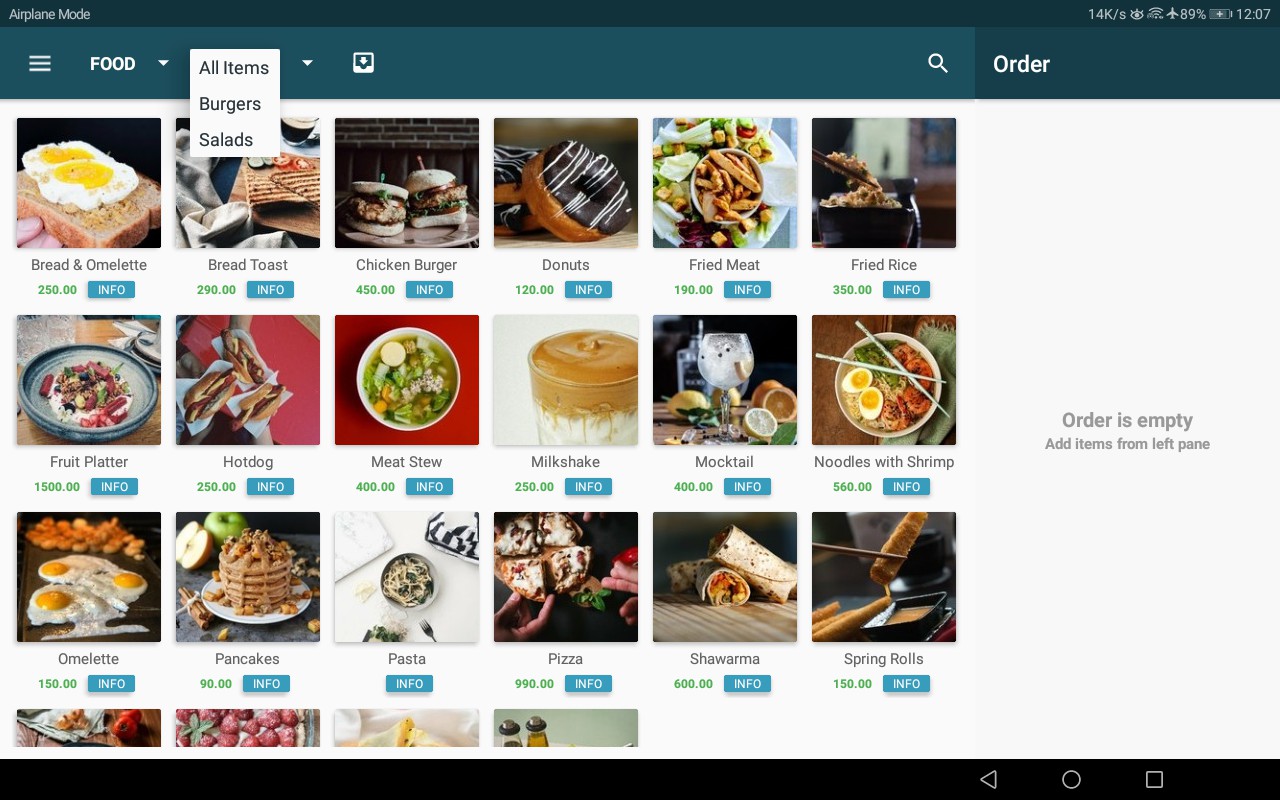
Switching Item Group
Associated Permission: Change Visible Item Group
SpicePOS allows the user to handle multiple item groups. Categories provide another level of item grouping. Once the user selects an item group from drop down menu, he han brows items and their categories from other controls available in the home screen.
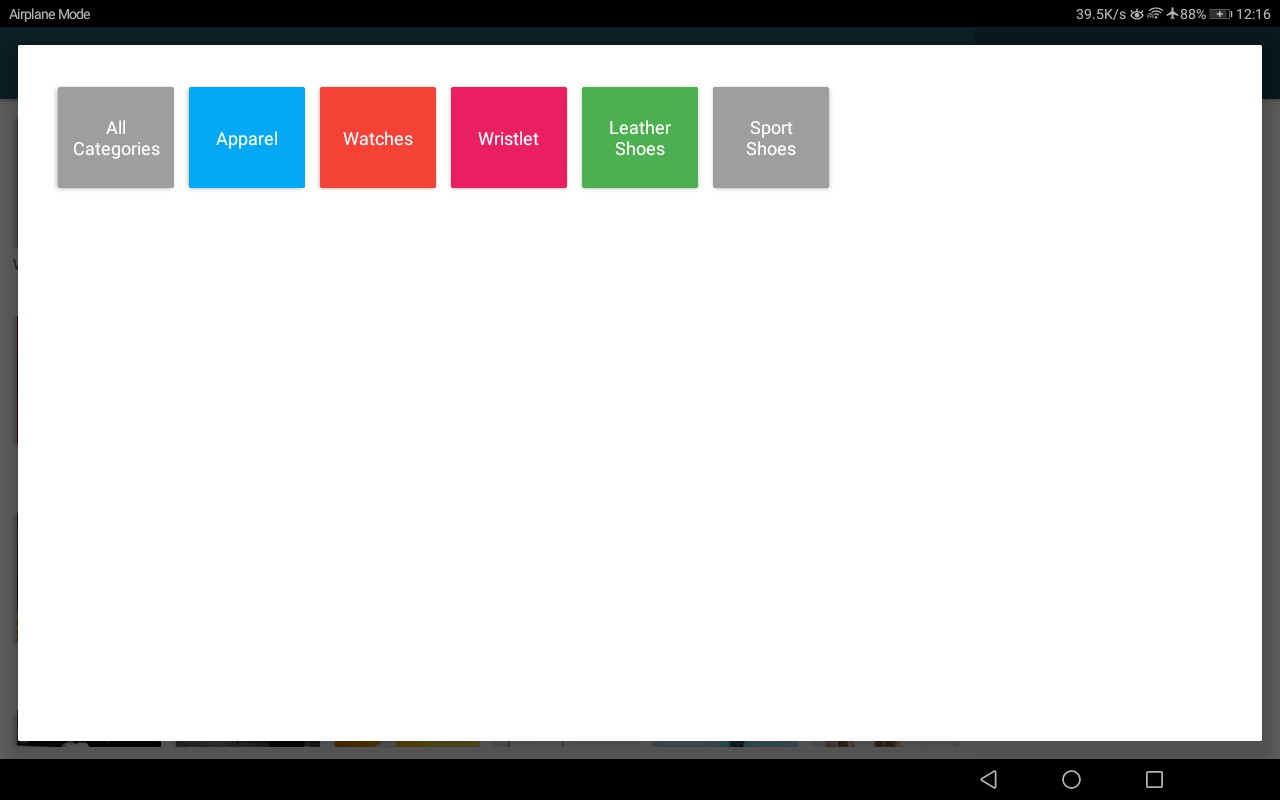
Switching Category
SpicePOS allows the user to handle multiple categories of the same menu. Each menu can have its own set of categories according to the item to further sort it conveniently. For example, a multi cuisine restaurant can have multiple menus like Sri Lankan, Indian, Chinese and Thai. The Sri Lankan menu can consist of items which can be categorized as sandwich, wraps, waffle, dessert, chicken etc. So like below shows with a click the user can sort the menu first and further sort it according to the category and get the order hassle free.
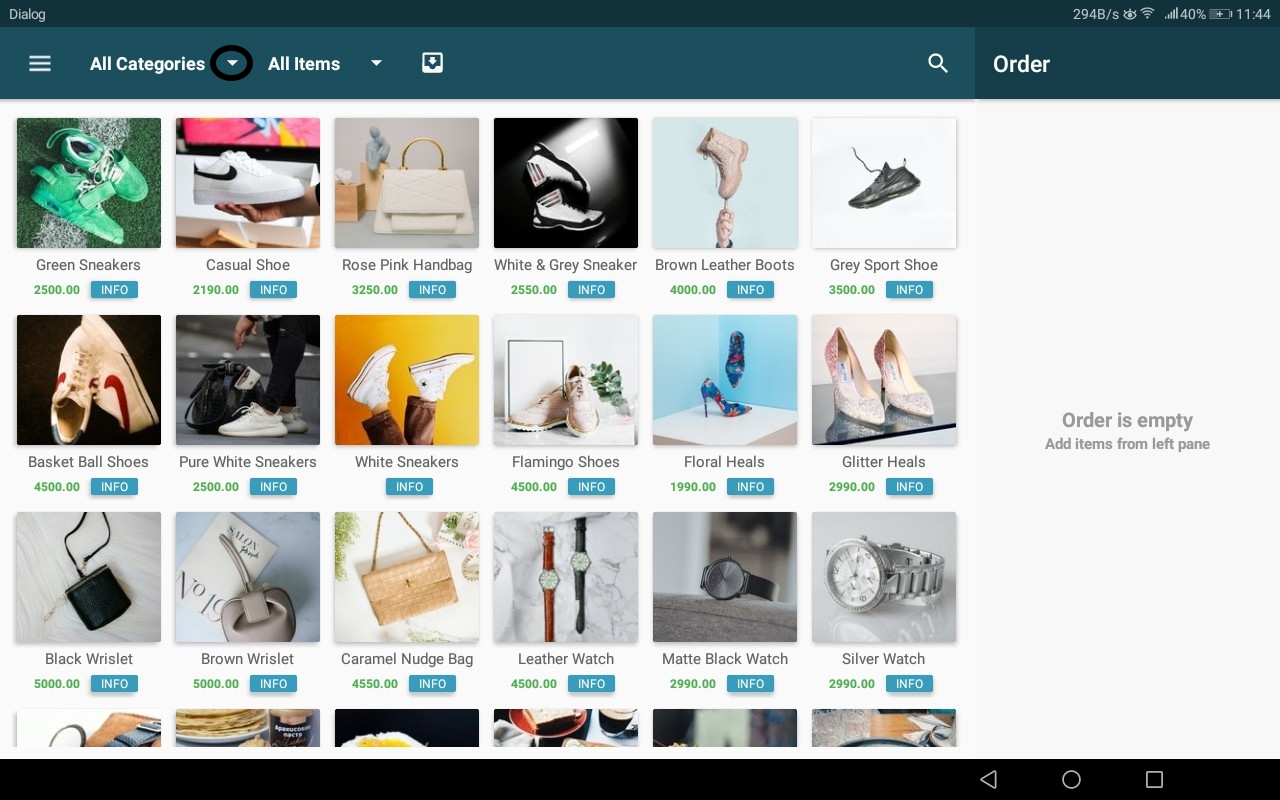
Once clicking the all categories. A new tab will pop up with all the categories available for the given menu. By clicking the all categories we can view all the items available for the menu and others can be used to view the specific items available in the category.
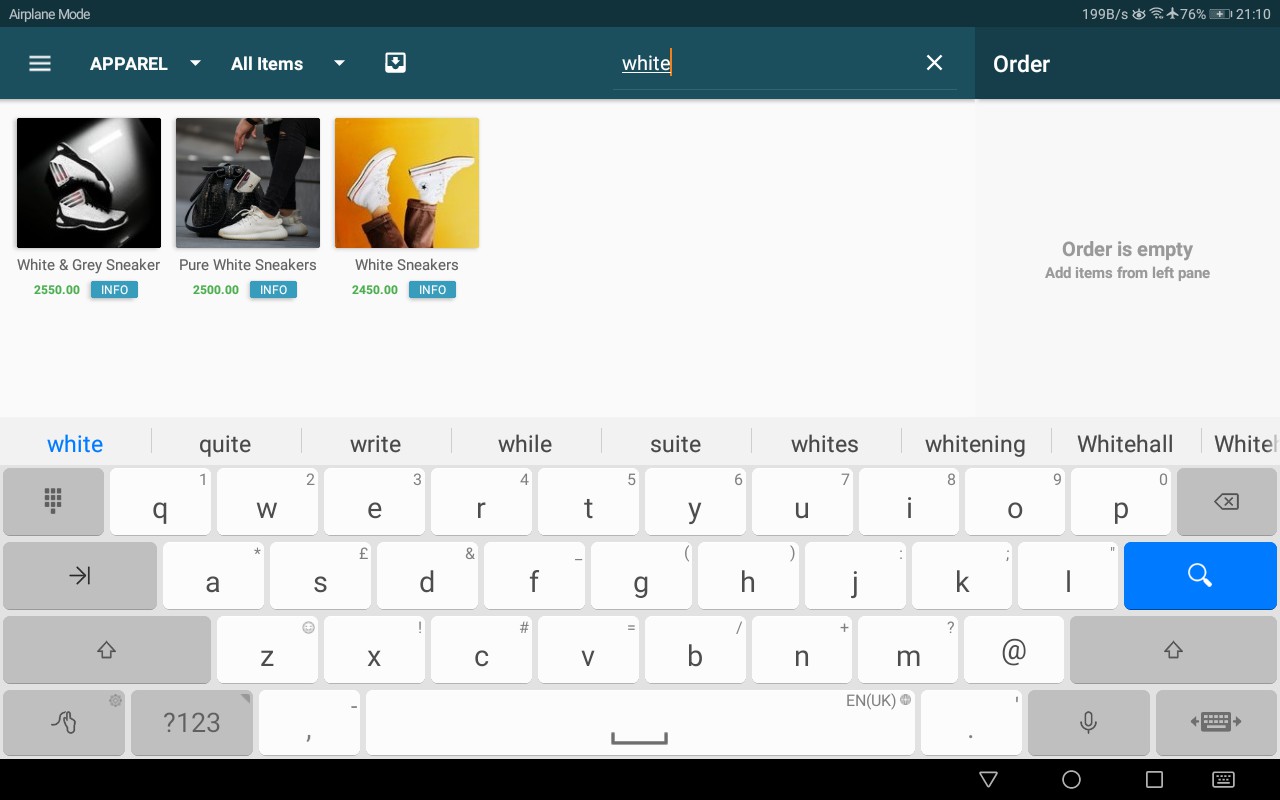
Searching an Item
If the user has a number of items and if the user struggles to identify an item, the user can simply use the search bar on the top right of the application. The user can search an item by its name or the code number and it can be used to place the order. In the below picture the user has searched for fish, so that the items having fish in their name are shown on the screen.