Inventory File Upload
When a large number of Items need to be added to the inventory, file upload is the best possible option.
Ex: When feeding the initial stock
Download Sample File & Fill
Downloading sample file:
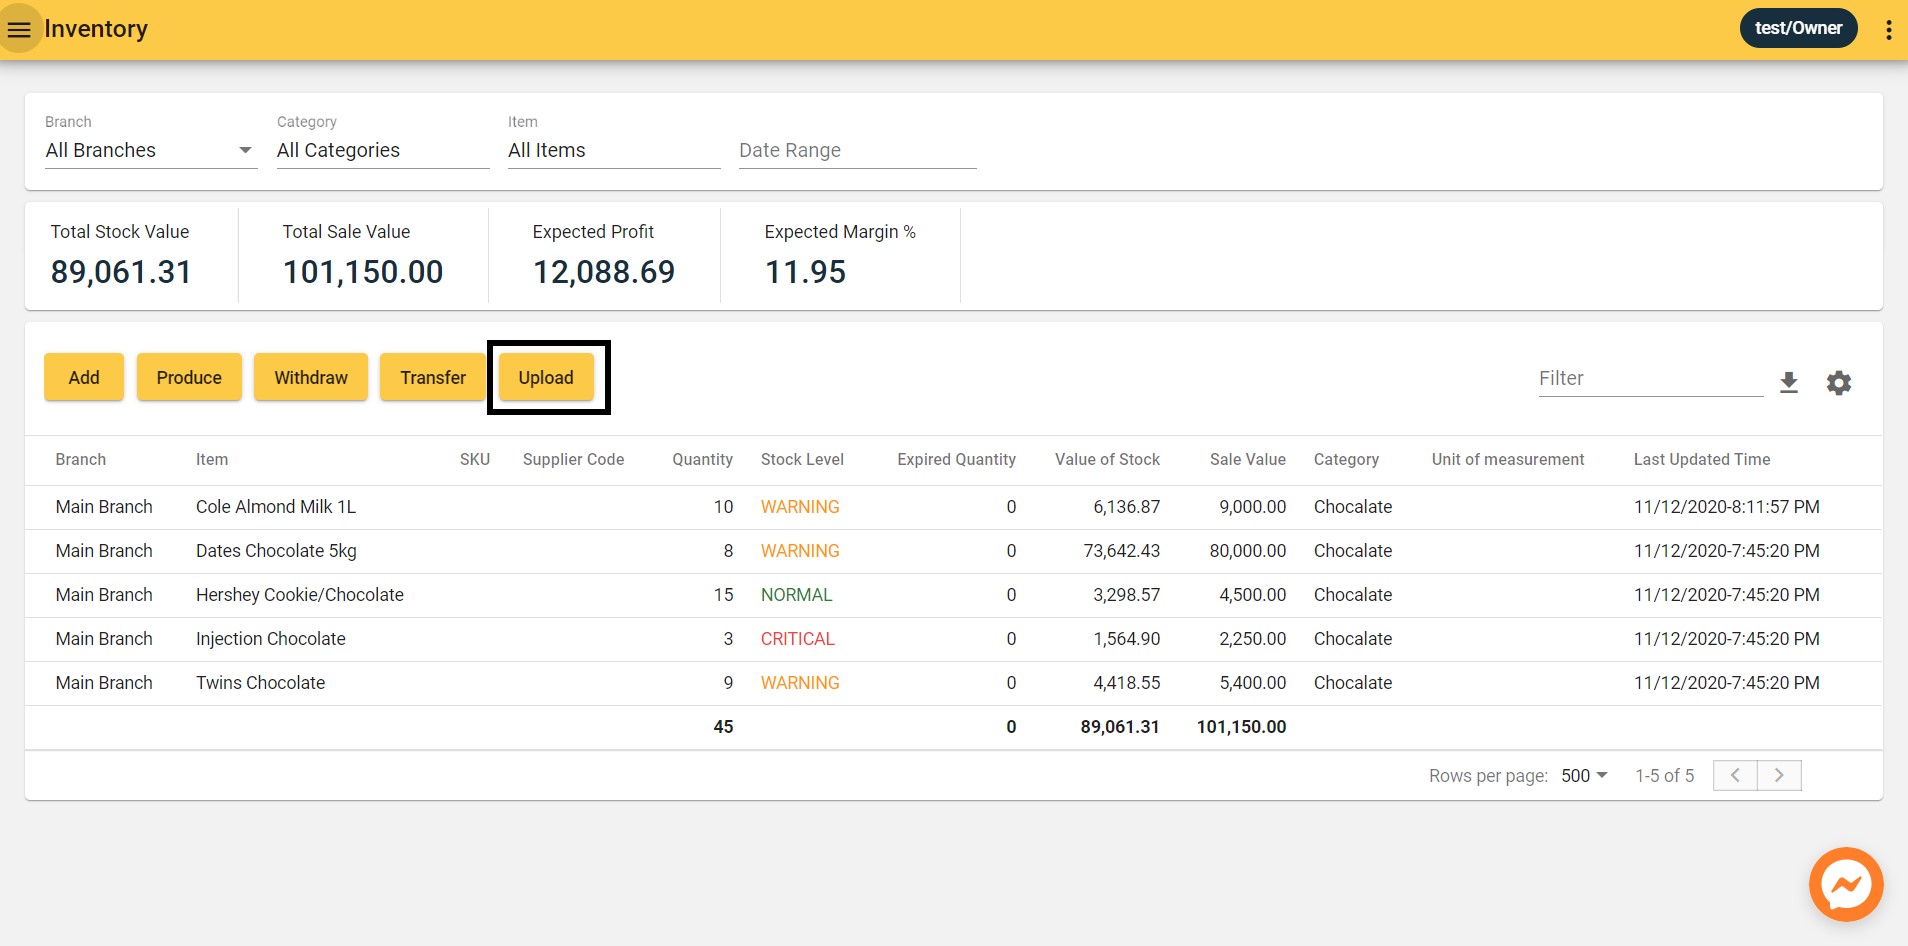
Back-Office -> Inventory Screen -> Upload From File -> Download Sample File -> Fill in details -> Upload File -> Confirm
Note: Only stock additions can be done through a file upload.
"Upload From File" button in Inventory Screen:
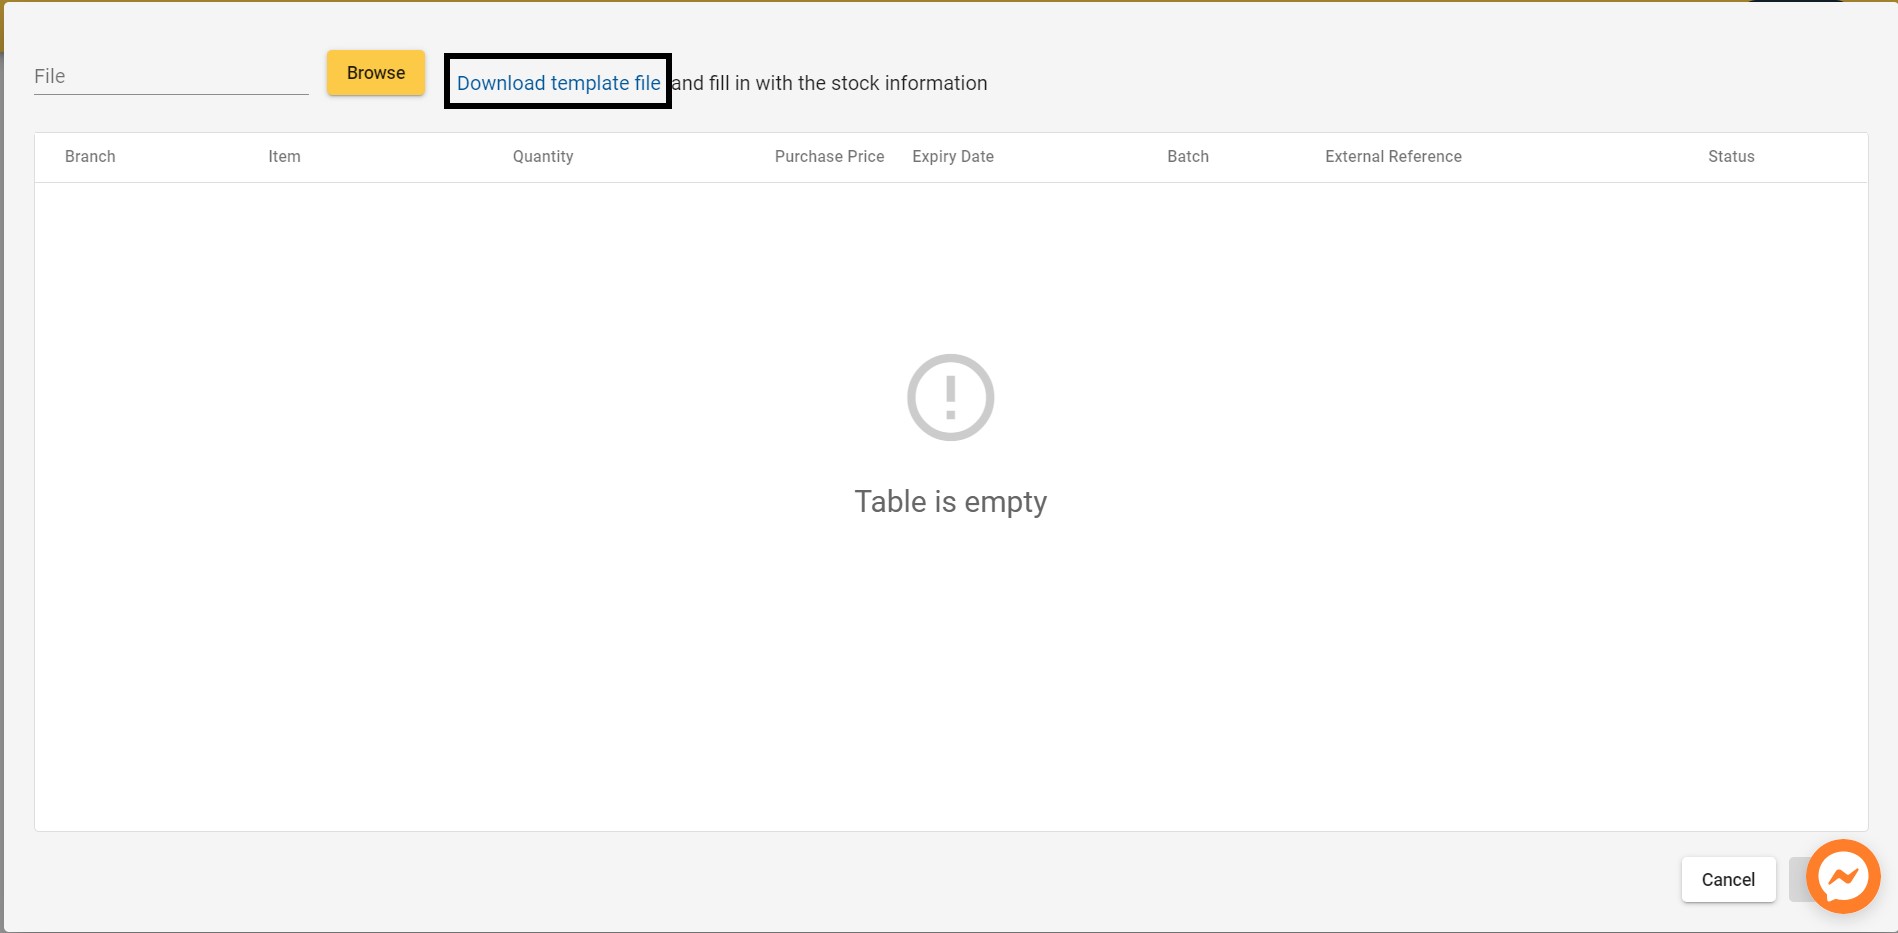
Download Sample file:
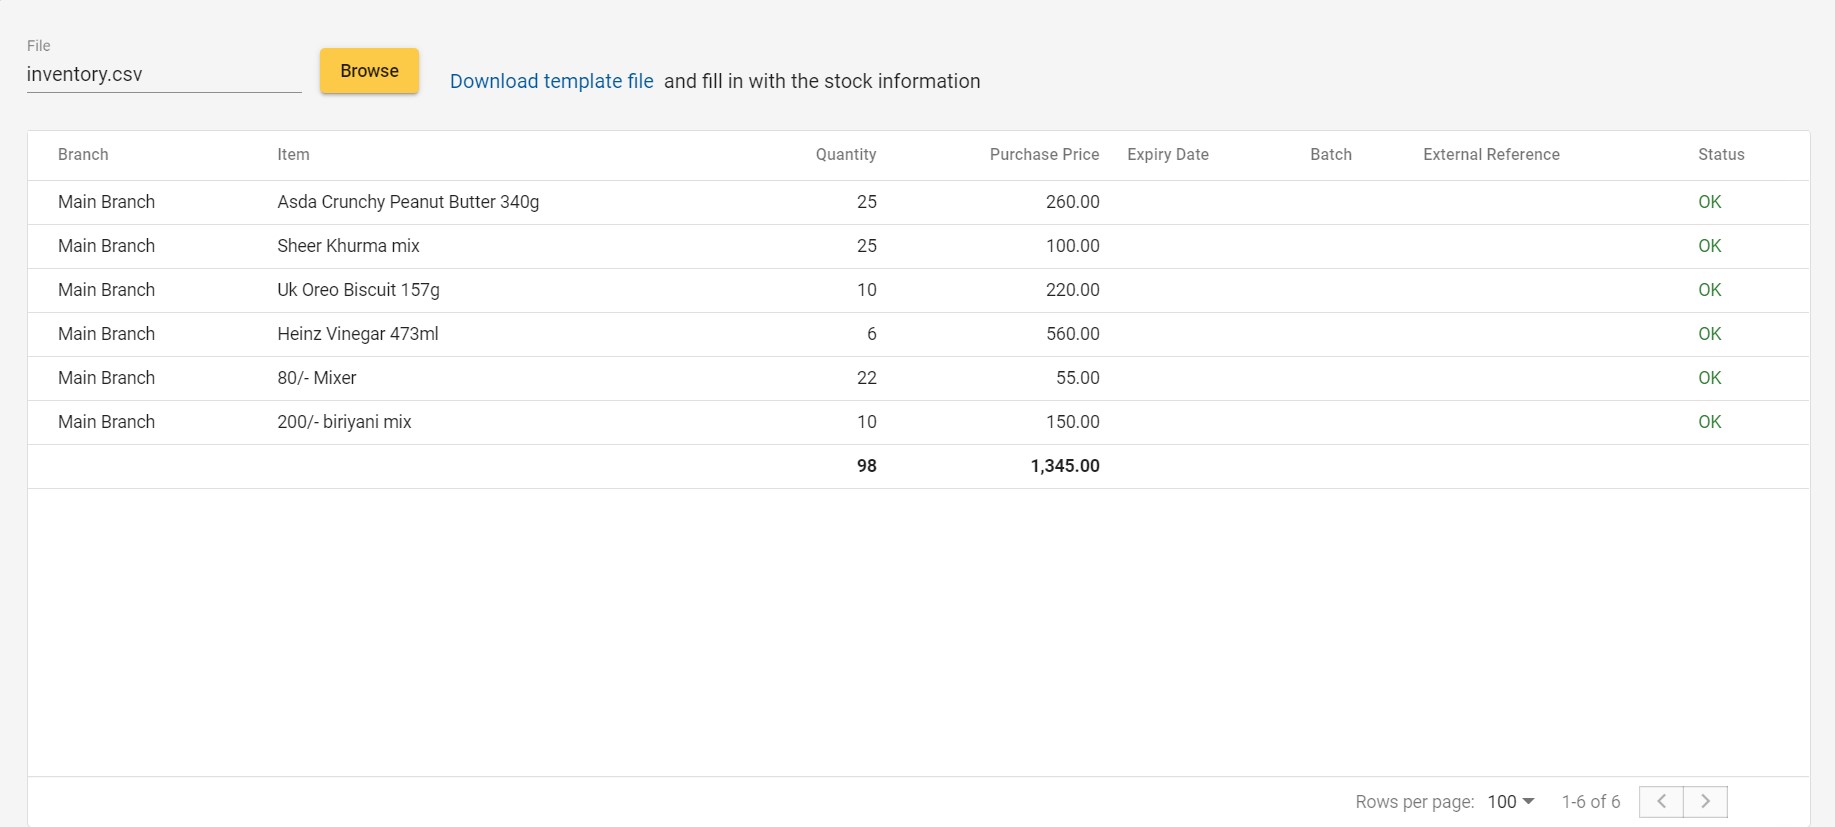
Sample File:
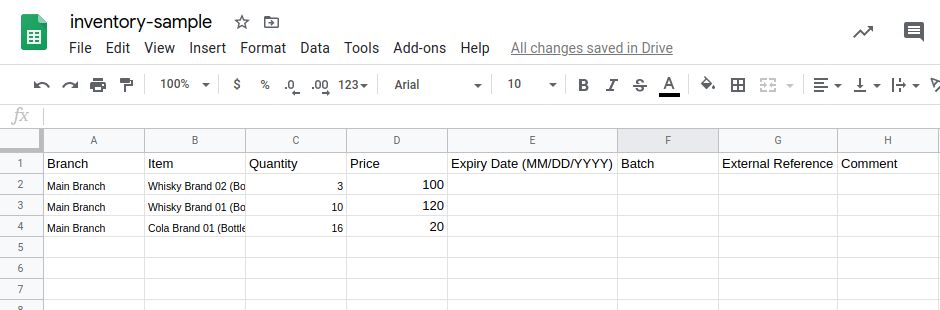
Fill in stock:
| Field | Is Mandatory | Description |
|---|---|---|
| Branch | YES | Branch for which stock should be added. |
| Item | YES | Item Name. |
| Quantity | YES | Quantity of stock for Item to be added (not ythe final quantity in stock. But the stock to be added for the Item). |
| Purchase Price | YES (0 is valid) | Purchase price of a unit of Item for this stock. If there are multiple batches with different Purchase Prices for the same Item, multiple lines has to be added. |
| Expiry Date | NO | Expiry Date of stock. If there are multiple batches with different Expiry Dates for the same Item, multiple lines has to be added. |
| Batch | NO | Batch information if present. |
| External Reference | NO | Bill references if present. |
Upload Inventory File
Back-Office -> Inventory Screen -> Upload From File -> Select File -> Save
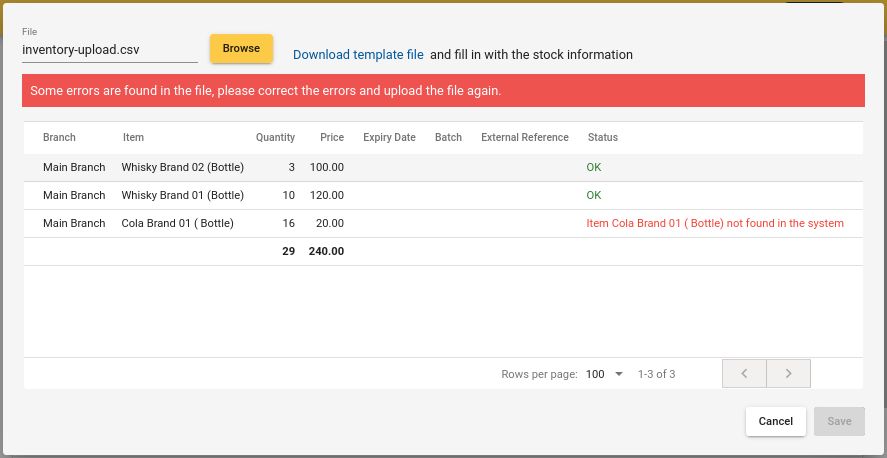
Select File & Check Record Status:
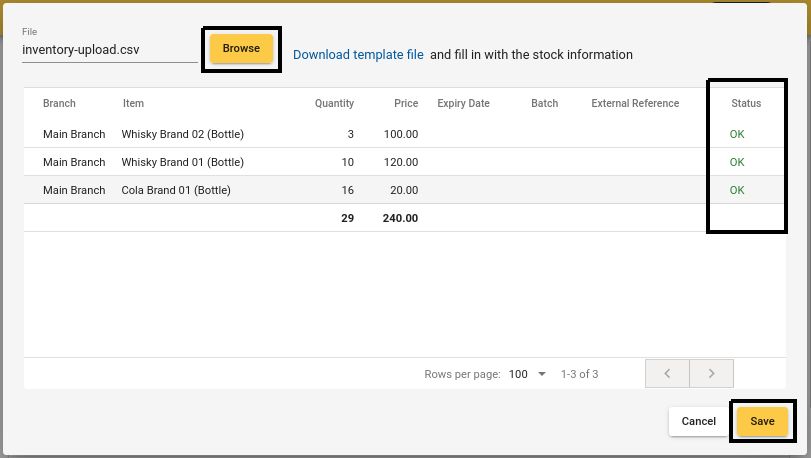
Save to confirm:

If there are record errors, they need to be fixed and file need to be re-uploaded before clicking Save button.
Records with Errors: