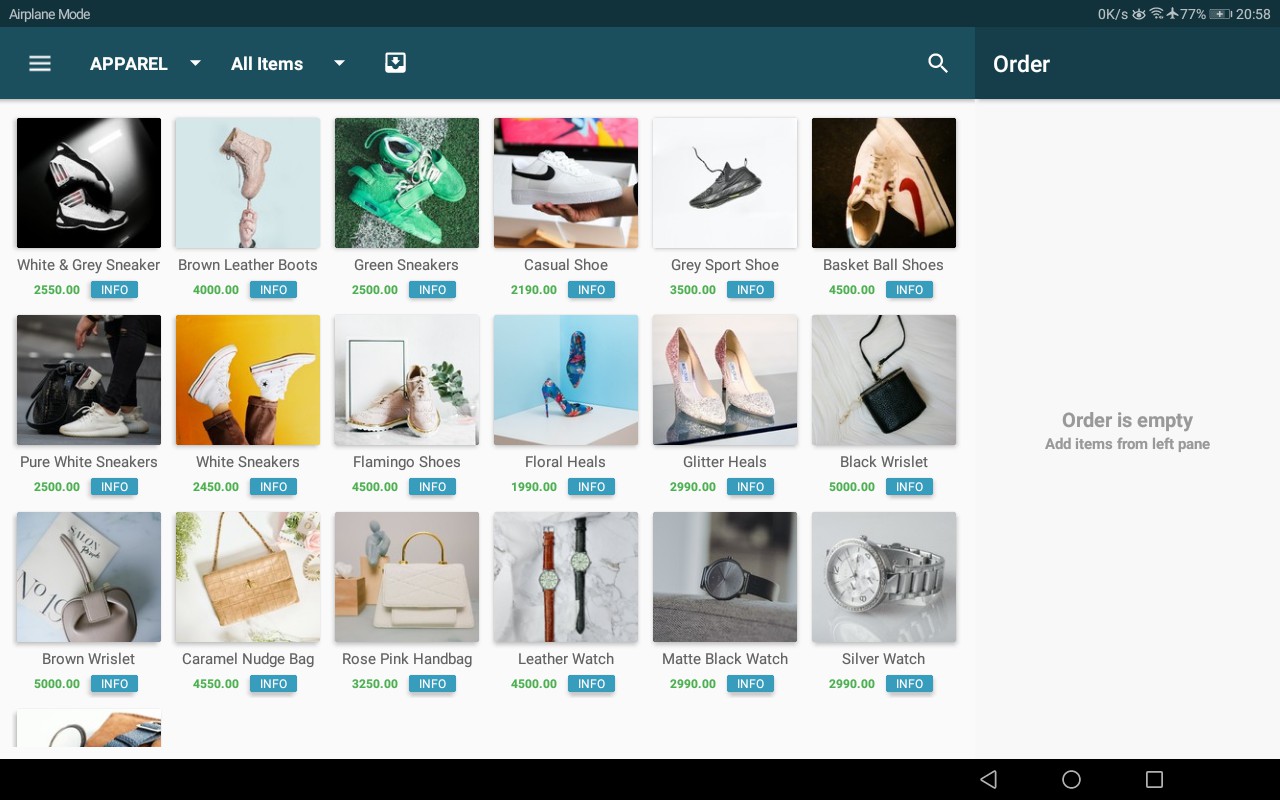
Add Items to a New Order
SpicePOS makes order taking easy. As you see in the image below all the items will be listed in icons. Which can either be seen as coloured boxes with item name or pictures of the relevant items.
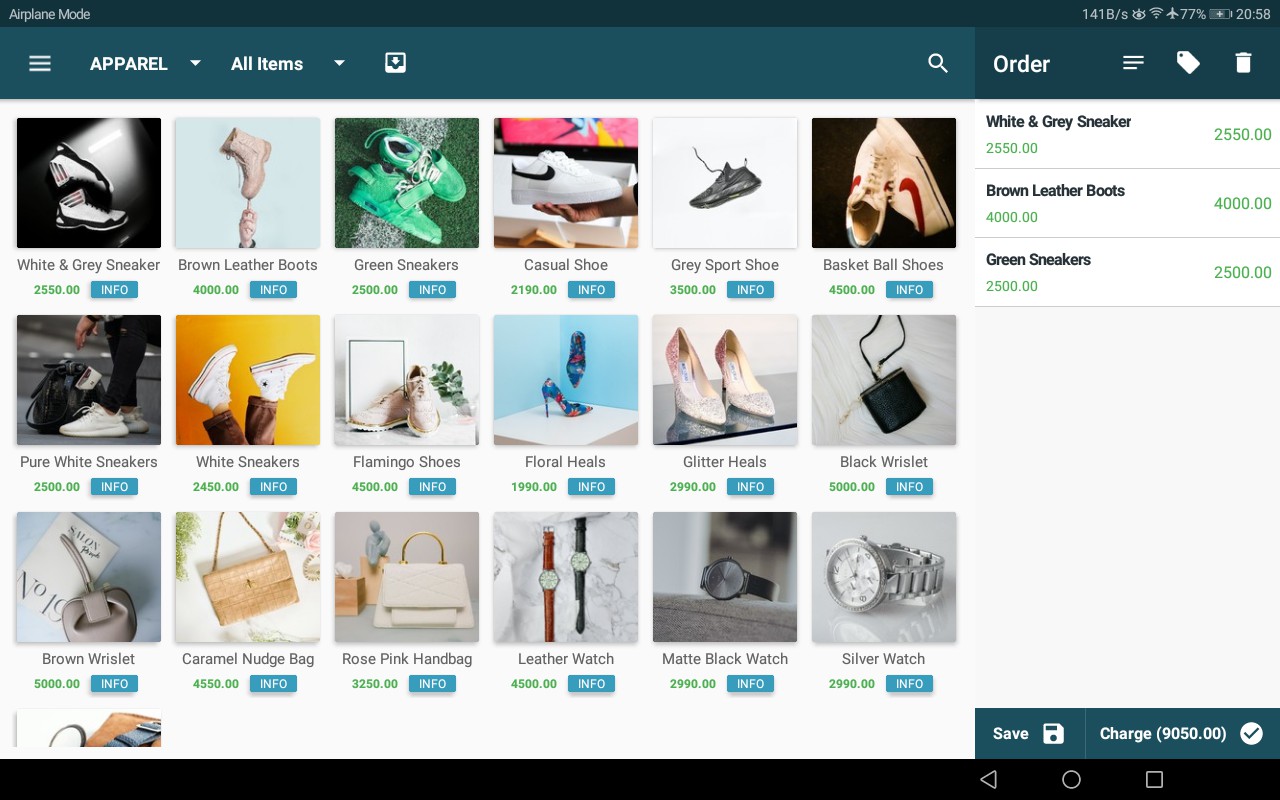
Add an Item Once
The item icon has to be touched once for adding the item once to the right hand side order pane. Below picture shows how the screen will look after placing a simple order so that a few items are added, one from each.
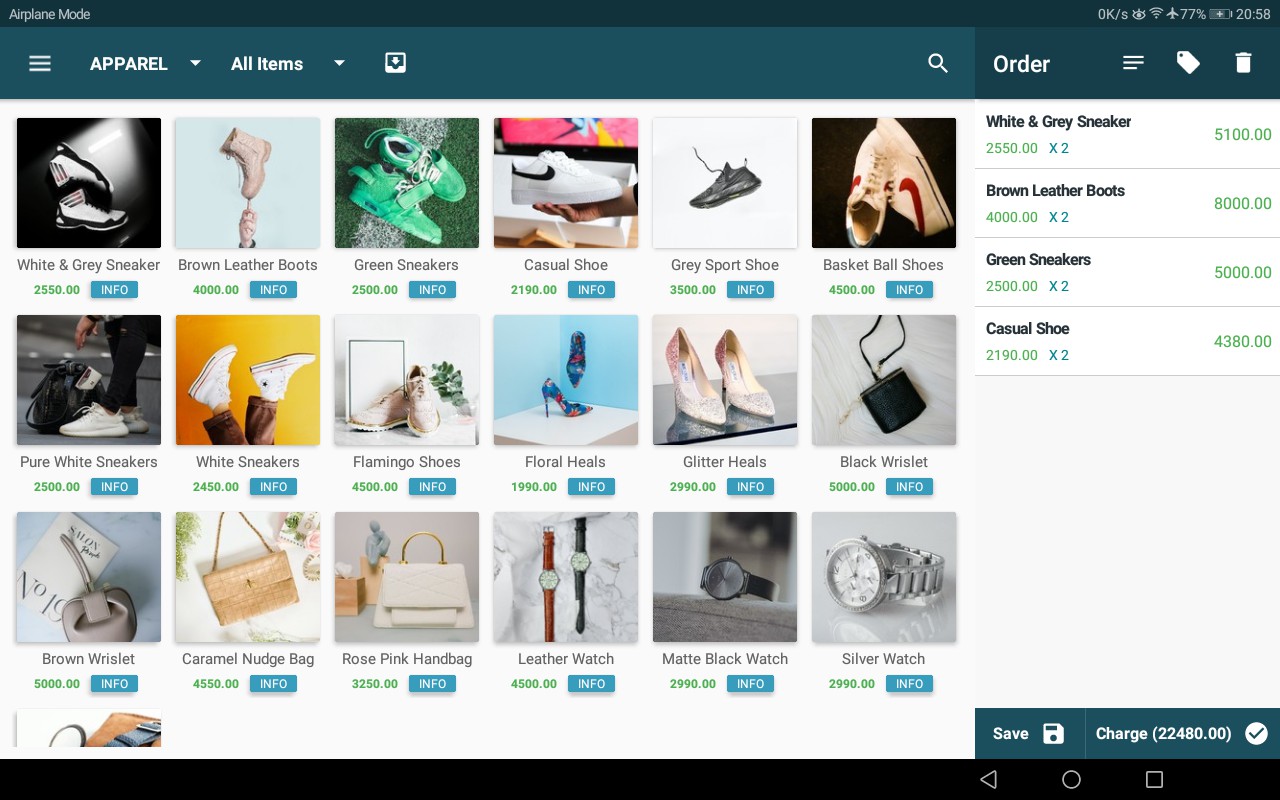
Add an Item Multiple Times
To get multiples of an item into an order, the user can simply tap the item icon the number of times he wants.
Ex: 2 times if quantity of the item needs to be ordered is 2
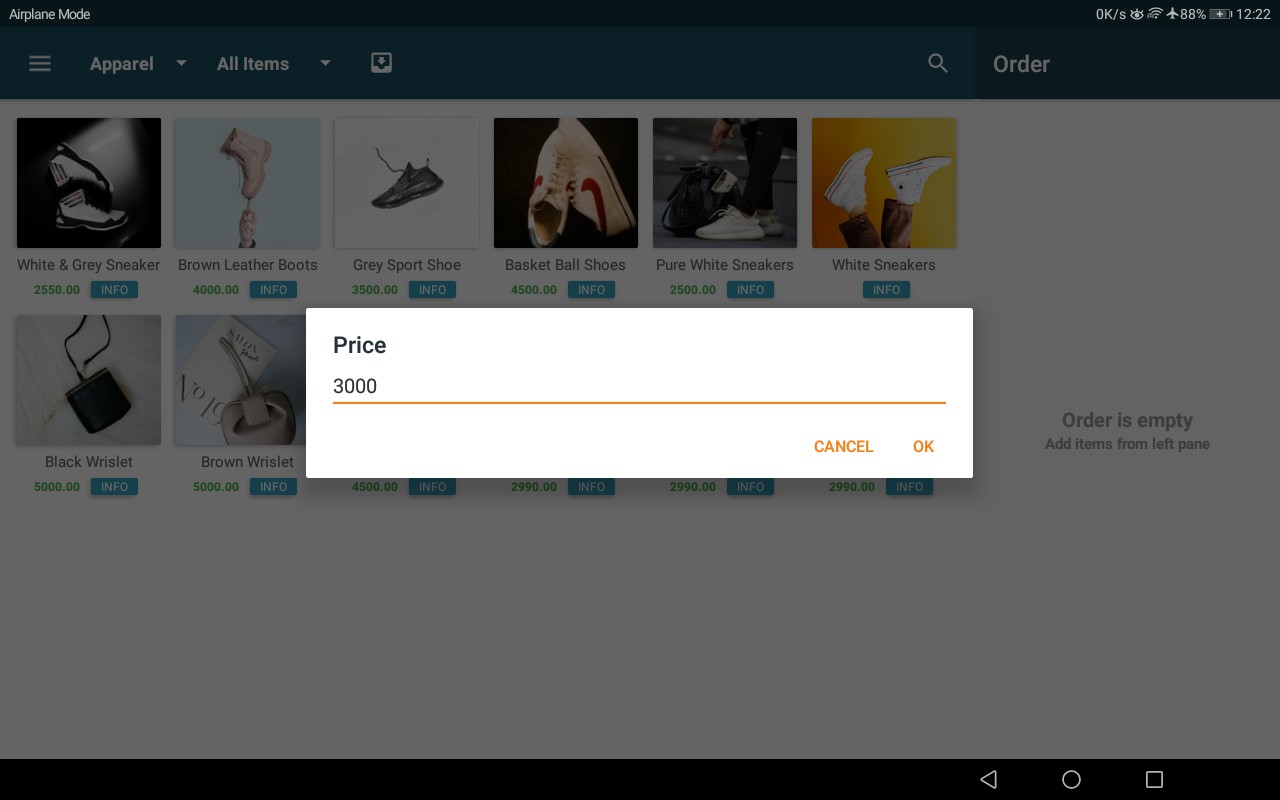
Placing an Order for a Zero Priced Item
An item can be priced zero in the application. Which allows the user to set the price at the point of sale. The picture below, the item named cuttlefish doesn't have a price.
Once the user taps the item icon the price tab will pop up as shown below, which allows the user to set the price and by clicking okay. He will place the order for the customized price.
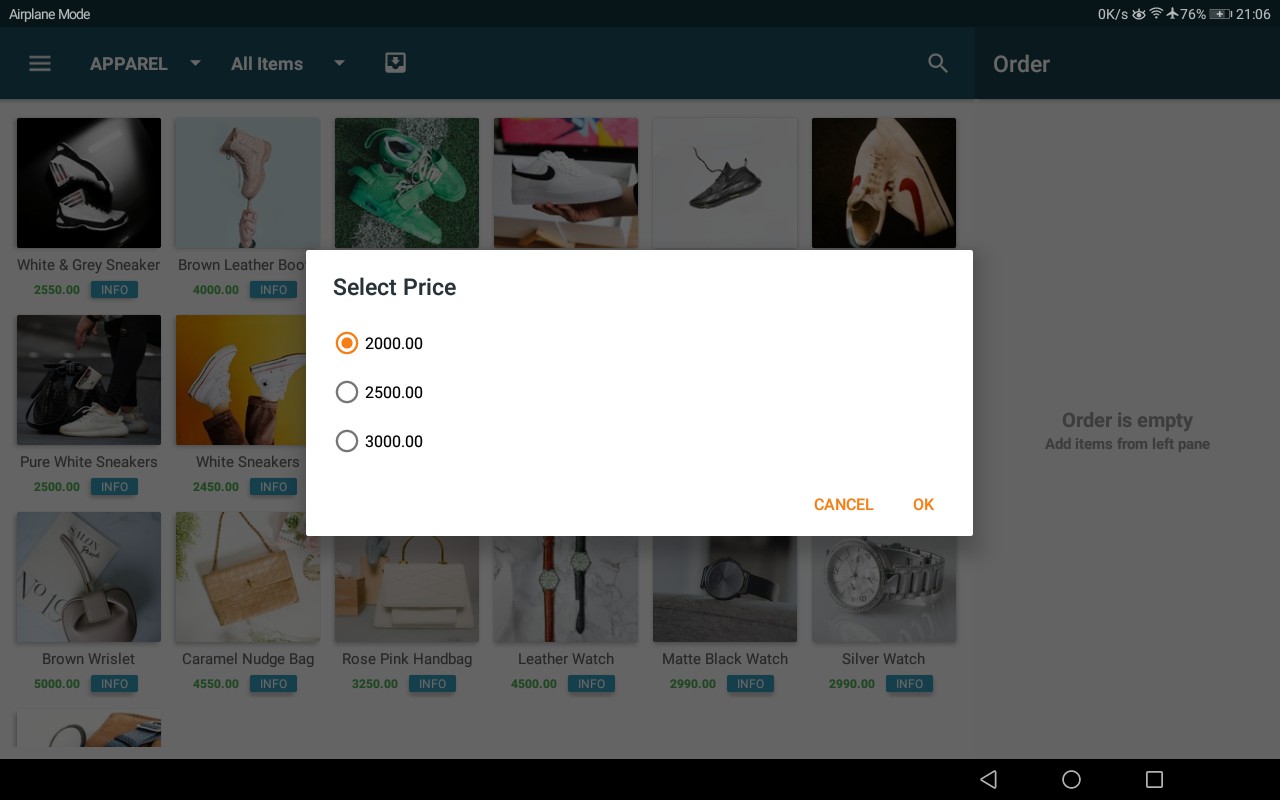
Placing an Order for an Item With Multiple Selling Prices
The user can set multiple prices for an item. If the user clicks on the item with multiple prices, a tab will pop up asking the user to select the price he wants to set for the price in order to place the order. The item devilled beef shown in the above picture has multiple prices, as shown in the below picture you can see the price tab popped up for the user to select a price.
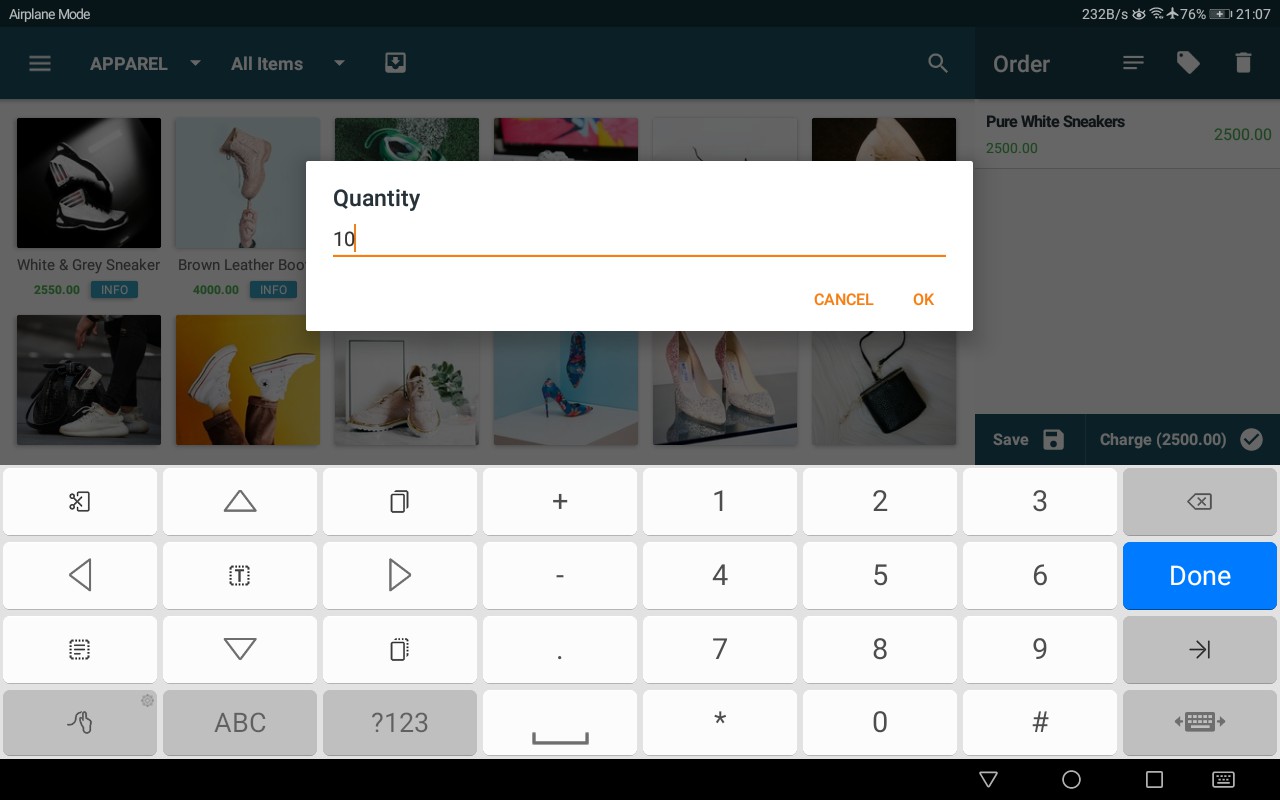
Changing Quantity
In case the user wants to order a bulk amount of items, instead of tapping the item icon. The user can simply access the quantity change icon appear after sliding the item row in the order pane to the left.
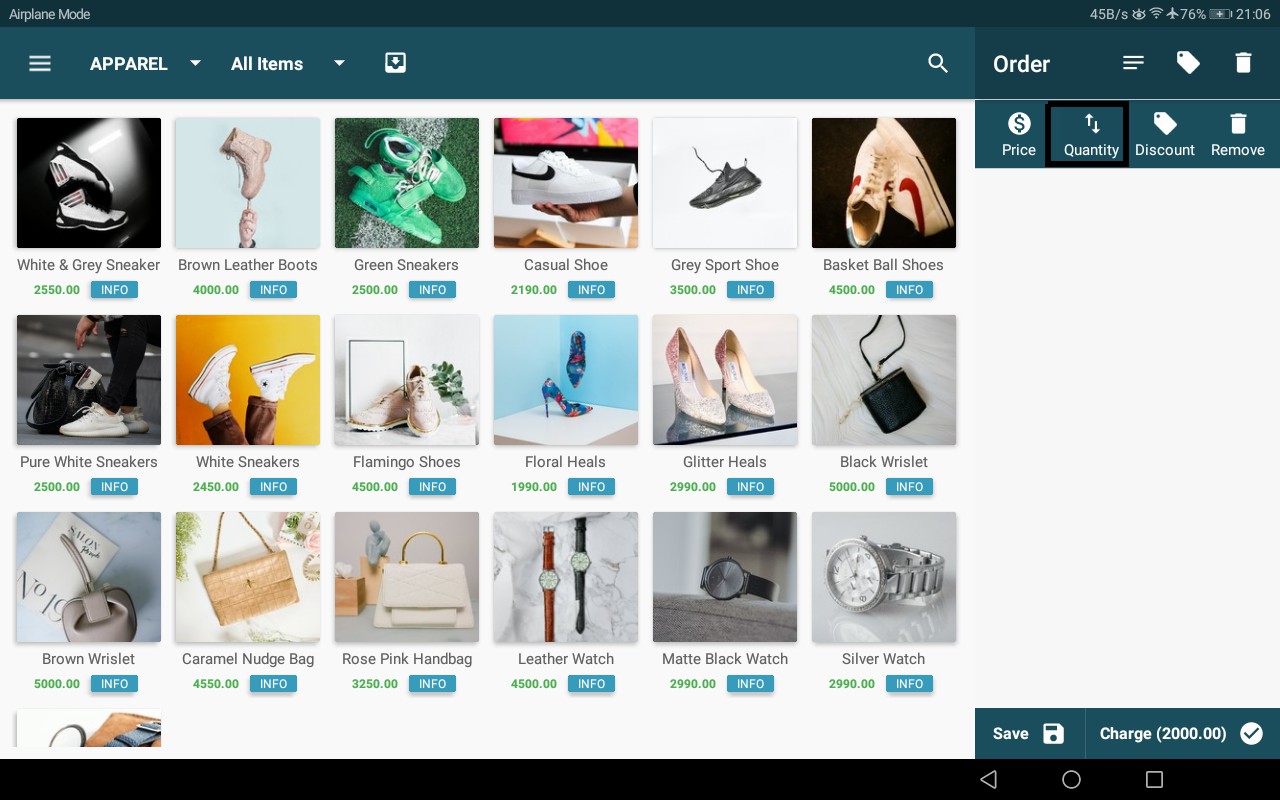
This action can also be performed from the options menu appear after clicking on the item row in the order pane.
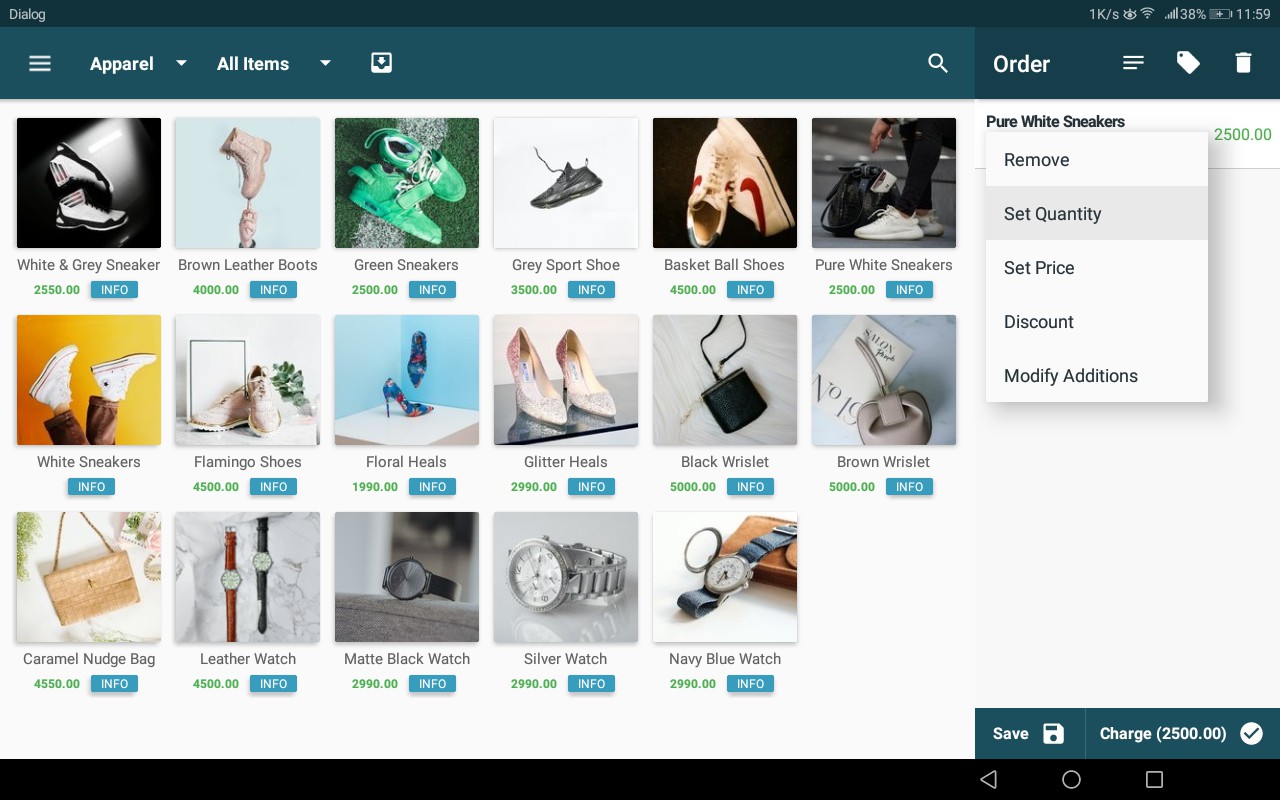
Once the user clicks the set quantity option a pop up will show to enter the desired amount of quantity. Users can simply enter the quantity and click okay to place the bulk order.
Quantity changed:
