Setup Customers from App
View Customers
Associated Permissions: View Customers
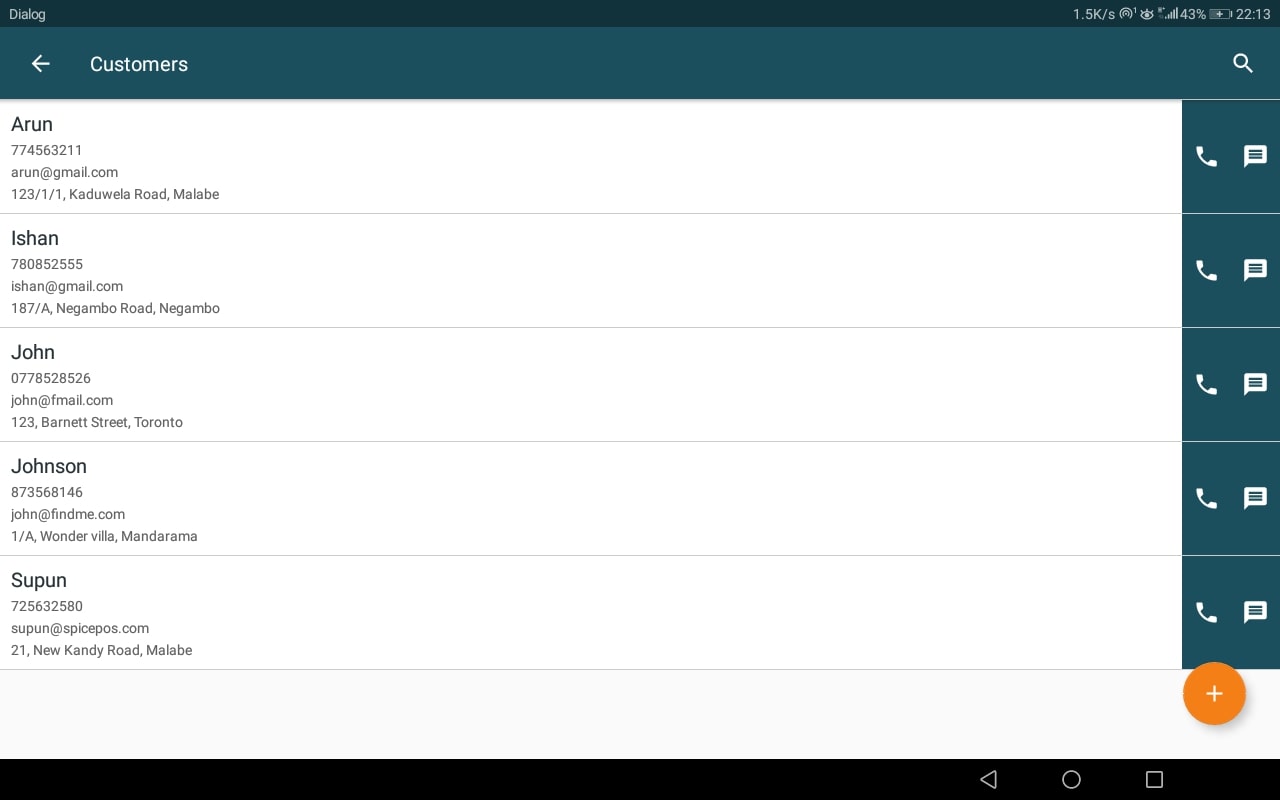
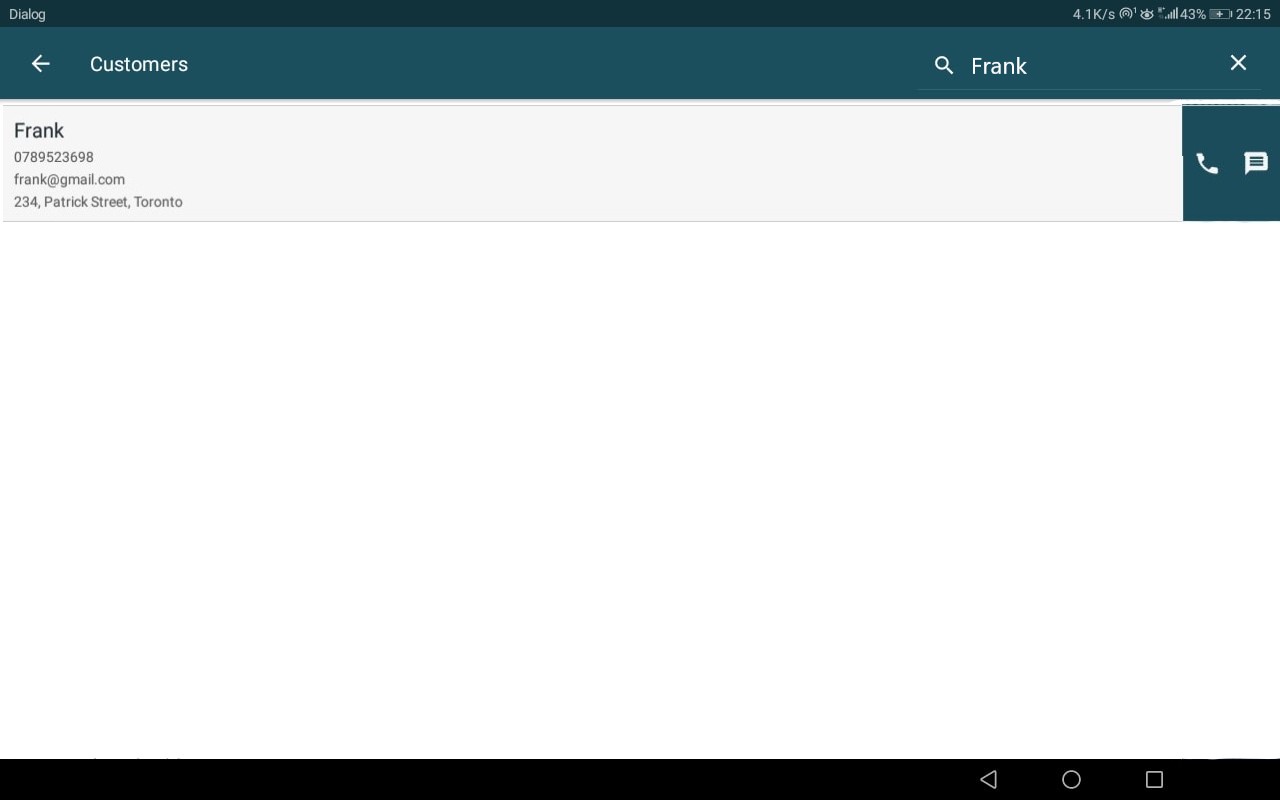
Existing customers list can be viewed in customers screen in POS App.
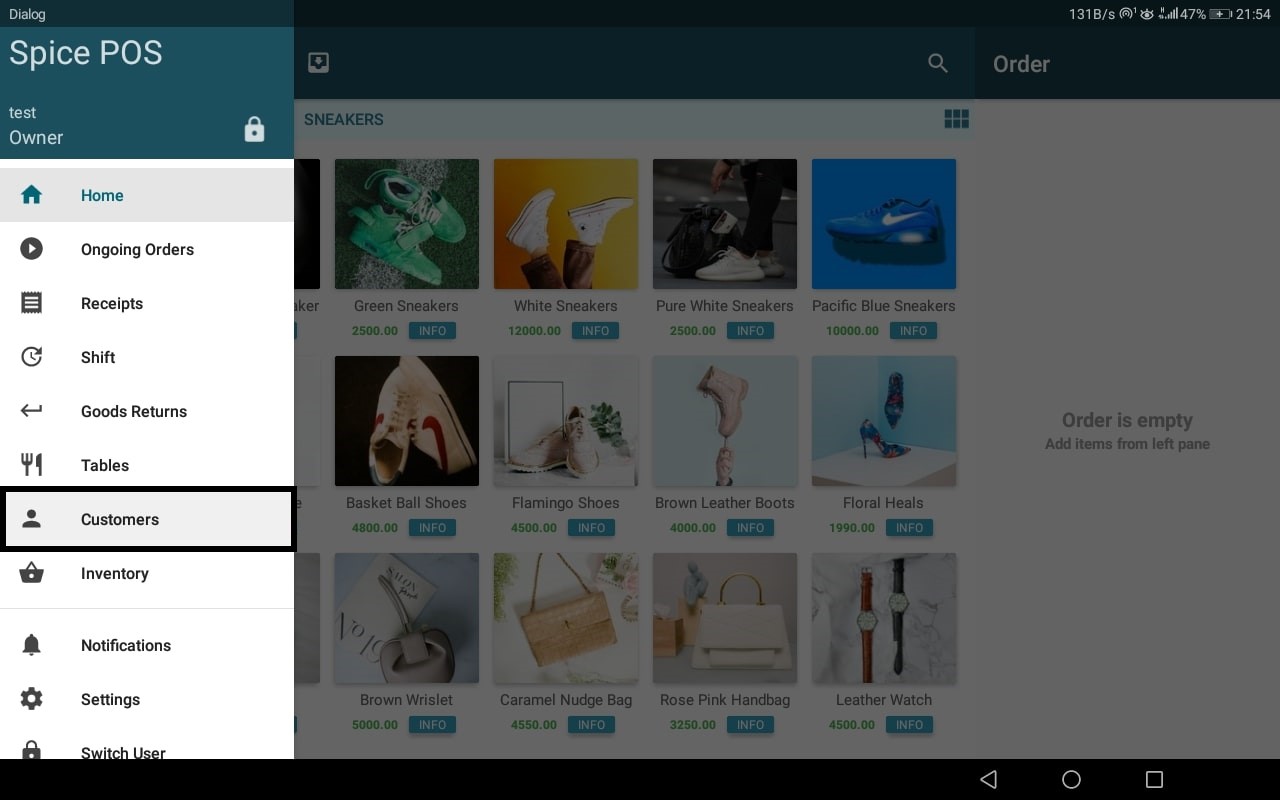
POS App -> Side nav -> Customers
Customers screen in side nav:
Customers screen:
Same customers screen can be accessed from,
- Order details popup -> Click customer field
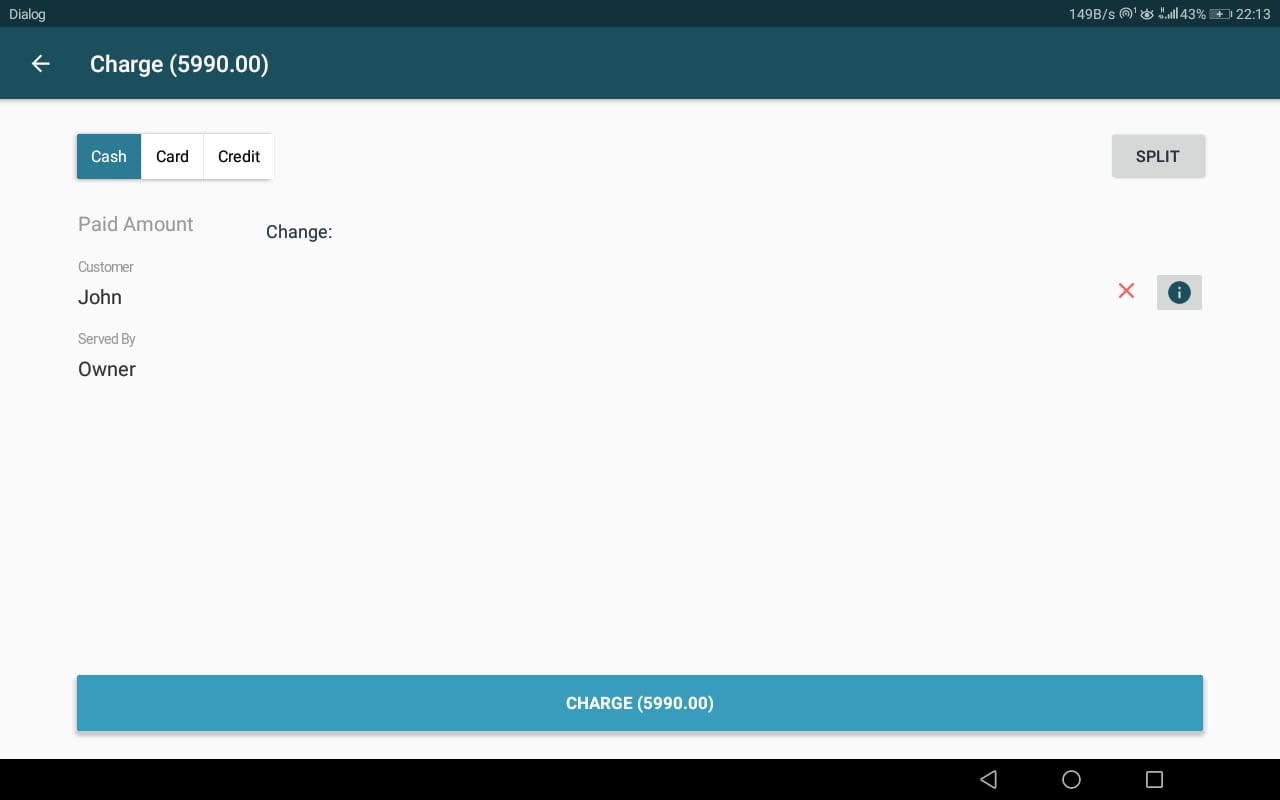
- Charge screen -> click customer field
Customer field in order details popup:
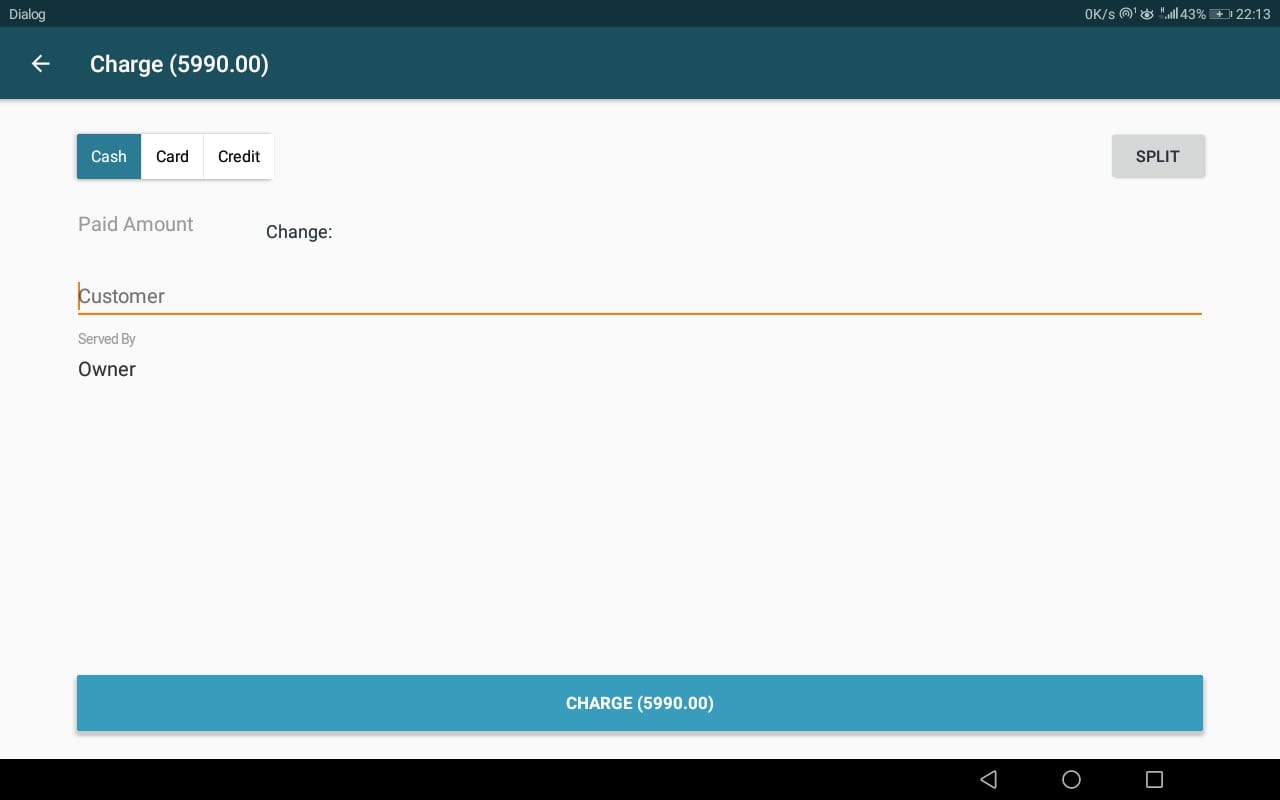
Customer field in charge screen:
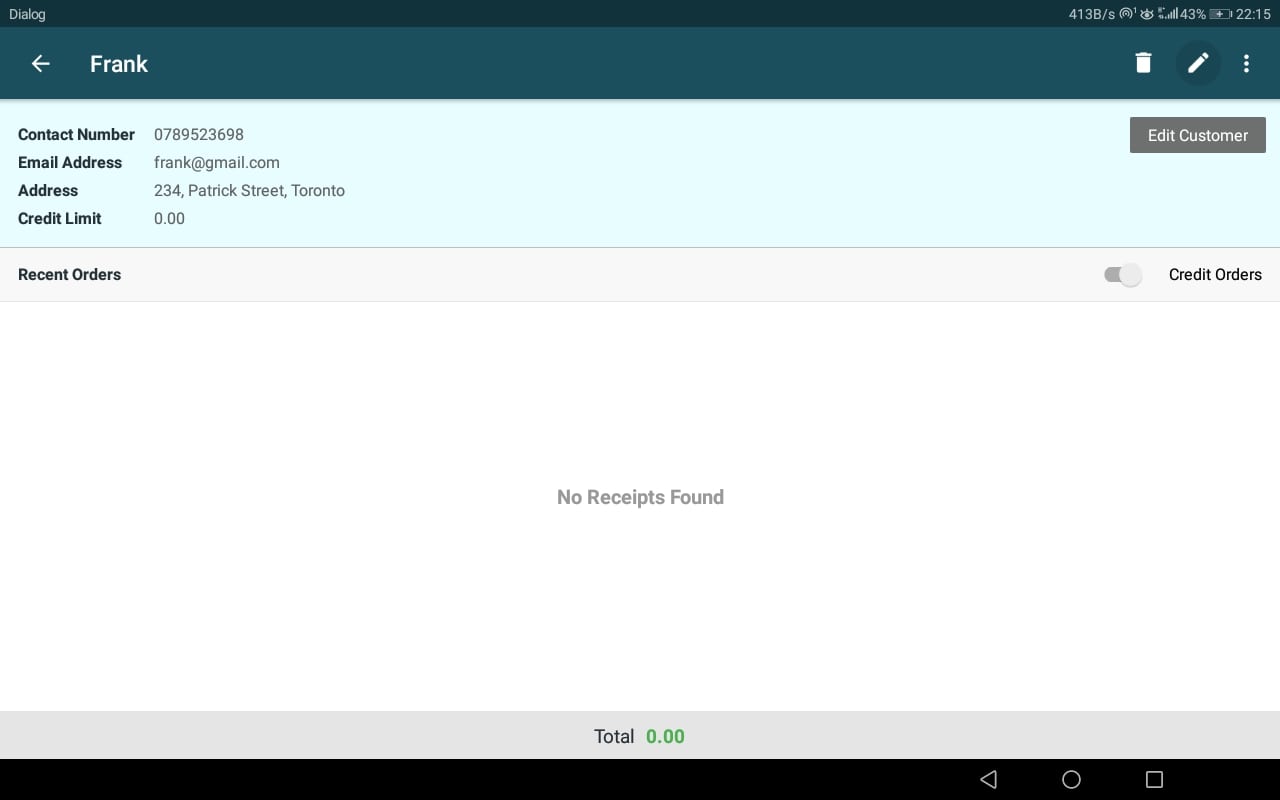
Once a customer in list is clicked, customer details screen will be displayed.

| Number | Field Name | Description |
|---|---|---|
| 1 | Customer Details | Summary of Customer Details |
| 2 | Recent Orders | Recent Receipts of the Customer |
| 3 | Credit Orders Toggle | If toggle is on only the Credit Bills of the customer will be filtered. If not toggled, all the recent Bills of the Customer will be displayed. |
| 4 | Total | Total of Customer Bills displayed as per the value of Credit Orders Toggle. |
| 5 | Delete | Delete Customer |
| 6 | Edit | Edit Customer |
| 7 | More Options Menu | More Options Menu list down actions on Customers such as deposits management, block customer, unblock customer, etc |
Add a Customer
Associated Permissions: Add Customers
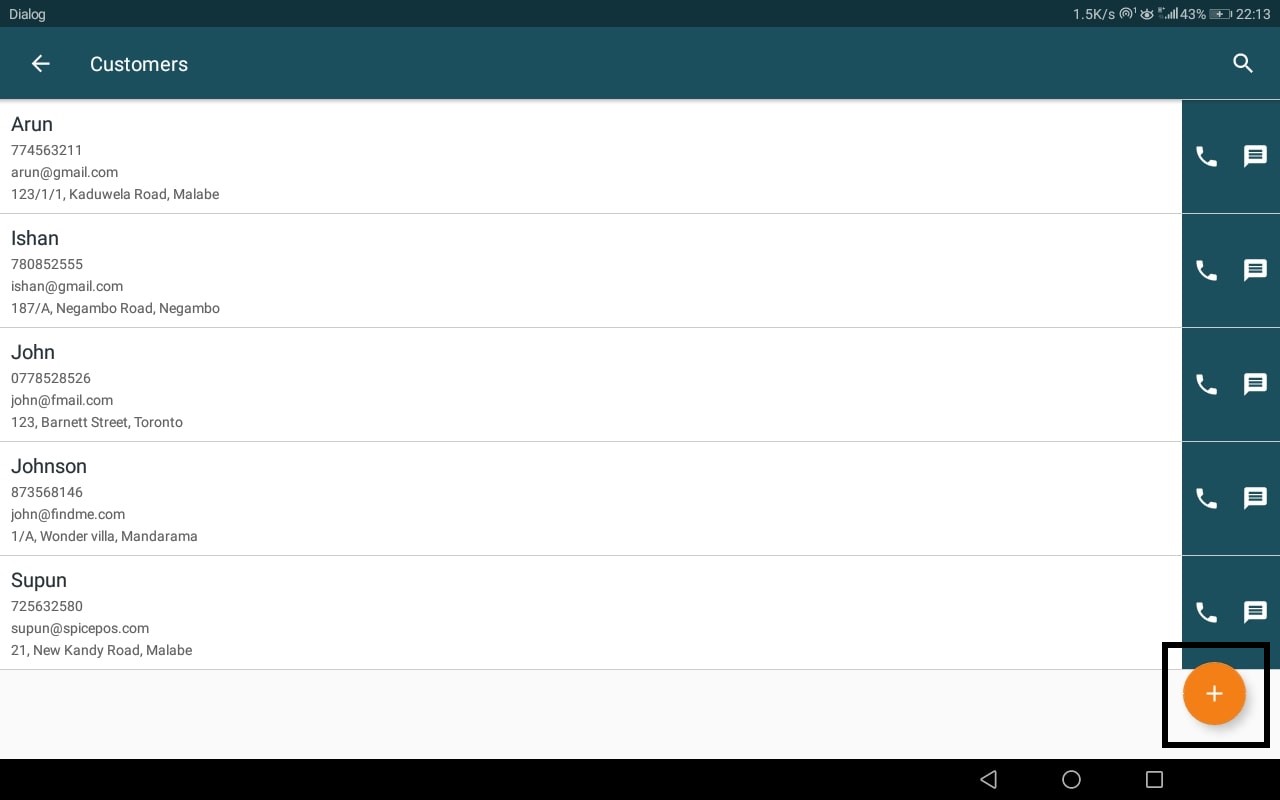
POS App -> Customers screen -> Click (+) button -> Fill in details -> Save
(+) button in customers screen:
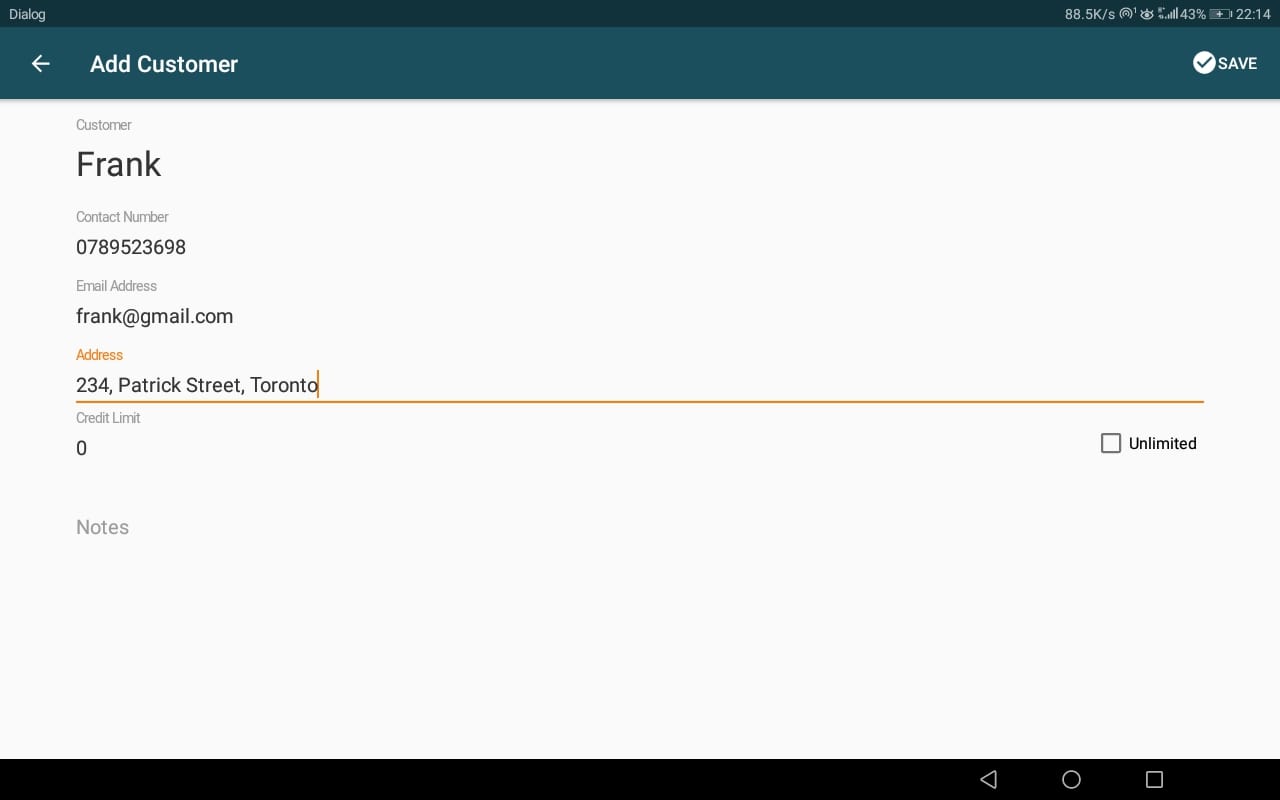
Fill details in add customer screen & save:
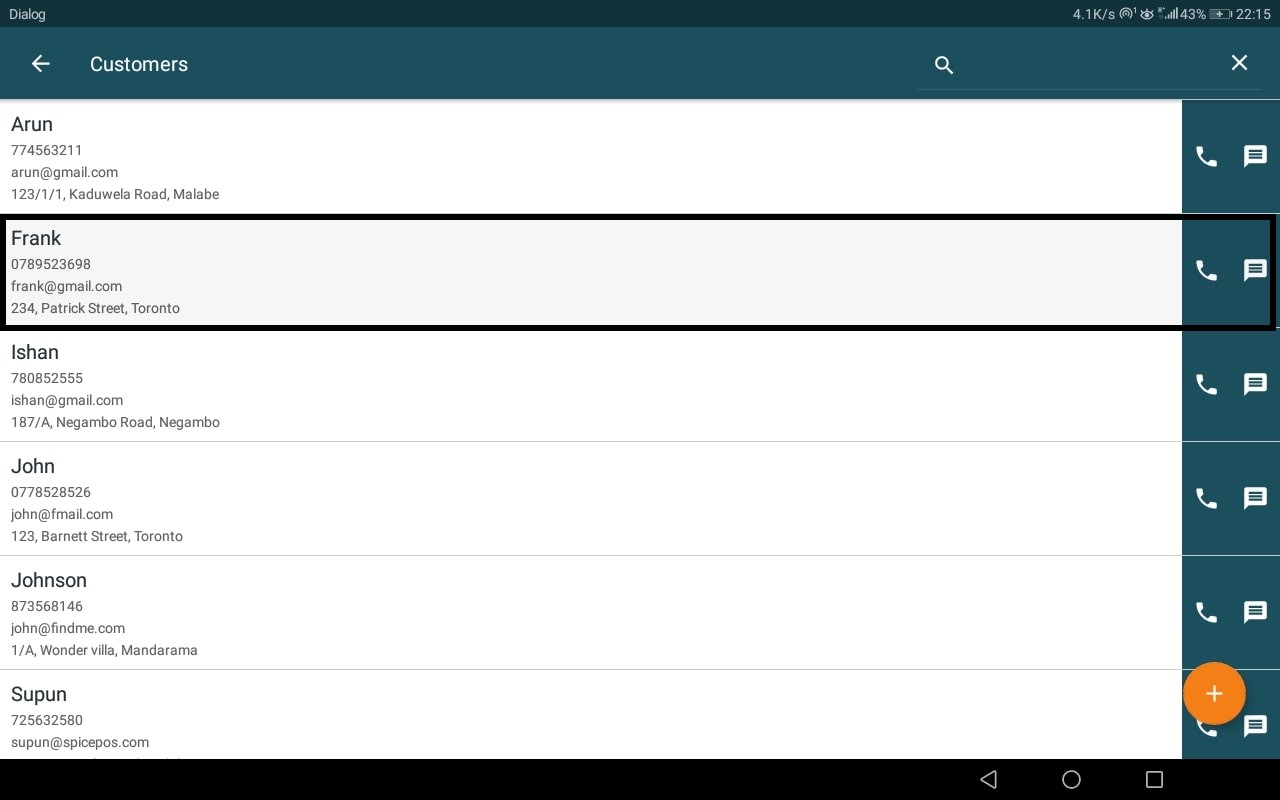
Customer added:
Edit a Customer
Associated Permissions: Edit Customers

POS App -> Customers screen -> Click on customer in list -> Click "Pencil" icon in tool bar -> Edit details -> Save
Click on customer:
Click "Pencil" icon:
Edit details & save:
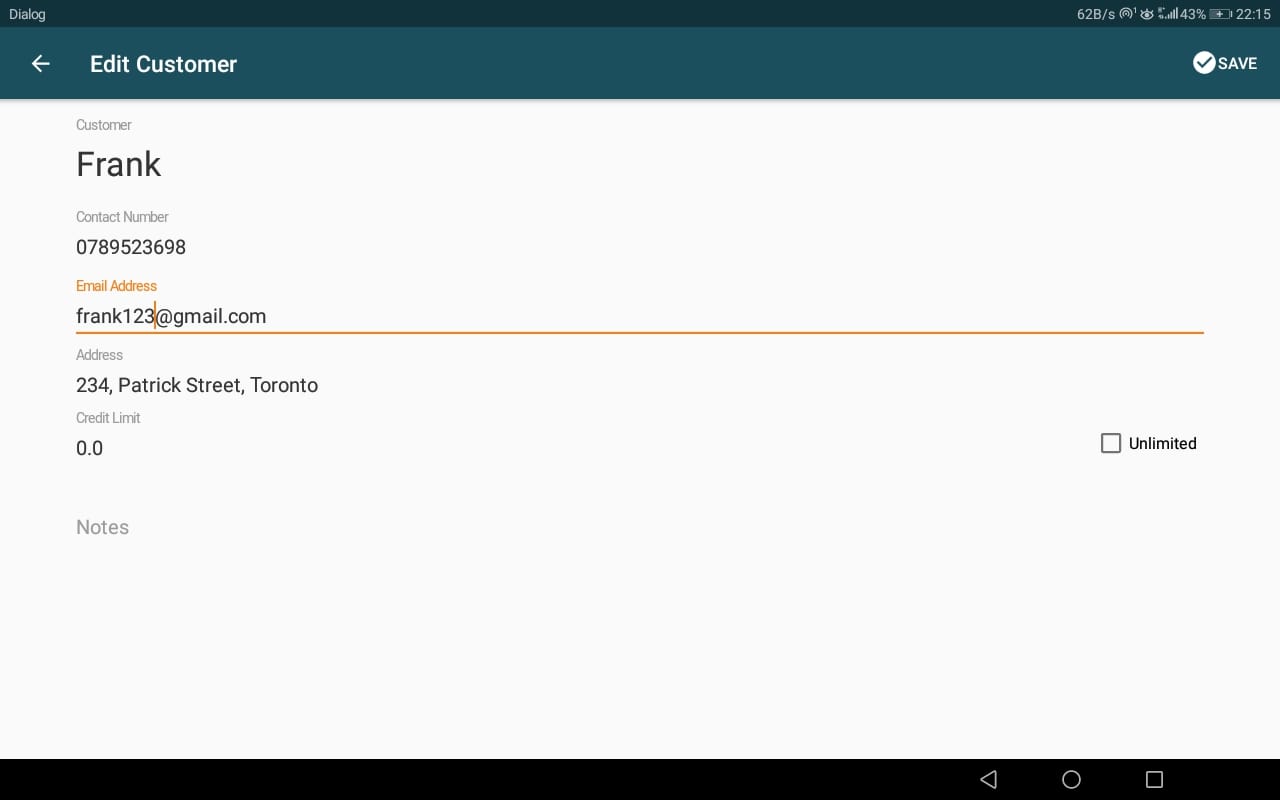
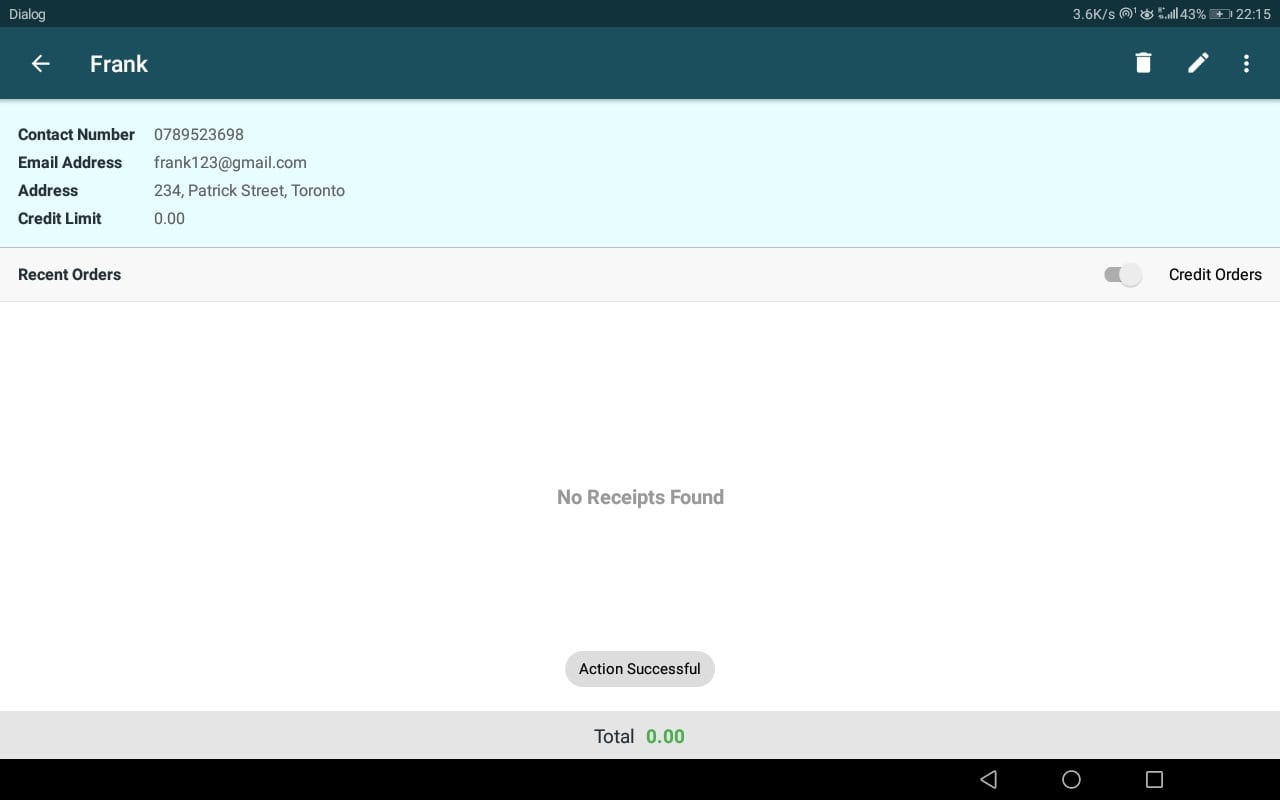
Customer edited:
Delete a Customer
Associated Permissions: Delete Customers

POS App -> Customers Screen -> Click on customer in list -> Click "Bin" icon -> Confirm delete
Click on customer:
Click "Bin" icon:
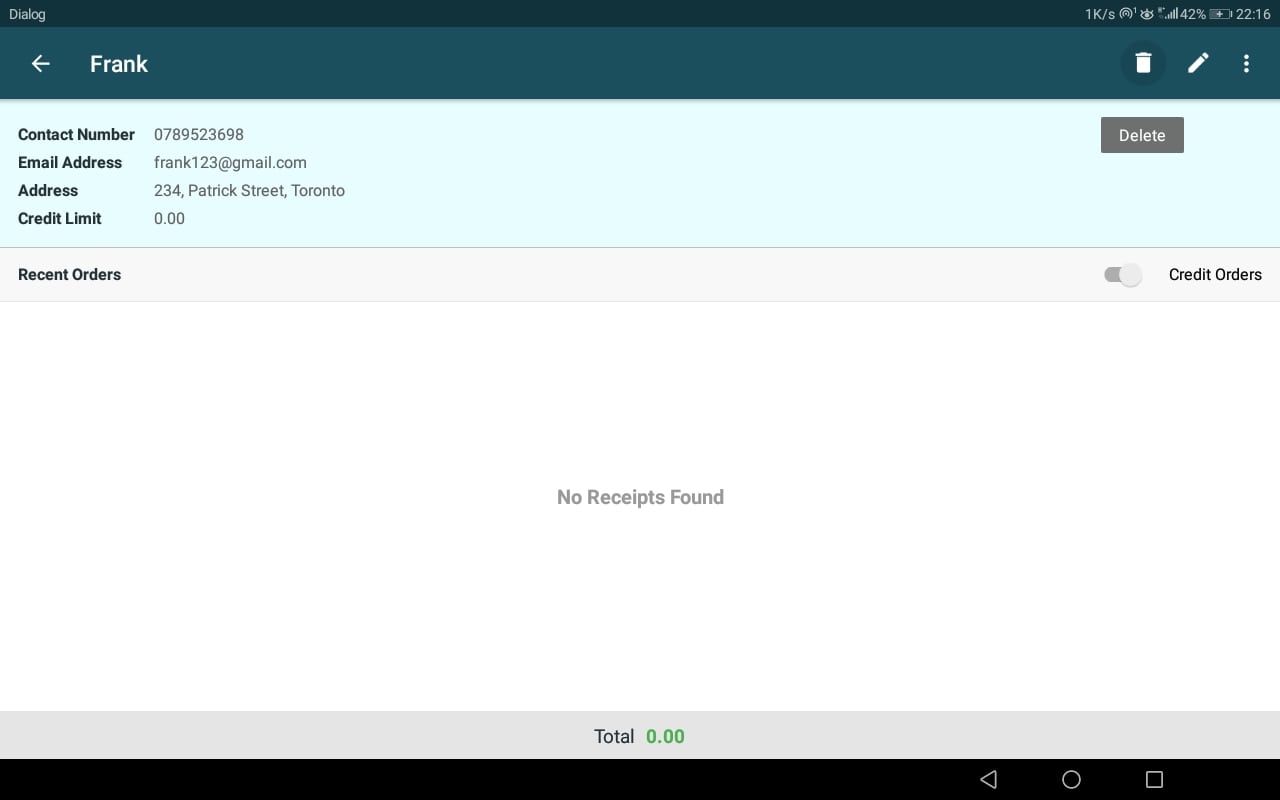
Confirm delete:
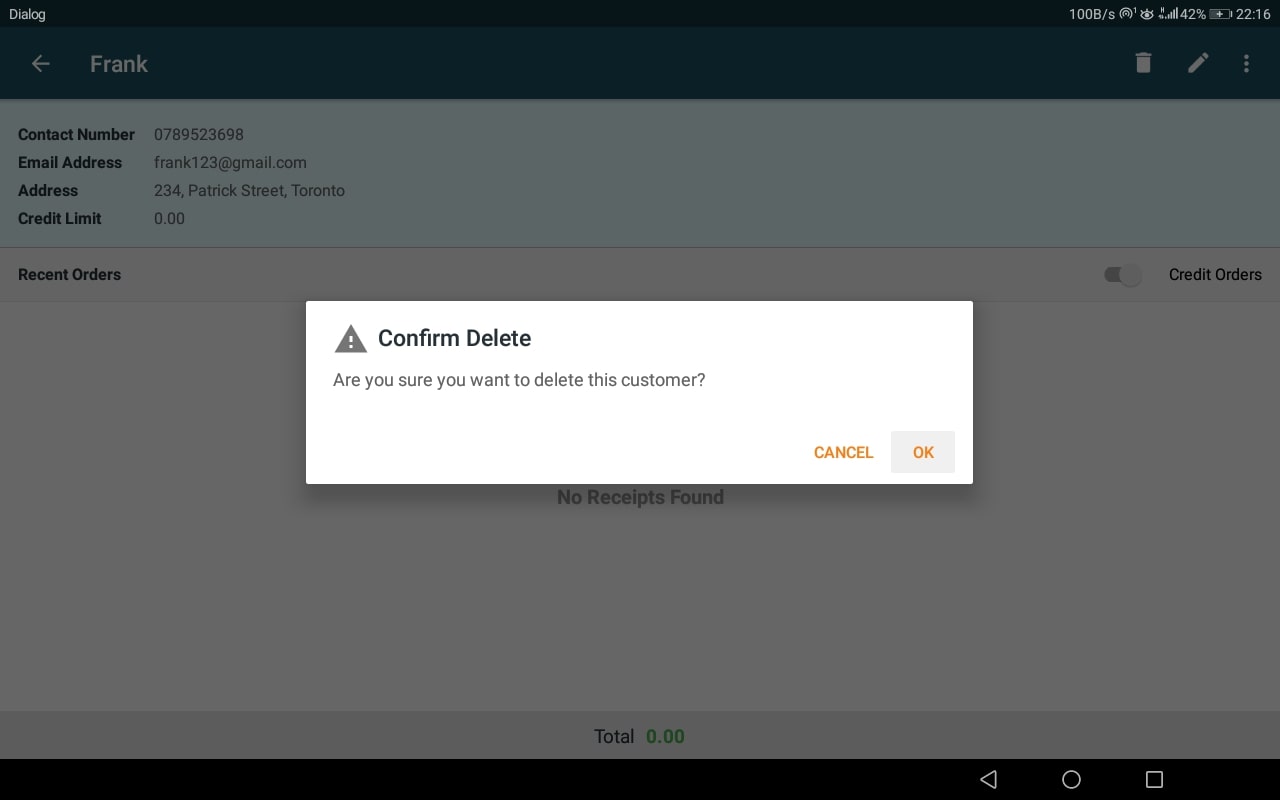
Note: Once a customer is deleted, outstanding credit for the customer will be unlinked from the customer and those links are non-recoverable.